

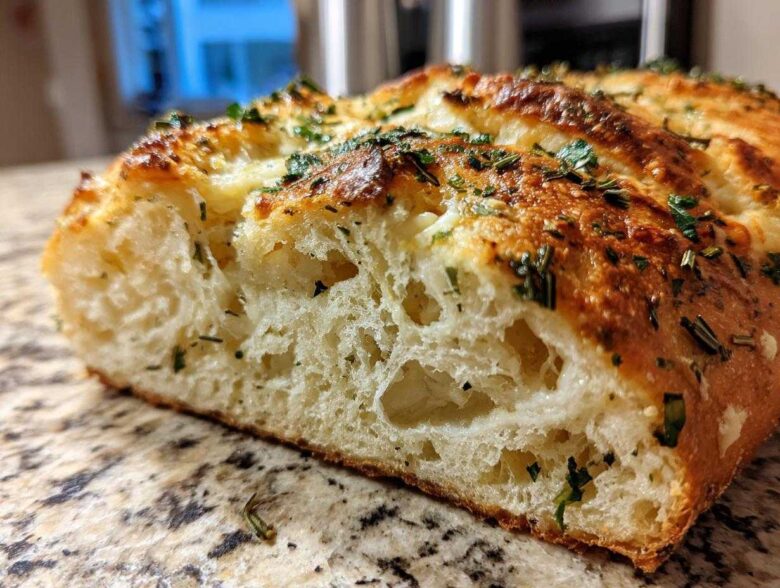
There’s nothing quite like the smell of fresh bread wafting through the kitchen, right? Elias often jokes that the scent is my favorite way to draw him home after a long day. While I love watching dough rise by hand, sometimes life gets busy, and that’s when our trusty bread machine shines! It takes all the guesswork out of baking, giving us perfectly shaped, aromatic loaves with minimal fuss. If you’ve been wanting incredible, flavorful Italian herb and cheese bread but felt intimidated, this is the recipe for you. Honestly, this simple bread machine setting yields the most reliable results for our schedule. Trust me, this will become your go-to for easy, savory baking!
Why This Italian Herb and Cheese Bread is Your New Favorite Easy Bread Machine Recipe
I promise you, this **bread machine herb bread** is practically foolproof, which is why I trust it so much when Elias is out running errands. We built Flavor Vista on simple, reliable home cooking, and this recipe delivers big flavor without needing hours of kneading. It’s truly one of the best easy bread machine recipes we’ve developed for weeknights.
- It’s perfect for the absolute beginner—just toss the ingredients in the correct order!
- It creates a beautiful, sturdy loaf that holds up perfectly to slicing.
- We pack in tons of garlic and herbs so you get maximum savoriness with minimal effort.
Perfect Texture for the Ultimate Sandwich Loaf
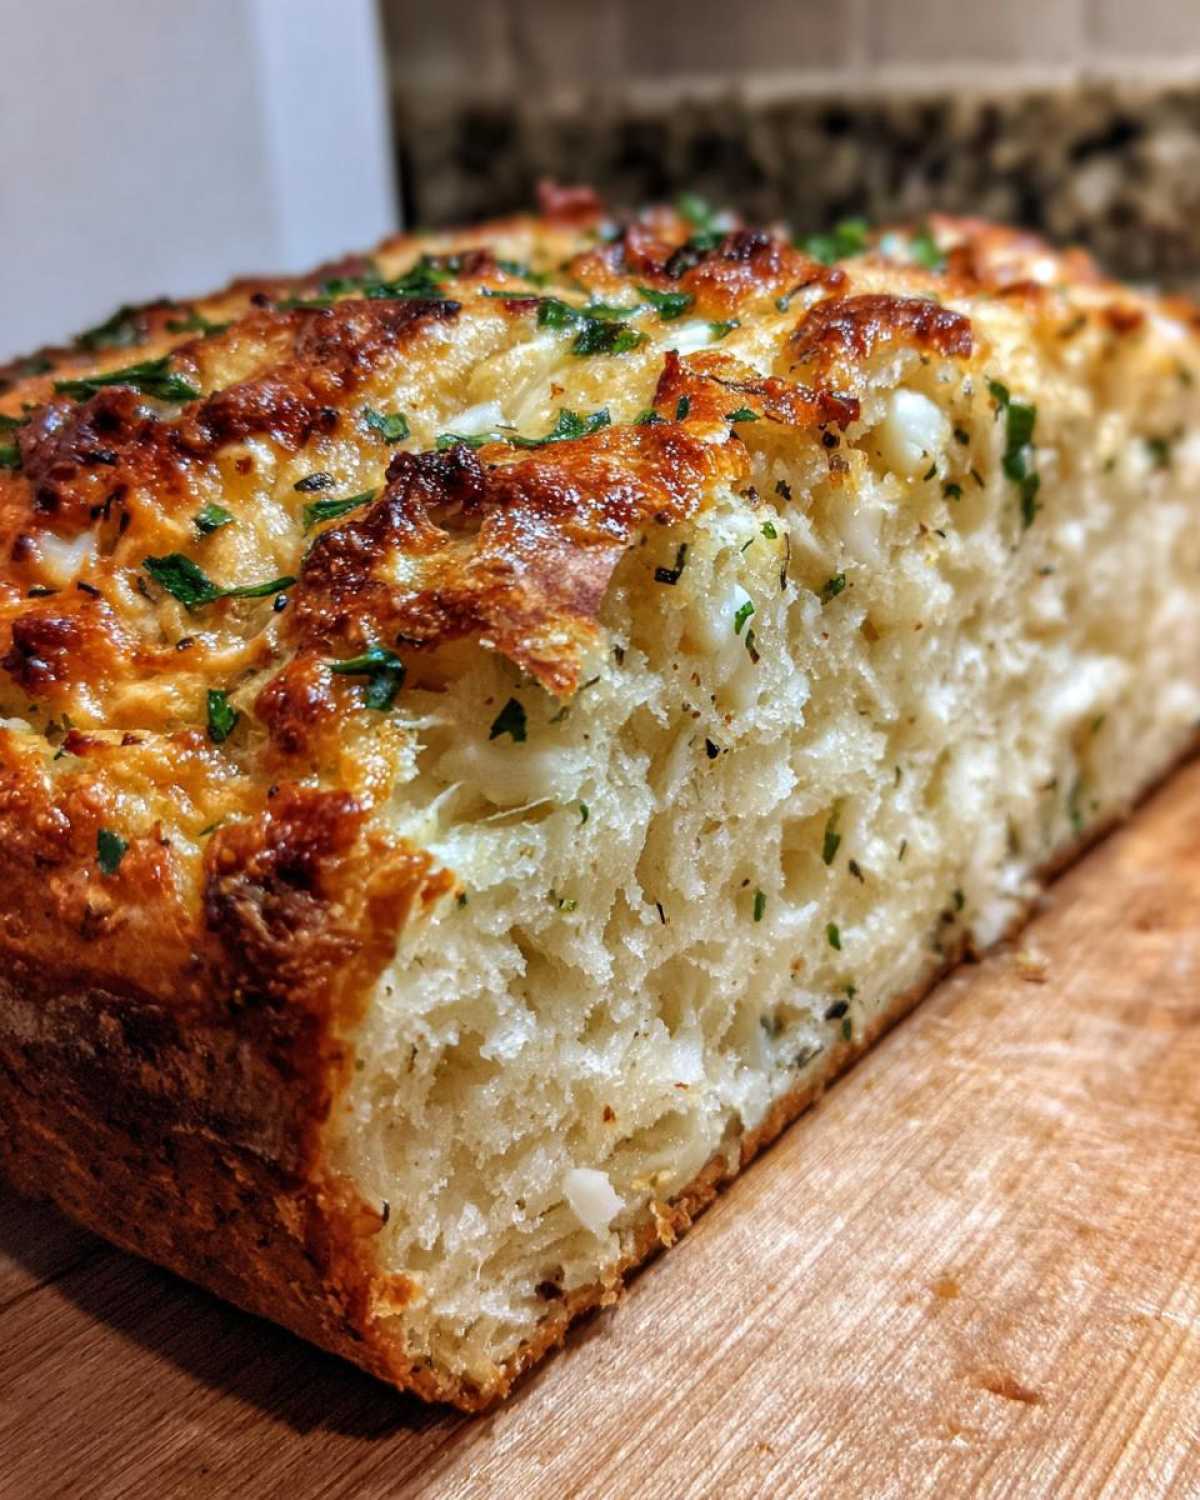
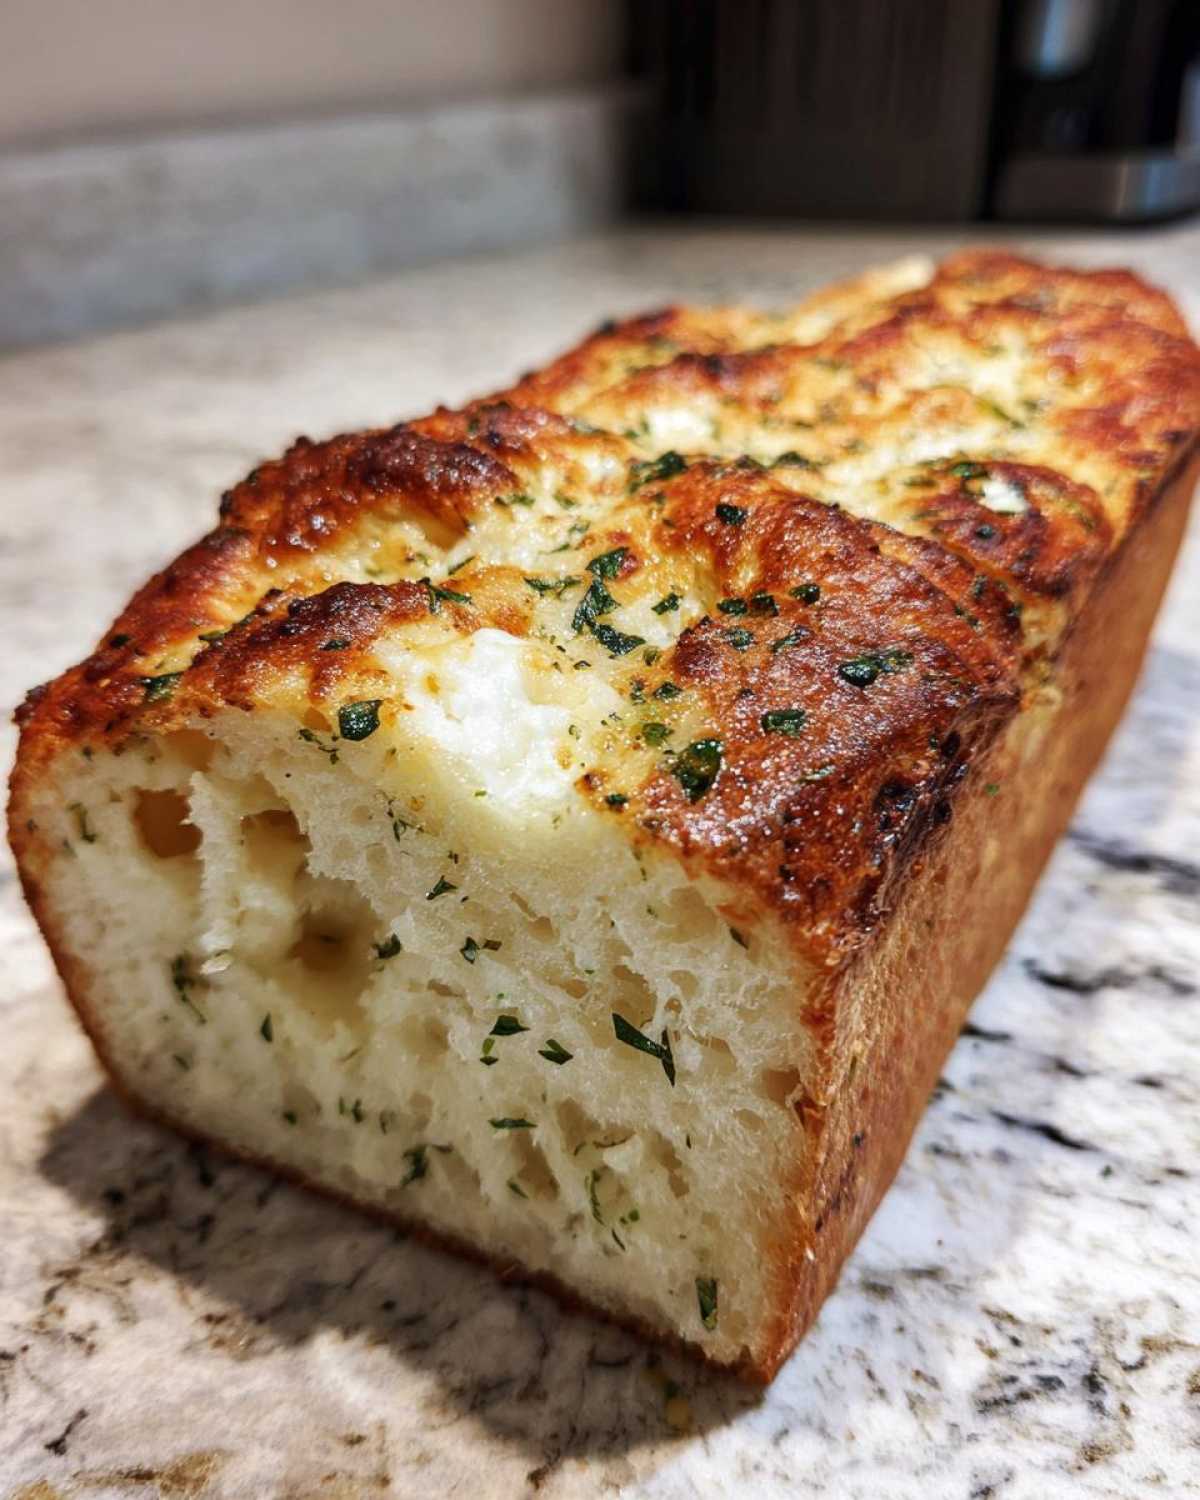
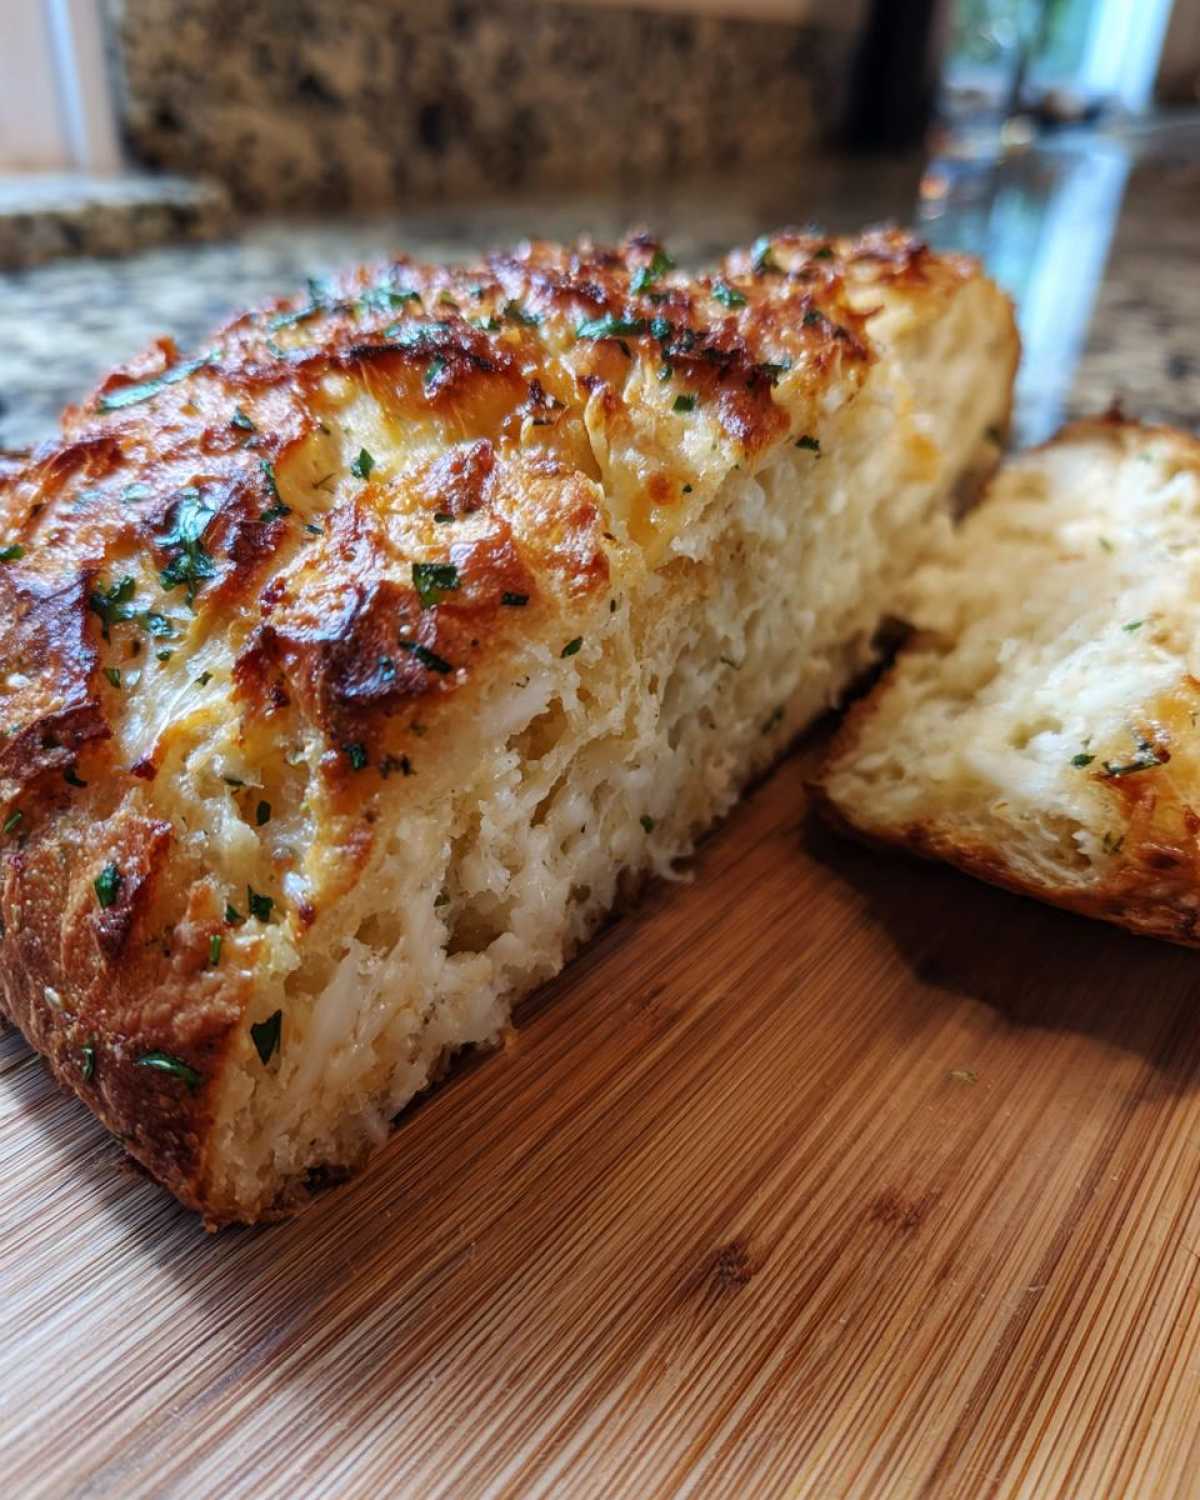
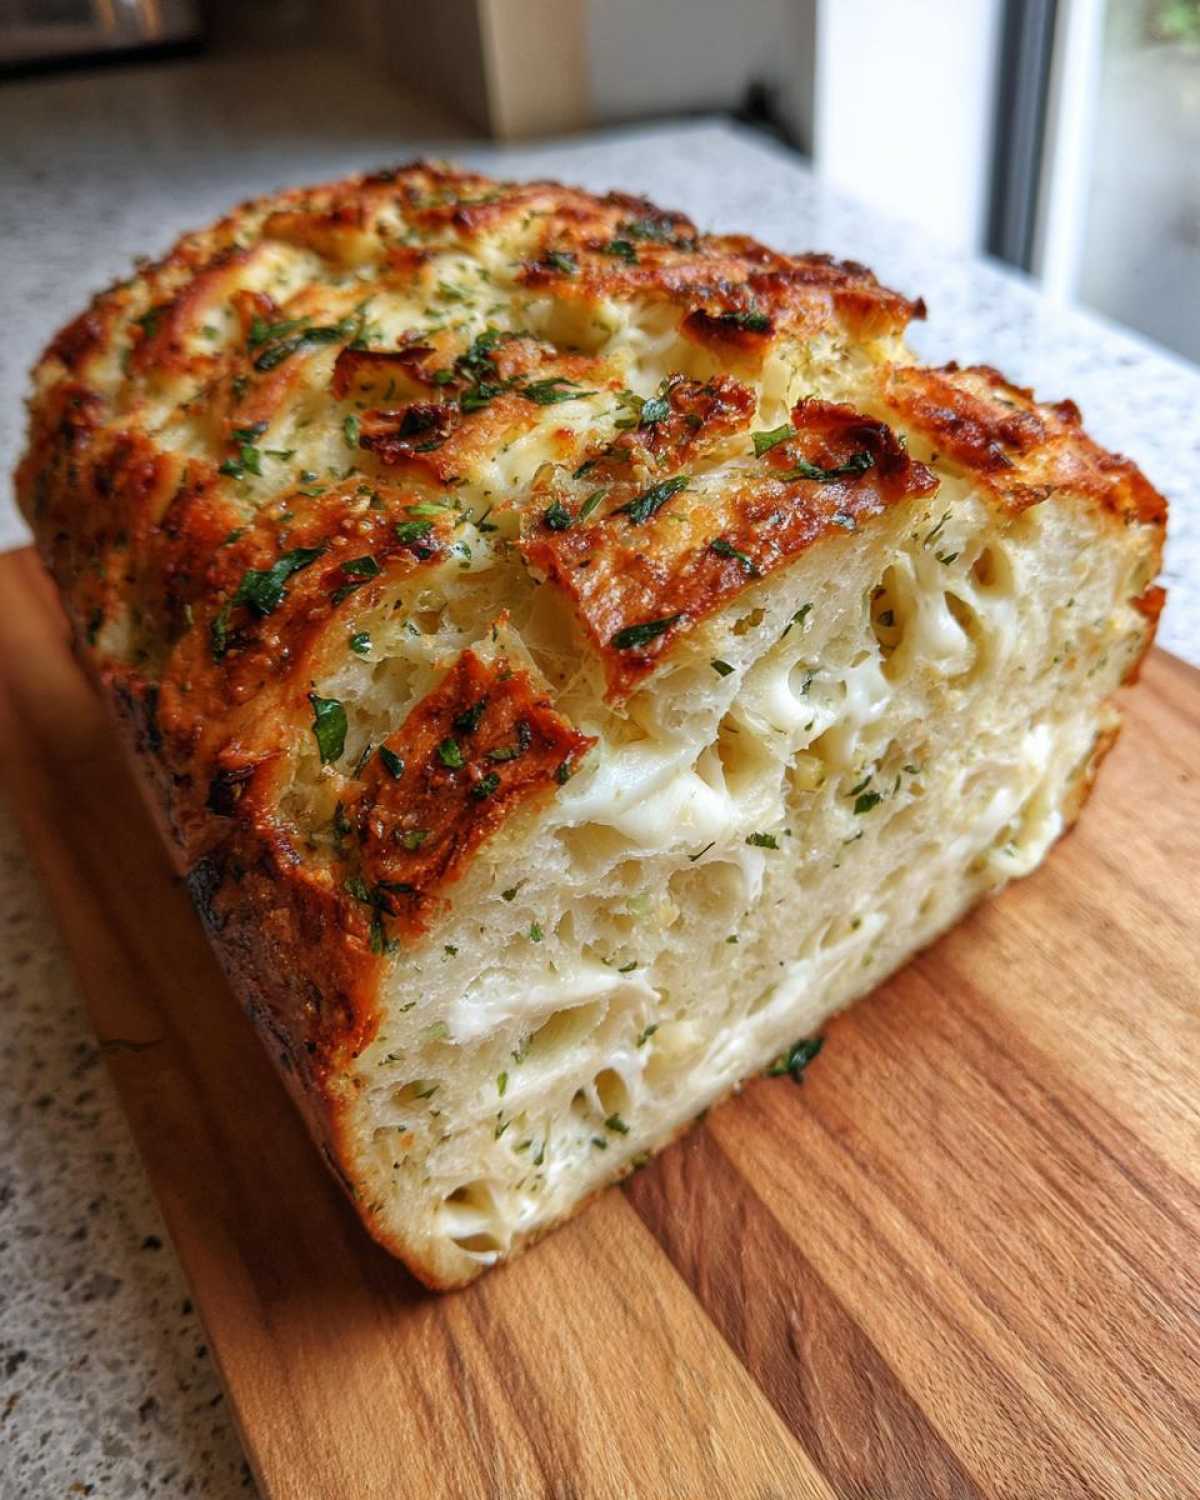
When you pull this out, you’ll notice it has that lovely dense chew you want in a savory bread. That’s the magic of using bread flour and the consistent temperature control of the machine. It bakes up beautifully without collapsing, meaning you get an amazing **sandwich loaf** every time. Seriously, the crust gets crisp, but the inside stays wonderfully soft and cheesy—ideal for cutting thick slices!
Gathering Ingredients for Your Parmesan Herb Bread
Okay, gathering ingredients for this **Italian herb and cheese bread** is the easiest part, but the order you put them in the pan matters! Elias always triple-checks this step because he knows that if the yeast touches the salt too early, we’ll end up with a sad, flat loaf. We need high-quality bread flour here—it gives us that necessary gluten structure to support all that delicious cheese. Pay special attention to dividing that Parmesan; we need some to dissolve into the dough and some for a cheesy topping later!
Ingredient Notes and Substitutions for Cheesy Dinner Bread
Let’s talk flour for a minute. Please, please use **bread flour** if you can! All-purpose works in a pinch for a **beginner bread machine** recipe, but bread flour gives this **cheesy dinner bread** the strong structure it needs to hold up when loaded with cheese. Also, those dried herbs—Italian seasoning is great, but if you have fresh rosemary and oregano kicking around, swap them in! Use about a tablespoon of each, chopped fine. Fresh smells incredible when it bakes.
Step-by-Step Instructions for Perfect Italian Herb and Cheese Bread in the Machine
Alright, let’s get baking! This part is where the machine does the heavy lifting, but following these steps in order ensures the chemical reactions happen correctly. First things first: grab your warm water—it needs to be around 105 to 115°F. If it’s too hot, it kills the yeast; too cold, and nothing happens! Always put the liquid ingredients, like the water and olive oil, in the pan first. Then, heap your flour, salt, and sugar on top, making sure the salt doesn’t soak the liquid yet, because that makes the yeast cranky!
Next, carefully make a little divot right in the flour mound and drop your yeast right in there. It needs that flour barrier! Once it’s all loaded up, set your cycle and let the machine work through the first mix. Don’t start guessing where to add stuff—your machine has specific beeps for this!
Selecting the Right Bread Machine Cycle for Herb Bread
For this savory, cheesy loaf, we stick to the standard **Basic White cycle**. Seriously, that’s all you need for this perfect **bread machine herb bread**. Make sure you choose a light or medium crust setting; we don’t want it too dark since it’s already got cheese browned on top. Keep an ear out for that first mix-in beep—that’s when the seasonings go in so they get kneaded throughout the dough evenly!
The Crucial Cooling Phase for Your Italian Cheese Bread
When that final, glorious beep sounds, hustle! Carefully remove the pan—it’s hot! Turn the loaf out onto a cooling rack immediately. This is where you grab that last bit of Parmesan we set aside, and sprinkle it right over the warm top. The residual heat melts it just slightly, locking in that cheesy flavor. Resist the urge to slice immediately, though! You HAVE to let this **Italian cheese bread** cool completely before you cut into it. Cutting it hot means mushy insides!
Tips for Success with Garlic Herb Bread
Even the best **easy bread machine recipes** can hit a snag if the environment isn’t quite right, especially when you’re first getting the hang of it as a **beginner bread machine** baker. If your machine allows a pause after the first 5-10 minutes of mixing, listen to Elias and give the dough a quick peek. You want a soft, slightly tacky ball—not a sticky, wet mess. If it looks too dry, add a teaspoon of water; too wet, add a tiny spoonful of flour.
Now, what if you forgot to wake up your yeast or your water was the wrong temp and nothing happened? Don’t panic! If the dough hasn’t risen at all after the first full cycle, you can try selecting the Dough Cycle immediately afterward, just to give the yeast a warm environment to wake up, and then bake it manually, like we talk about below. A little troubleshooting goes a long way in the kitchen! You can see more of our general troubleshooting adventures over on our blog.
Making This Recipe Without a Bread Machine
So, what if you don’t have a machine but you still desperately need some **rosemary oregano bread** in your life? Don’t you worry one bit! You can absolutely make this savory loaf by hand or using the Dough cycle on your machine, and then finish it in the oven. Just follow the ingredient loading steps exactly as written, but select the ‘Dough’ cycle instead of Basic White.
When that dough cycle finishes kneading and has done its first rise, punch the dough down gently. Form it into a nice log shape and tuck it into a greased and floured 9×5 inch loaf pan. Pop that into a preheated 375°F oven, and let it bake for about 30 to 35 minutes. It comes out smelling just as heavenly!
Storage and Reheating Instructions for Your Cheesy Dinner Bread
This amazing **Italian herb and cheese bread** is truly best eaten the day it’s made, but we know that never happens with a whole loaf! If you have leftovers, don’t try to save them in the fridge right away—that always makes bread go stale faster. Instead, wrap the cooled loaf tightly in plastic wrap and store it in an airtight container on the counter. It stays wonderfully soft for up to three days, perfect for lunch!
When you do want to eat those slices later, just give them a quick refresh. A light spritz of water or a dab of butter before popping it into a toaster oven sets everything right again. You get that soft chew inside and a little bit of that crisp crust back. That’s how we enjoy our **cheesy dinner bread** on day two!
Frequently Asked Questions About Our Italian Herb and Cheese Bread
Can I substitute regular all-purpose flour for bread flour in this recipe?
You absolutely can if you need to, especially if you’re looking for some quick **easy bread machine recipes** without running to the store! Just know that bread flour has higher protein, which helps develop the gluten structure needed to support all that cheese without collapsing. If you use AP flour, your **Italian herb and cheese bread** might be a little softer and maybe crumble slightly more when sliced, but it will still taste amazing!
If I don’t have the Italian seasoning blend, what herbs should I use?
This is a fun moment to customize your loaf! If you don’t have the full blend, focus on what you love most. I’d suggest leaning heavily into dried oregano and dried basil—maybe a teaspoon of each. A pinch of dried thyme really brings out that classic savory characteristic. This is how you turn it into your own special **parmesan herb bread**!
Is this recipe too complicated for a first-time bread machine user?
Oh, definitely not! This is why we developed it this way. This is honestly one of the calmest things you can attempt as a **beginner bread machine** user. The most important thing you have to remember is the loading order—liquids first, yeast last, sitting on top of the flour mound. As long as you follow that sequence, the machine handles all the hard work!
Does this bread freeze well for later?
Yes, it freezes surprisingly well because of the oils and the cheese, which help protect the crumb! Once the loaf is completely cool, slice it up first. Then, you can freeze the plain slices (without the topping Parmesan) in a heavy-duty zip-top bag. When you want a slice later, just pop it right from the freezer into the toaster for a quick, warm treat.
Estimated Nutritional Data for One Slice
Now, I know some of you are watching macros or just curious about what’s in this dreamy **cheesy dinner bread**! Since this recipe is full of olive oil and Parmesan, it’s more robust than a simple white loaf. Please keep in mind these numbers are just estimates based on the general ingredients we use. The specifics of your flour, oil, and cheese brands can change things a bit, so take these figures as a great guideline rather than gospel. You can check out our standard disclaimer to see more about how we calculate these for you here: You can read more detail on our nutritional methodology here!
- Serving Size: 1 slice
- Calories: 150
- Sugar: 2g
- Sodium: 300mg
- Fat: 5g
- Carbohydrates: 24g
- Protein: 5g
Share Your Homemade Bread Machine Herb Bread Experience
I am so eager to hear how your **bread machine herb bread** turned out! Did Elias approve of your timing on the mix-ins? Please leave a comment below telling me if this became your new favorite savory **sandwich loaf**. If you snapped a picture of your beautiful, cheesy top layer, definitely share it on social media so Elias and I can see your lovely baking success!
PrintEasy Italian Herb and Cheese Bread for Your Bread Machine
Make a flavorful Italian herb and cheese bread loaf right in your bread machine. This recipe is simple for beginners and yields a perfect sandwich loaf.
- Prep Time: 10 min
- Cook Time: 3 hr 30 min (machine cycle time)
- Total Time: 3 hr 40 min
- Yield: 1 loaf
- Category: Baking
- Method: Bread Machine
- Cuisine: Italian
- Diet: Vegetarian
Ingredients
- 1 1/2 cups warm water (about 105-115°F)
- 2 tablespoons olive oil
- 3 cups bread flour
- 1 1/2 teaspoons salt
- 2 tablespoons granulated sugar
- 1 1/2 teaspoons active dry yeast
- 1 tablespoon dried Italian seasoning blend
- 1 teaspoon garlic powder
- 1/2 cup shredded Parmesan cheese, divided
- 1/2 cup shredded mozzarella cheese
Instructions
- Add the warm water and olive oil to the bread machine pan in the order recommended by your machine’s manual.
- Add the bread flour, salt, and sugar on top of the liquid. Create a small well in the center of the flour.
- Add the yeast to the well. Do not let the yeast touch the salt or liquid yet.
- Select the basic white bread cycle (or the whole wheat cycle if your machine does not have a specific herb setting). Select a light or medium crust setting.
- When the machine signals the addition of mix-ins (usually during the kneading phase), add the dried Italian seasoning and garlic powder.
- When the machine signals the second addition of mix-ins (usually before the final rise), add 1/4 cup of the Parmesan cheese and all of the mozzarella cheese.
- Allow the bread machine to complete the full cycle.
- Once the cycle is finished, carefully remove the bread pan and turn the loaf out onto a wire rack.
- Sprinkle the remaining 1/4 cup of Parmesan cheese over the top of the hot loaf.
- Let the bread cool completely on the rack before slicing for the best sandwich loaf texture.
Notes
- For the best flavor, use fresh herbs if you have them, increasing the amount to 1 tablespoon each of chopped fresh rosemary and oregano.
- If you do not have a bread machine, you can use the dough cycle and then bake the loaf in a 9×5 inch pan at 375°F for 30-35 minutes.
- Store leftover cheesy dinner bread in an airtight container at room temperature for up to three days.
Nutrition
- Serving Size: 1 slice
- Calories: 150
- Sugar: 2
- Sodium: 300
- Fat: 5
- Saturated Fat: 2
- Unsaturated Fat: 3
- Trans Fat: 0
- Carbohydrates: 24
- Fiber: 1
- Protein: 5
- Cholesterol: 8