

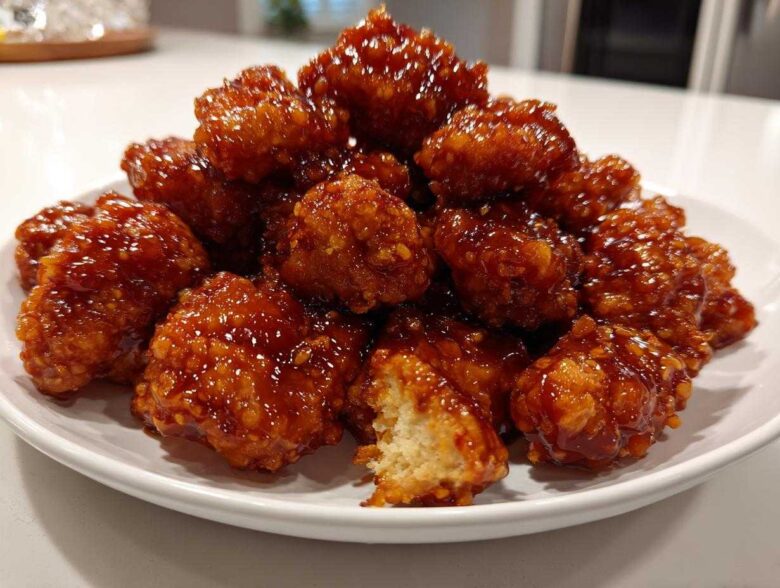
Oh my gosh, you know those nights, right? You’re staring into the fridge, and all you can think about is that perfect combination of sticky, tangy sauce coating super-crispy chicken bites? I used to cave and call for takeout every single time, but not anymore! I spent way too many evenings fiddling with the flavors, but I finally cracked the code. Forget the delivery guy; this is the ultimate, 30-Minute **orange chicken recipe** you need in your weeknight rotation. I seriously tested the sauce balance—sweet versus tart—at least seven times until it was absolutely perfect. Trust me, once you make this, you’ll never look back. If you want to dive even deeper into making this better-than-takeout-orange-chicken, check out my deep-dive post!
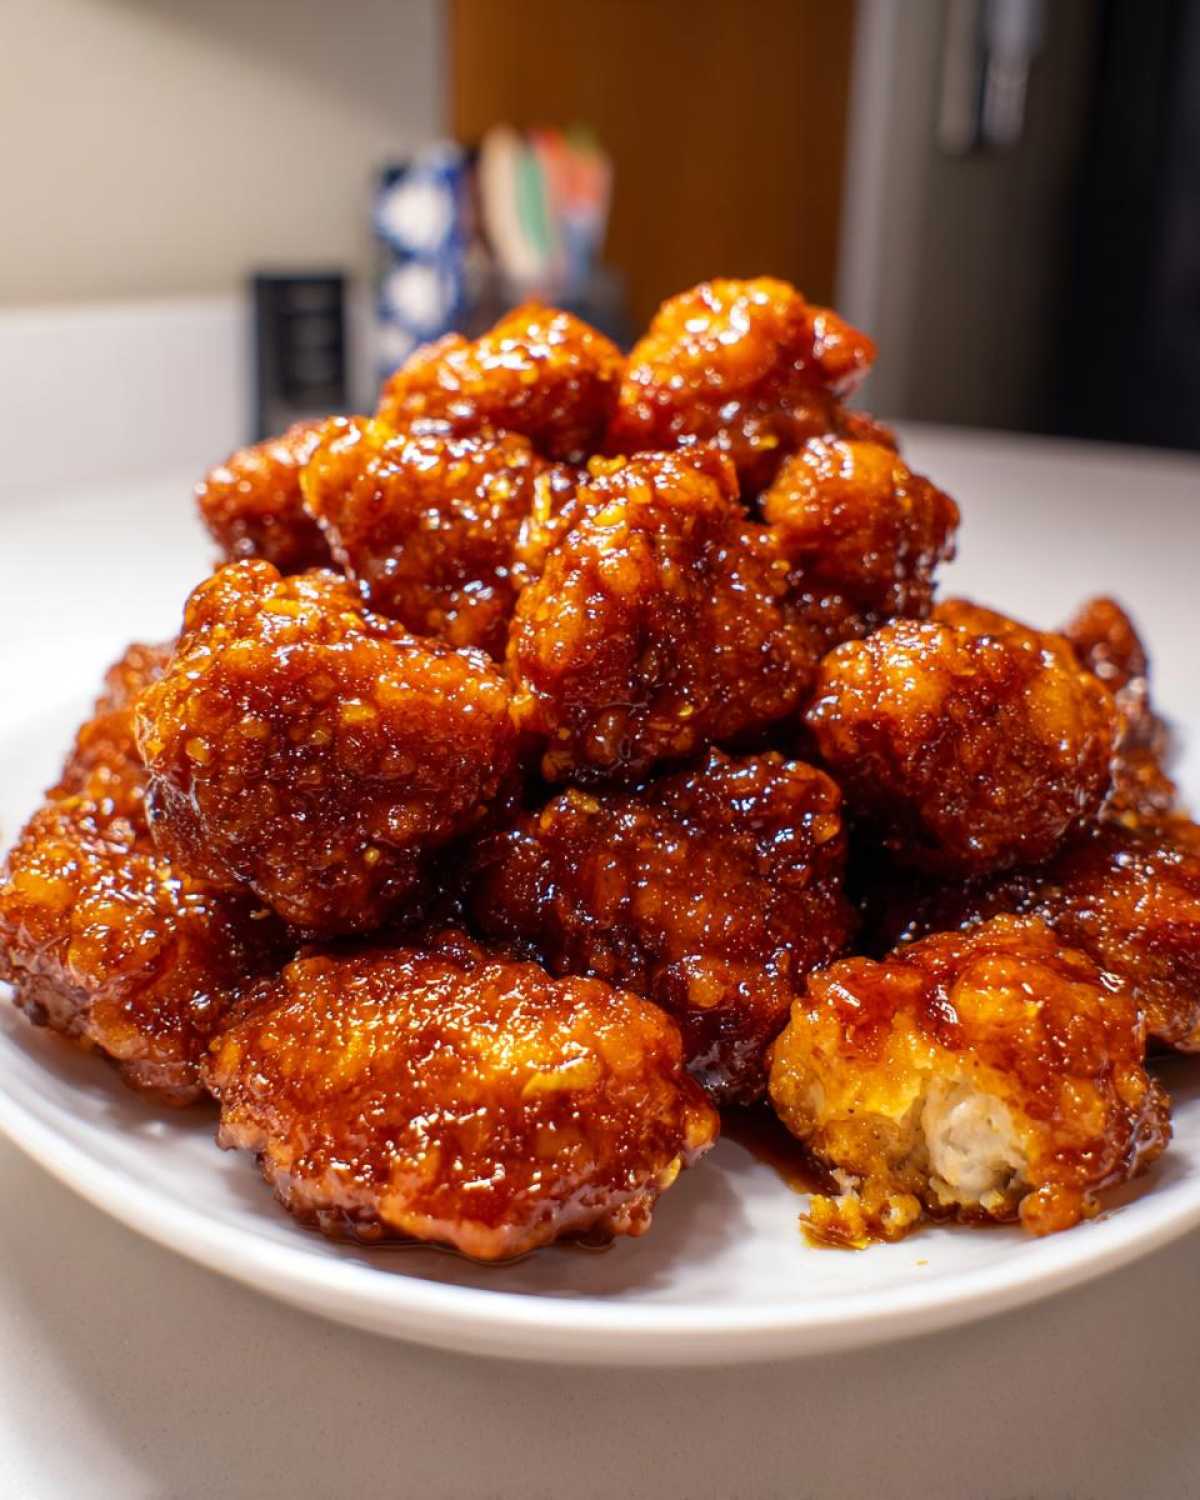
Why This Crispy Orange Chicken Recipe is Better Than Takeout
Honestly, I’m a huge fan of Chinese American food, but I swear, some takeout spots just can’t get that texture right. They either give you soggy chicken or the sauce is just way too sweet. That’s why I developed this version; we want perfectly crisp exteriors on those juicy chicken bites, not rubbery chunks! We’re aiming for **Better Than Panda Express Chicken** flavor here, which relies 100% on balancing our sauce and getting that initial fry right. It’s just a completely different experience when you make it fresh at home.
Achieving the Perfect Sweet Tangy Orange Sauce
The sauce is where the magic happens, and you need balance, not just sugar. I rely heavily on fresh orange juice and a generous amount of zest to cut through the sweetness from the granulated sugar. The rice vinegar brings that essential tang that lights up the whole dish. When it starts simmering, you can smell the brightness immediately—it’s incredible!
The Secret to Crispy Orange Chicken Recipe Coating
Don’t skip the dredge! It looks like a lot of ingredients, but mixing the flour and cornstarch is non-negotiable for that crunch we crave. The cornstarch is the key player here; it helps set the crust quickly when it hits the hot oil. You just want a nice, even coat on every piece, shaking off the excess so it fries up light and shatteringly crisp.
Gathering Ingredients for Your Orange Chicken Recipe
Okay, let’s get organized, because this **orange chicken recipe** moves fast once you start cooking! Having everything measured and ready before you turn on the stove is half the battle, especially since we’re aiming for a sticky orange glaze in under thirty minutes. You’ll need your chicken, the dredging stuff—flour and cornstarch—and then the beautiful sauce components. Don’t skip preparing that slurry ahead of time; it’s crucial for that final glossy texture! I always lay everything out on my counter so I can just grab and toss.
Ingredient Notes and Substitutions for this Orange Chicken Recipe
If you want the juiciest bites possible, I wholeheartedly recommend using chicken thighs instead of breasts. They just hold up so much better when you’re frying them. Now, about the juice: using fresh orange juice is always my go-to; the brightness is unmatched! If you’re in a major pinch, bottled 100% juice works, but you might need an extra sprinkle of zest. And those little red pepper flakes? Only add them if you like a tiny bit of heat to offset the sweetness. They are totally optional!
Step-by-Step Instructions for the 30 Minute Orange Chicken Recipe
Alright, focus up, because this is where we turn raw ingredients into crispy gold! We’re following a strict four-part plan for this **quick chicken dinner**. First, we coat the chicken perfectly. Make sure those pieces are fully patted dry before they even look at the egg wash! Then, we hit the hot oil. You absolutely must work in batches when you pan-fry; if you crowd the pan, the temperature drops, and you end up steaming your chicken instead of crisping it. Fry those gorgeous coated pieces for just 3 to 4 minutes per side until they look perfectly golden, then pull them out. While that’s going on, get your sauce ingredients simmering away until it starts to smell incredible!
Once the chicken is set aside, lower that heat—we don’t want the sauce to burn while we thicken it. Pour in the slurry and stir like crazy until it transforms into that beautiful thick, sticky orange glaze. The moment it gets glossy, toss your crispy chicken back in and gently fold everything together so every single bite is coated. Remember, we’re doing this right at the end so the coating stays intact!
Cooking Methods: Pan-Frying vs. Air Fryer Orange Chicken Recipe
Look, I know pan-frying isn’t everyone’s jam, and if you’re trying to keep the mess down, I totally get it. If you skip the oil bath, you can totally make this an **Air Fryer Orange Chicken recipe**! Once the chicken is dredged, toss the pieces lightly with a spray oil and cook them in your air fryer basket at about 380°F (195°C) for around 10 to 12 minutes. Remember to shake the basket halfway so they brown evenly.
If the oven is your preferred method, toss the coated chicken on a parchment-lined baking sheet and bake at 400°F (200°C) for about 15 minutes total, making sure you flip them halfway through. That baking method works great, but honestly, the air fryer gives the absolute best imitation of deep-fried crunchiness when you’re looking for an alternative!
Tips for Success with Your Homemade Orange Chicken
Listen, the difference between killer **orange chicken recipe** and a sad, mushy mess is all in the timing. My number one rule is: DO NOT sauce the chicken until the absolute last second. Seriously, keep those perfectly fried pieces on paper towels until your sauce is glossy, thick, and ready to go right into the pan. If you douse them too soon, that gorgeous coating turns to mush, and we can’t have that!
Also, remember that very first fry? Make sure that oil is hot—I mean really hot, shimmering hot! High heat seals the crust almost instantly, which traps the juices inside, giving you those amazing **juicy chicken bites**. It’s loud and probably splatters a bit, but that noise means you’re doing it right. And when you add that cornstarch slurry to the sauce? Make sure it boils for a full minute until it thickens up; that ensures the starch cooks out and you get that beautiful, clear, sticky finish we’re aiming for. For more tips that will really break Pinterest, check out my genius advice post!
Serving Suggestions for this Quick Chicken Dinner
So, you’ve nailed the chicken and the sauce—fantastic! Now, what do we put this amazing **Quick Chicken Dinner** next to? I always default to simple pairings because this orange flavor is the star. You absolutely need some fluffy white rice to soak up all that extra sticky glaze that drips off—don’t waste a drop!
Steamed broccoli is my non-negotiable vegetable side; the slight bitterness balances the sweet citrus perfectly. If you’re feeling ambitious, whipping up a batch of cauliflower fried rice instead of plain rice is a great way to sneak in more veggies too. Simple, fresh, and totally ready in minutes!
Storage and Reheating Instructions for Leftover Orange Chicken Recipe
Even though this **orange chicken recipe** begs to be eaten immediately, sometimes we end up with leftovers, and that’s okay! The biggest thing you need to know is that once that crispy chicken is tossed in that sticky sauce, the crispiness starts saying goodbye—fast. If you think you’ll have extras, try keeping the sauced chicken and the extra sauce stored separately in airtight containers.
When you want to reheat it the next day, forget the microwave; that’s just guaranteed sogginess! Instead, I pop the pieces onto a baking sheet and heat them in the oven at 350°F (175°C) for about eight minutes. If the sauce is separate, warm it gently in a skillet first, then toss the reheated chicken in just before serving. It brings back most of that wonderful texture!
Frequently Asked Questions About the Orange Chicken Recipe
Can I make this gluten-free?
That’s a great question, especially if you’re cooking for friends with sensitivities! Yes, you absolutely can turn this into an amazing **Homemade Orange Chicken** that’s gluten-free. You’ll need to swap out the regular all-purpose flour for a gluten-free flour blend or just use extra cornstarch in your dredge. Also, make sure you substitute regular soy sauce with tamari or a certified gluten-free soy sauce so the sauce stays safe. The rest of the recipe—the juice and sugar—is naturally safe!
How do I make this spicier?
If you like a real kick, I’ve got you covered! The recipe calls for 1/4 teaspoon of red pepper flakes, which gives it just a nice little background warmth. If you want this to be truly spicy, double that amount right in the sauce mixture. Or, for some real honest heat, slice up a fresh bird’s eye chili and toss it into the pan along with the garlic and ginger when you start building the sauce. That way, you get that upfront Asian heat we love!
Can I meal prep the chicken ahead of time?
This is where things get tricky because of the crispiness factor. For the best results in this **30 Minute Orange Chicken**, you shouldn’t sauce the chicken until you are ready to eat it, or it will get soggy. If you want to prep ahead, cook the chicken pieces fully (either pan-fried or air-fried) and store them separately from the orange sauce. You can store them in airtight containers or even prep them nicely for lunches! Check out my tips on teriyaki chicken meal prep bowls for storing pre-cooked protein the right way!
Nutritional Estimates for This Family Favorite Chicken
I know some of you watch the numbers, so here’s a look at what you can expect from this delicious **Family Favorite Chicken**. These numbers are just estimates, mind you—they can change based on whether you use chicken thighs or breasts, or exactly how much glaze sticks to the bowl! These estimates are based on one serving size, served without the rice or broccoli.
- Calories: Roughly 450
- Protein: A hearty 38g
- Fat: Around 12g
- Sugar: About 35g (it’s worth it!)
Just remember, because we’re making this from scratch, we know exactly what went into it, which is always better than those mystery containers! Consider this your healthier, homemade win.
Share Your Best Orange Chicken Recipe Experience
Okay, now it’s your turn! I just know you’re going to love this **orange chicken recipe**, but I want to hear what you think! Did you try any fun modifications, like adding extra ginger or maybe making it totally egg-free? Let me know in the comments below, and please, please rate the recipe if it made it onto your table. And if you snap a picture of that amazing sticky glaze, tag me over on the blog—I love seeing what you’re cooking up!
Print30-Minute Crispy Homemade Orange Chicken

Make crispy, tangy, and sweet orange chicken at home in under 30 minutes. This recipe delivers better-than-takeout flavor with juicy chicken pieces coated in a sticky glaze.
- Prep Time: 10 min
- Cook Time: 18 min
- Total Time: 28 min
- Yield: 4 servings
- Category: Dinner
- Method: Pan-Frying
- Cuisine: Chinese American
- Diet: Low Fat
Ingredients
- 1.5 lbs boneless, skinless chicken breasts or thighs, cut into 1-inch pieces
- 1 large egg, lightly beaten
- 1/2 cup all-purpose flour
- 1/4 cup cornstarch
- 1/2 teaspoon salt
- 1/4 teaspoon black pepper
- 3 tablespoons vegetable oil (for pan-frying)
- 1 cup fresh orange juice
- 1/2 cup granulated sugar
- 1/4 cup rice vinegar
- 2 tablespoons soy sauce
- 1 tablespoon grated fresh ginger
- 2 cloves garlic, minced
- 1 teaspoon sesame oil
- 1/4 teaspoon red pepper flakes (optional)
- 1 tablespoon cornstarch mixed with 2 tablespoons cold water (slurry)
- Zest of 1 large orange
- Cooked white rice and steamed broccoli for serving
Instructions
- In a medium bowl, whisk the egg. In a separate shallow dish, combine the flour, 1/4 cup cornstarch, salt, and pepper.
- Dredge the chicken pieces first in the egg mixture, then coat thoroughly in the flour mixture. Shake off excess coating.
- Heat the vegetable oil in a large skillet or wok over medium-high heat. Add the chicken in a single layer, working in batches if necessary to avoid crowding. Cook for 3 to 4 minutes per side until golden brown and cooked through. Remove the chicken and set aside on a plate lined with paper towels. Drain off most of the excess oil from the skillet, leaving about 1 teaspoon.
- Reduce the heat to medium. Add the orange juice, sugar, rice vinegar, soy sauce, ginger, garlic, sesame oil, and red pepper flakes (if using) to the skillet. Bring the mixture to a simmer, stirring until the sugar dissolves.
- Whisk the cornstarch slurry once more and pour it into the simmering sauce. Stir constantly until the sauce thickens and becomes glossy, about 1 minute.
- Stir in the orange zest.
- Return the crispy chicken pieces to the skillet. Toss gently to coat every piece evenly with the sticky orange sauce.
- Serve immediately over cooked rice with steamed broccoli.
Notes
- For extra crispy chicken without deep frying, you can bake the coated chicken at 400°F (200°C) for 15 minutes, flipping halfway, before tossing in the sauce.
- Air fryer users should cook the coated chicken at 380°F (195°C) for 10 to 12 minutes, shaking the basket halfway through.
- You can substitute chicken thighs for breasts for a juicier result.
Nutrition
- Serving Size: 1 serving (approx. 1/4 of recipe without rice)
- Calories: 450
- Sugar: 35
- Sodium: 550
- Fat: 12
- Saturated Fat: 2
- Unsaturated Fat: 10
- Trans Fat: 0
- Carbohydrates: 48
- Fiber: 1
- Protein: 38
- Cholesterol: 110