

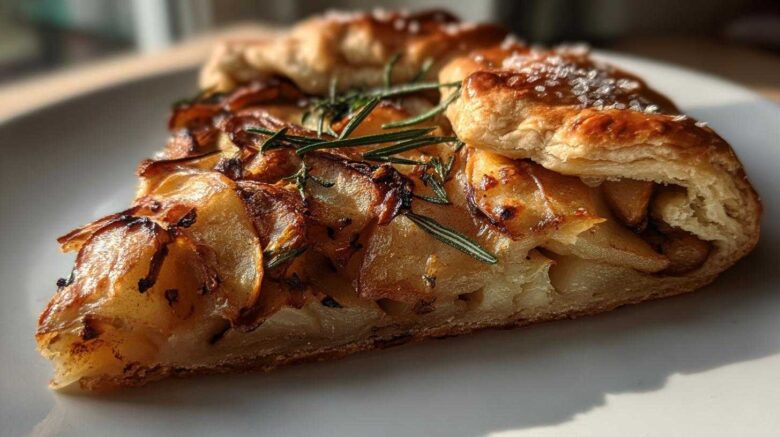
Crafting the Perfect Pear Rosemary Galette: A Rustic Delight
Forget fussy pastry work. We love food that feels honest. That’s the heart of what we do here at Flavor Vista. This recipe is pure joy. It’s about letting beautiful ingredients shine through. We’re making a Pear Rosemary Galette today. It’s a free-form tart. The earthiness of rosemary meets sweet pears. It’s simple elegance on a plate. This dessert proves you don’t need perfection for deliciousness. We focus on flavor, always.
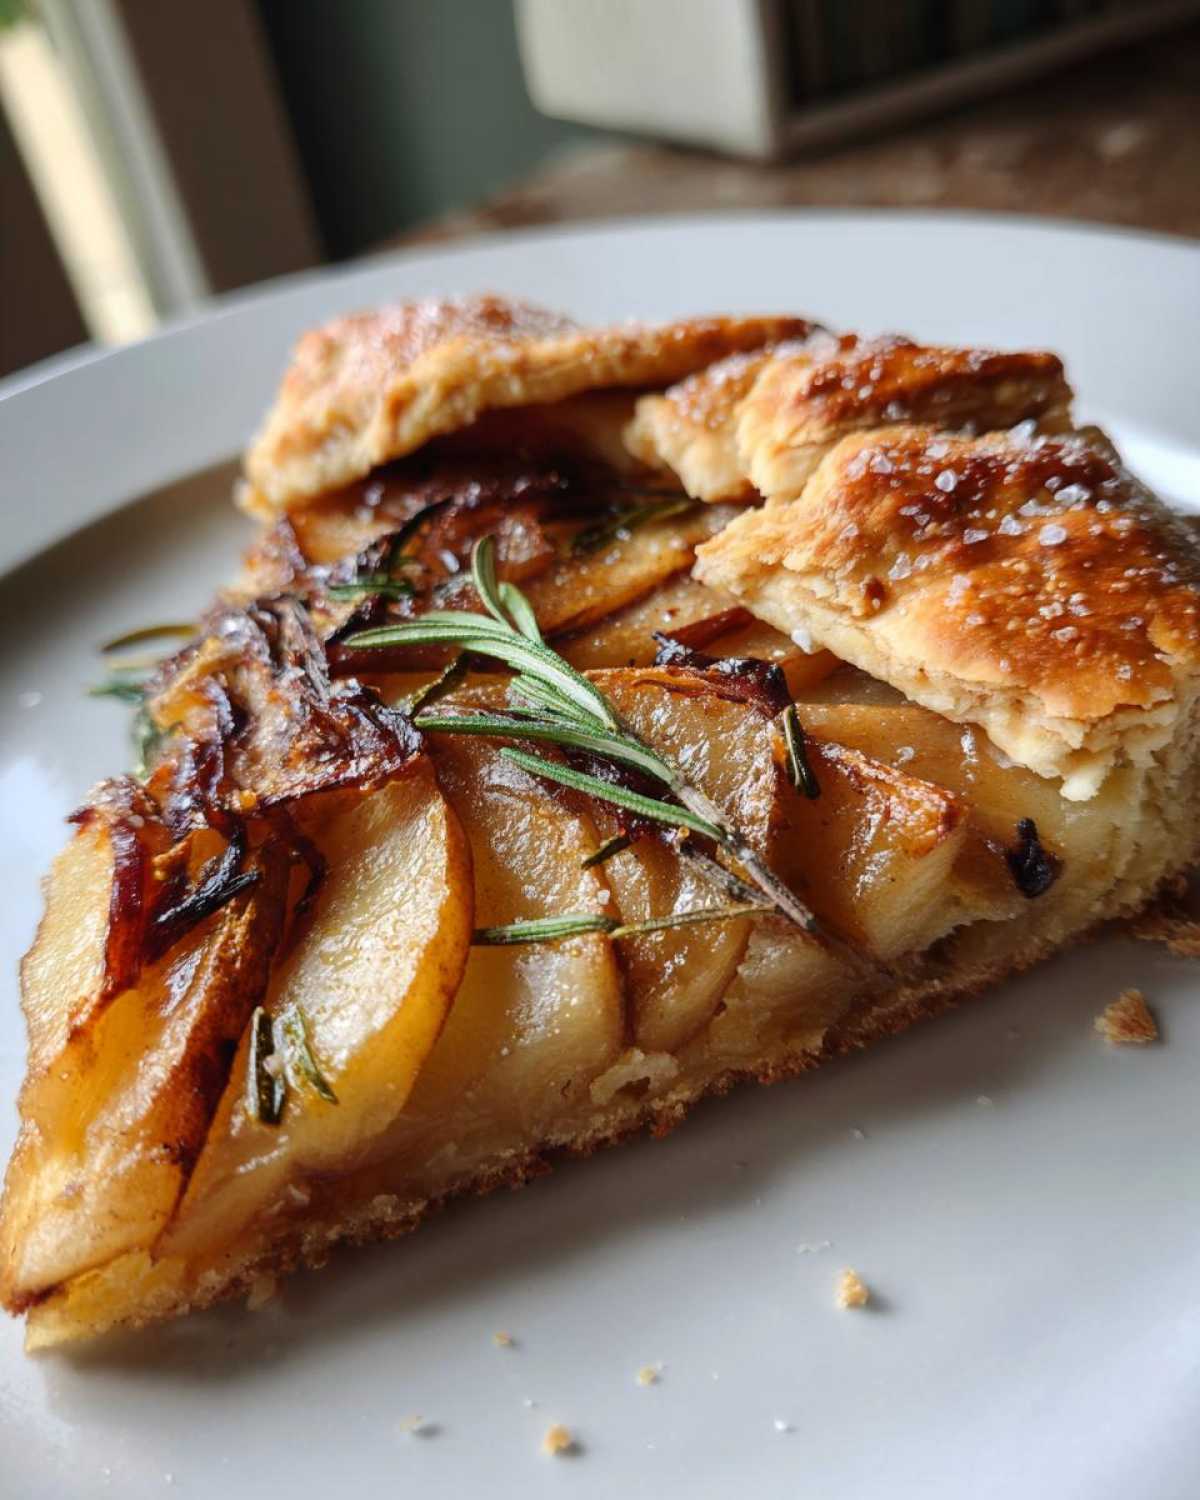
Our Flavor Vista Journey with the Pear Rosemary Galette
Hannah and I built our life on simple meals. Remember that first night cooking mushrooms? That feeling is still here. It shows up in every dish we share. This amazing Pear Rosemary Galette captures that feeling perfectly. It’s rustic, warm, and deeply flavorful. It represents our slow, intentional approach to baking. We hope you feel that spirit when you make it.
Essential Ingredients for Your Pear Rosemary Galette
Gathering your components is the first step. Keep it simple here. We need just a few things for this delicious rustic tart. These ingredients are the stars. They must be good quality items.
Choosing Your Pears and Rosemary
Use pears that are firm but soft. Bosc or Anjou work best for me. They hold their shape while baking. Chop your fresh rosemary finely. Remember, rosemary flavor gets stronger when baked. Start small with the herb amount.
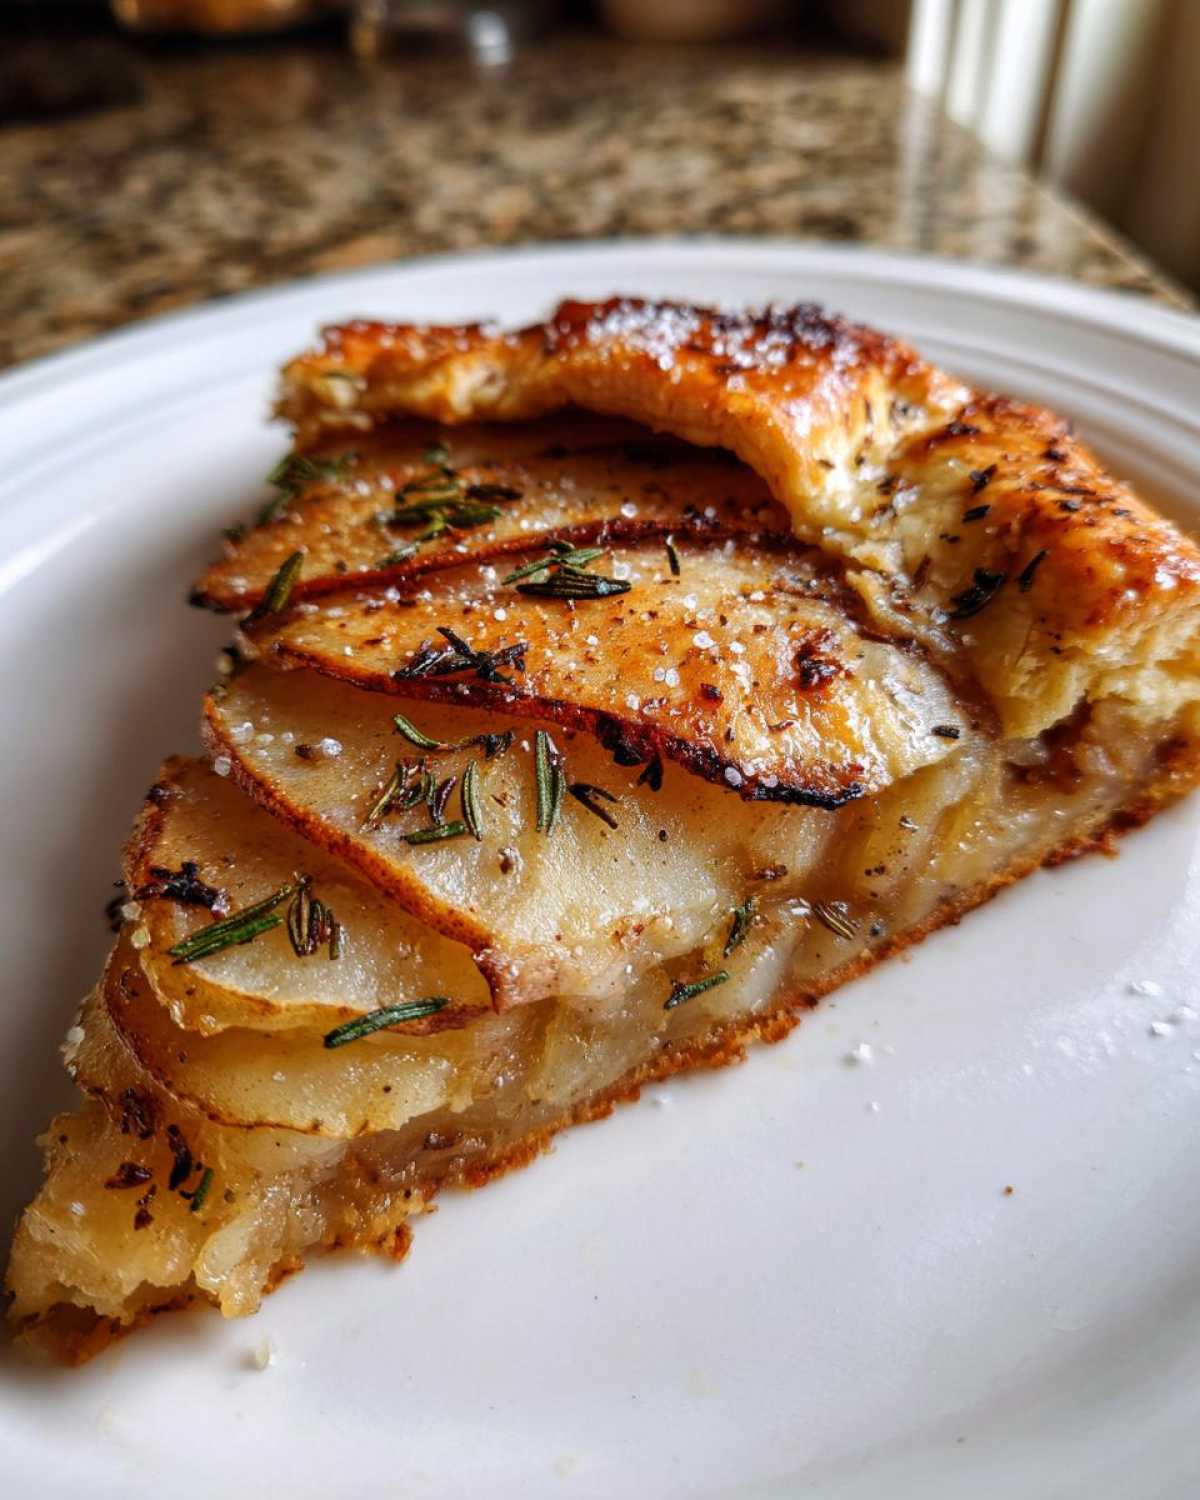
Equipment Needed for the Pear Rosemary Galette
You truly don’t need much gear for this baking project. We keep things simple here. Good tools help, though. You need basic kitchen items only. No fancy gadgets required for this free-form pie.
Preparing Your Baking Surface
Grab a sturdy baking sheet first. Line that sheet well with parchment paper. This stops sticking completely. The paper makes cleanup a breeze later on.
Step-by-Step Instructions for the Pear Rosemary Galette
Now for the fun part. We move from prepping to assembling. This process is very straightforward. Don’t stress about perfect shapes. Rustic means wonderfully imperfect.
Mixing the Pear Filling Components
Get a medium bowl ready now. Place your sliced pears inside it gently. Add the sugar and the flour next. Sprinkle in that finely chopped rosemary. Don’t forget the lemon juice. The juice brightens the pear flavor. Now, toss everything very carefully. You want the pears coated evenly. Be gentle so they don’t break apart easily.
Assembling the Rustic Pear Rosemary Galette
Unroll your pie crust onto the paper. Leave it round or shape it a bit. Think organic, not square. Pile the pear mixture in the center now. Leave a solid two-inch edge all around. This space is crucial for folding later. Fold the dough edges over the filling. Pleat the dough as you go around. This creates that beautiful rustic look. It holds the juices in nicely.
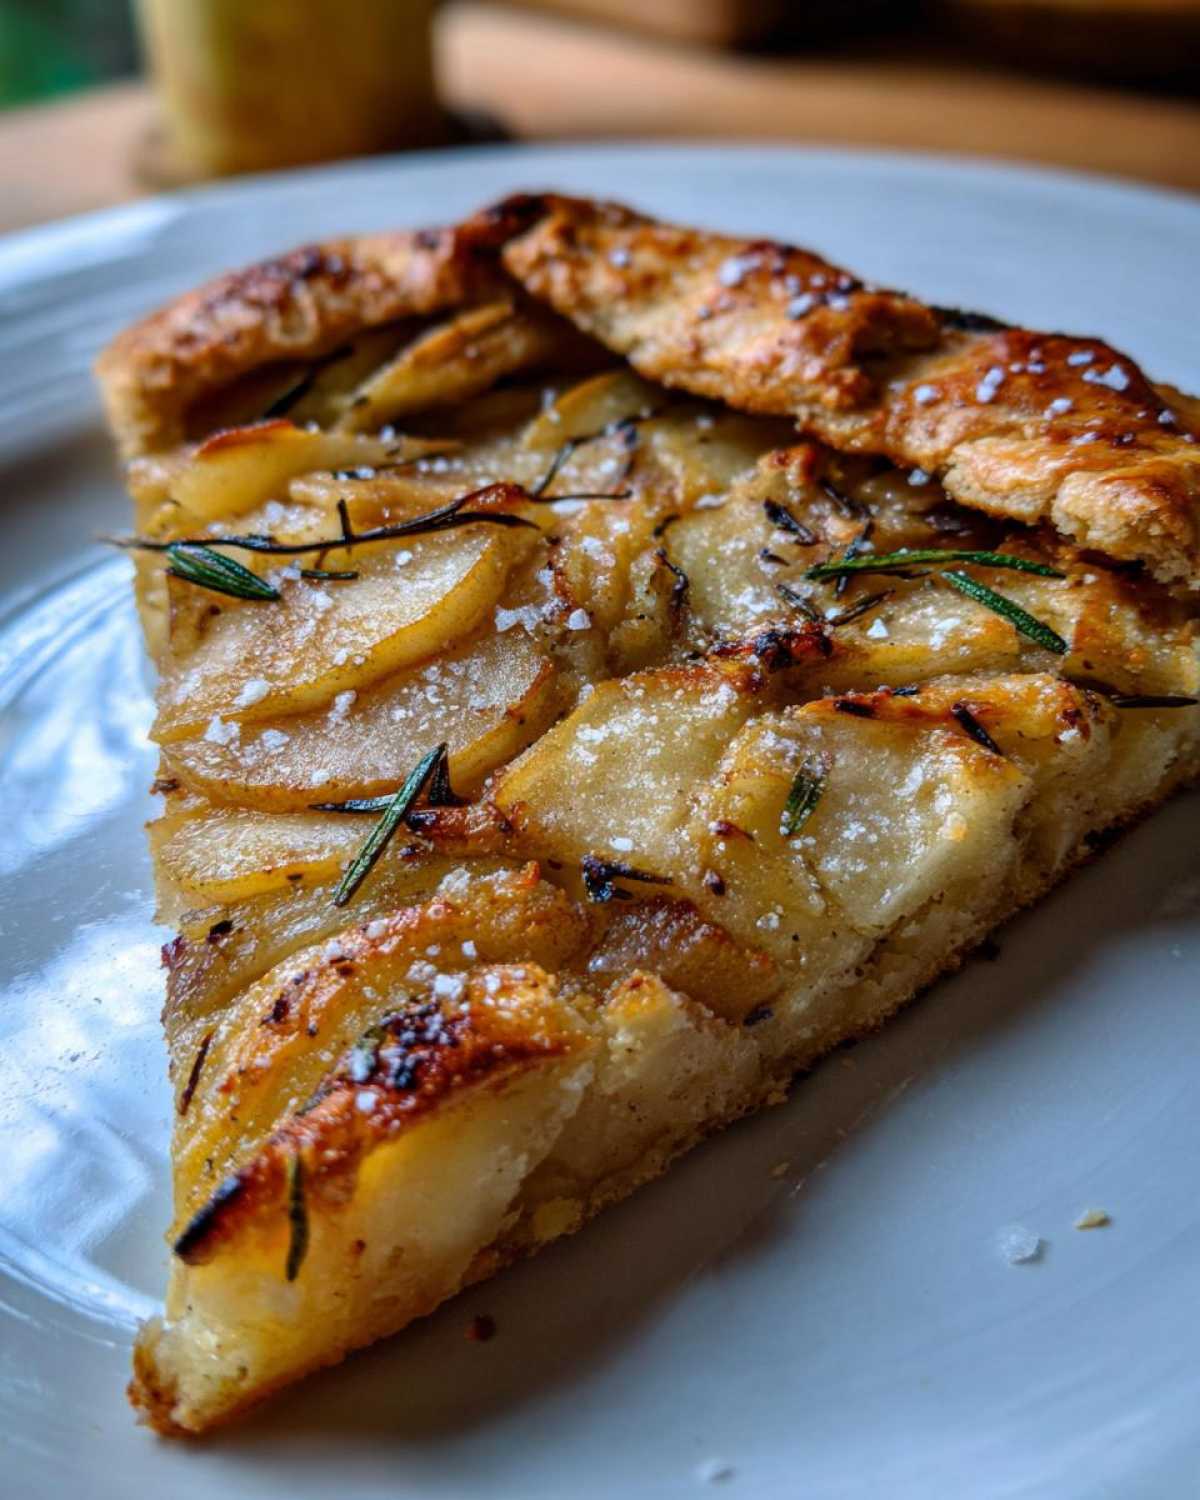
Achieving Golden Perfection: Baking the Pear Rosemary Galette
Brush the folded crust with egg wash now. This gives it that lovely shine. Sprinkle coarse sugar over the crust too. This adds a nice crunch element. Pop the sheet into the 400-degree oven. Bake it for 30 to 35 minutes total. Watch for the crust color. It should be golden brown all over. The filling juices must bubble up nicely. Then, pull it out to rest a bit. Cooling slightly helps the slices stay together.
Tips for a Flawless Pear Rosemary Galette
Baking is all about rhythm, as Elias always reminds me. Getting this pear rosemary galette just right takes a little finesse. We want that crisp bottom crust. We also want the herb flavor to sing, not shout. These small details make a big difference in the final result.
Managing Pear Moisture and Texture
The biggest fear in any fruit tart is sogginess. That bottom crust can get wet fast. The flour we added helps soak up juice. But here is an extra trick. Pat your sliced pears dry first. Use a paper towel to remove extra water. This step prevents a soggy bottom for your rustic tart.
Adjusting Rosemary Intensity
Rosemary is powerful stuff, friends. It smells amazing raw. But baking changes its profile completely. I learned this making my first pear dessert. The flavor deepens and mellows in the heat. If you are nervous, use only half a teaspoon first. You can always sprinkle a tiny bit more on top after it cools.
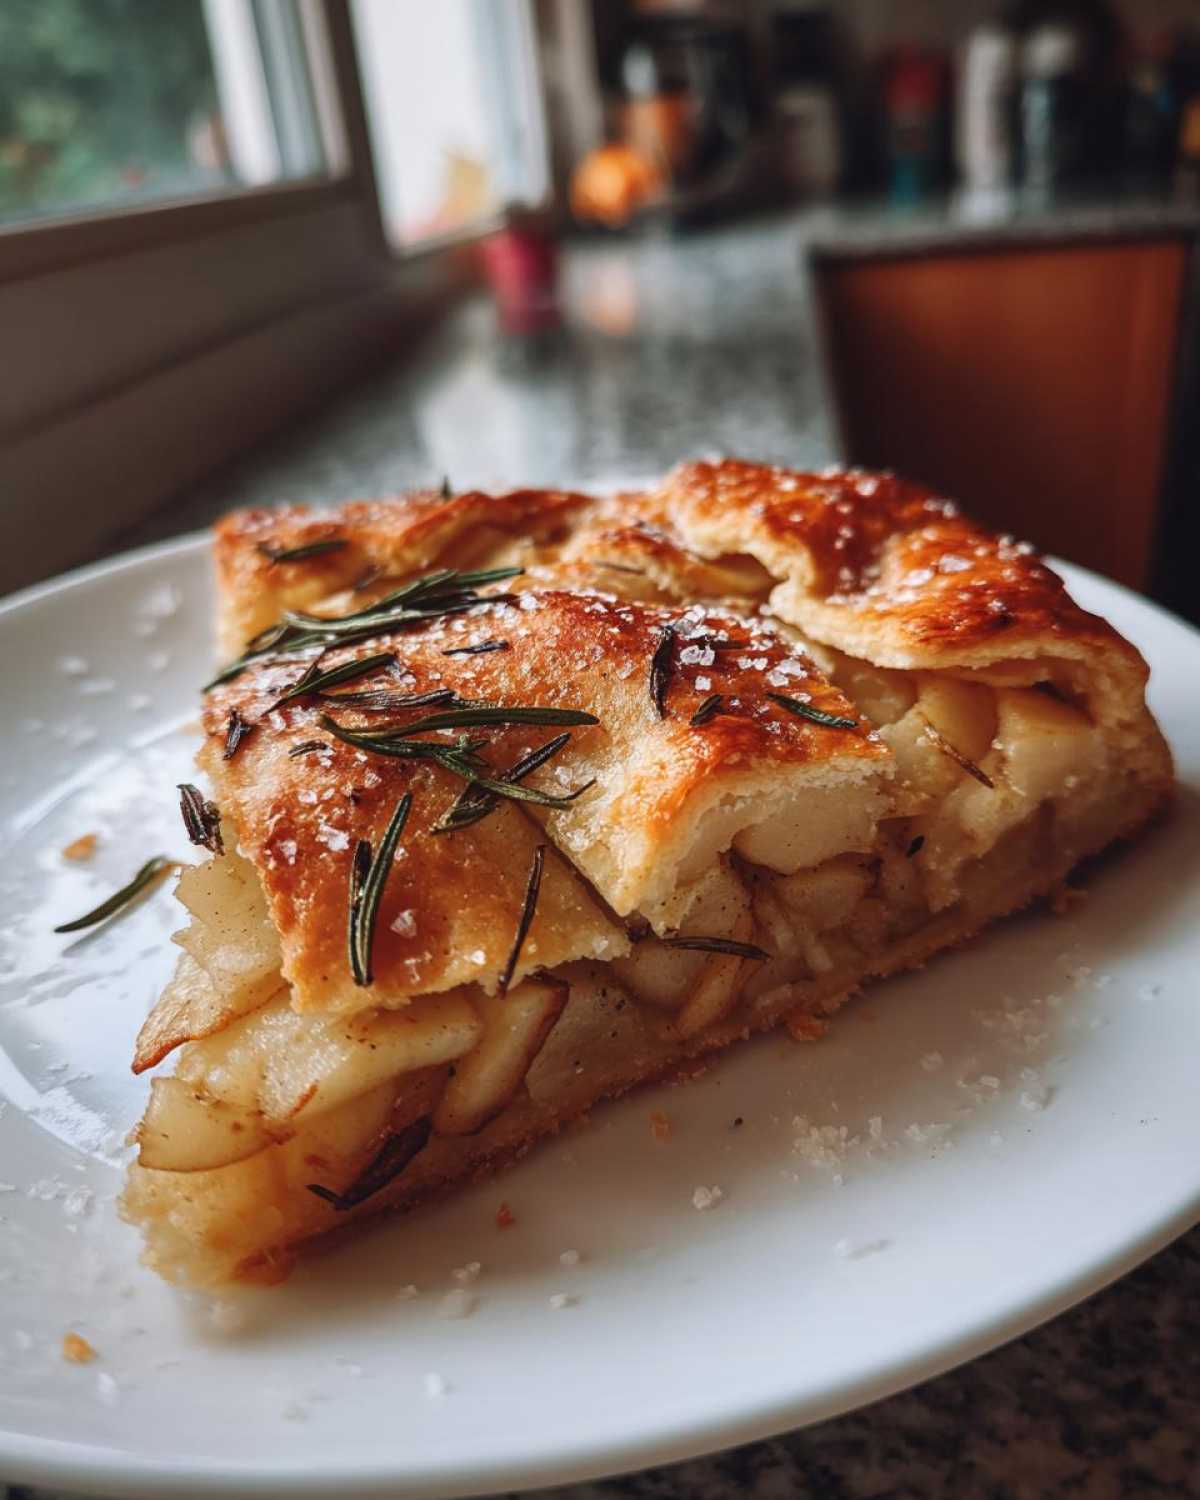
Serving Suggestions for Your Pear Rosemary Galette
This lovely free-form pie needs simple partners. A cool element balances the warm fruit perfectly. I love serving this rustic tart slightly warm. It really lets the rosemary aroma bloom.
- A scoop of vanilla bean ice cream is classic.
- Try a dollop of crème fraîche for tang.
- A drizzle of honey complements the sweetness.
Storing and Reheating Your Pear Rosemary Galette
Leftovers are rare here, honestly. But if you manage to save some, store it right. Keep the galette covered at room temperature. Do this for up to two days maximum. Do not refrigerate it if you can help it. Cold air dries out pastry fast.
To reheat, use a warm oven. A low temperature works best. Set the oven to 300 degrees F. Warm it for about ten minutes. This crisps up the crust again nicely. Enjoy your second helping of that rustic tart.
Frequently Asked Questions About the Pear Rosemary Galette
We get so many questions about this recipe. It’s clearly becoming a favorite! Here are a few things folks ask often. I hope they help your baking go smoothly.
Can I Use Different Fruits in This Pear Rosemary Galette?
Yes, absolutely you can try swaps. This recipe structure works well. Try sliced apples instead of pears. Keep the rosemary in the mix. It pairs wonderfully with Granny Smith apples. For a different vibe, try figs. Figs make a beautiful rustic tart. Just ensure your fruit slices are uniform. Uniform slices cook evenly, which is key.
What Kind of Pie Crust Works Best for a Pear Rosemary Galette?
This is where personal preference shows up. We love using store-bought crust sometimes. It saves time for weeknights. It still gives you that lovely free-form pie result. Homemade crust is richer, of course. Either way works great for this dessert. Just make sure your dough is chilled before folding it.
Estimated Nutritional Snapshot for One Slice of Pear Rosemary Galette
I want to be upfront about nutrition here. Since we use pre-made crusts, these numbers vary wildly. This is just a general idea for one slice. Think of this as a general guide only.
- Calories: Estimate based on crust and fruit content.
- Fat: Varies greatly depending on your crust choice.
- Carbohydrates: Expect this to be moderately high.
- Fiber: You get some good fiber from the pears.
Share Your Flavor Vista Experience
We truly hope you loved making this dessert. Did your Pear Rosemary Galette turn out beautifully? Tell us how it went below. Please rate this recipe for us. Share your rustic tart photos online! If you are looking for more rustic baking inspiration, check out our Heirloom Tomato Galette recipe.
PrintAmazing 30-Minute Pear Rosemary Galette Joy

Create a beautiful, rustic Pear Rosemary Galette. This free-form tart combines the sweetness of pears with the earthy fragrance of rosemary for a delightful dessert.
- Prep Time: 15 minutes
- Cook Time: 35 minutes
- Total Time: 50 minutes
- Yield: 6 servings
- Category: Dessert
- Method: Baking
- Cuisine: French
- Diet: Vegetarian
Ingredients
- 1 prepared pie crust (store-bought or homemade)
- 2 ripe pears, peeled, cored, and thinly sliced
- 2 tablespoons granulated sugar
- 1 tablespoon all-purpose flour
- 1 teaspoon fresh rosemary, finely chopped
- 1/2 teaspoon lemon juice
- 1 large egg, beaten (for egg wash)
- 1 tablespoon coarse sugar (for sprinkling)
Instructions
- Preheat your oven to 400 degrees F (200 degrees C). Line a baking sheet with parchment paper.
- In a medium bowl, gently toss the sliced pears with the granulated sugar, flour, chopped rosemary, and lemon juice.
- Unroll the pie crust onto the prepared baking sheet. You can leave it round or gently shape it into a rough oval.
- Arrange the pear mixture in the center of the dough, leaving a 2-inch border around the edges.
- Fold the edges of the dough up and over the filling, pleating it as you go to create a rustic border.
- Brush the folded crust with the beaten egg.
- Sprinkle the coarse sugar evenly over the crust.
- Bake for 30 to 35 minutes, or until the crust is golden brown and the filling is bubbly.
- Let the galette cool slightly on the baking sheet before slicing and serving.
Notes
- Use firm but ripe pears for the best texture. Bosc or Anjou work well.
- If you prefer a sweeter filling, increase the sugar slightly.
- Rosemary flavor deepens during baking, so use it sparingly at first.
Nutrition
- Serving Size: 1 slice
- Calories: Estimate based on crust and fruit
- Sugar: Estimate based on added sugar
- Sodium: Varies based on crust used
- Fat: Varies based on crust used
- Saturated Fat: Varies based on crust used
- Unsaturated Fat: Estimate low
- Trans Fat: Estimate negligible
- Carbohydrates: Estimate high
- Fiber: Estimate moderate
- Protein: Estimate low
- Cholesterol: Estimate low to moderate