

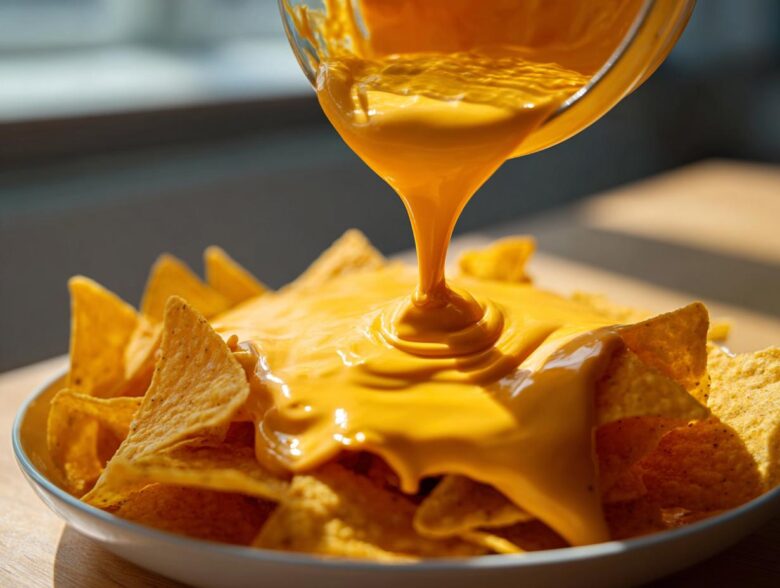
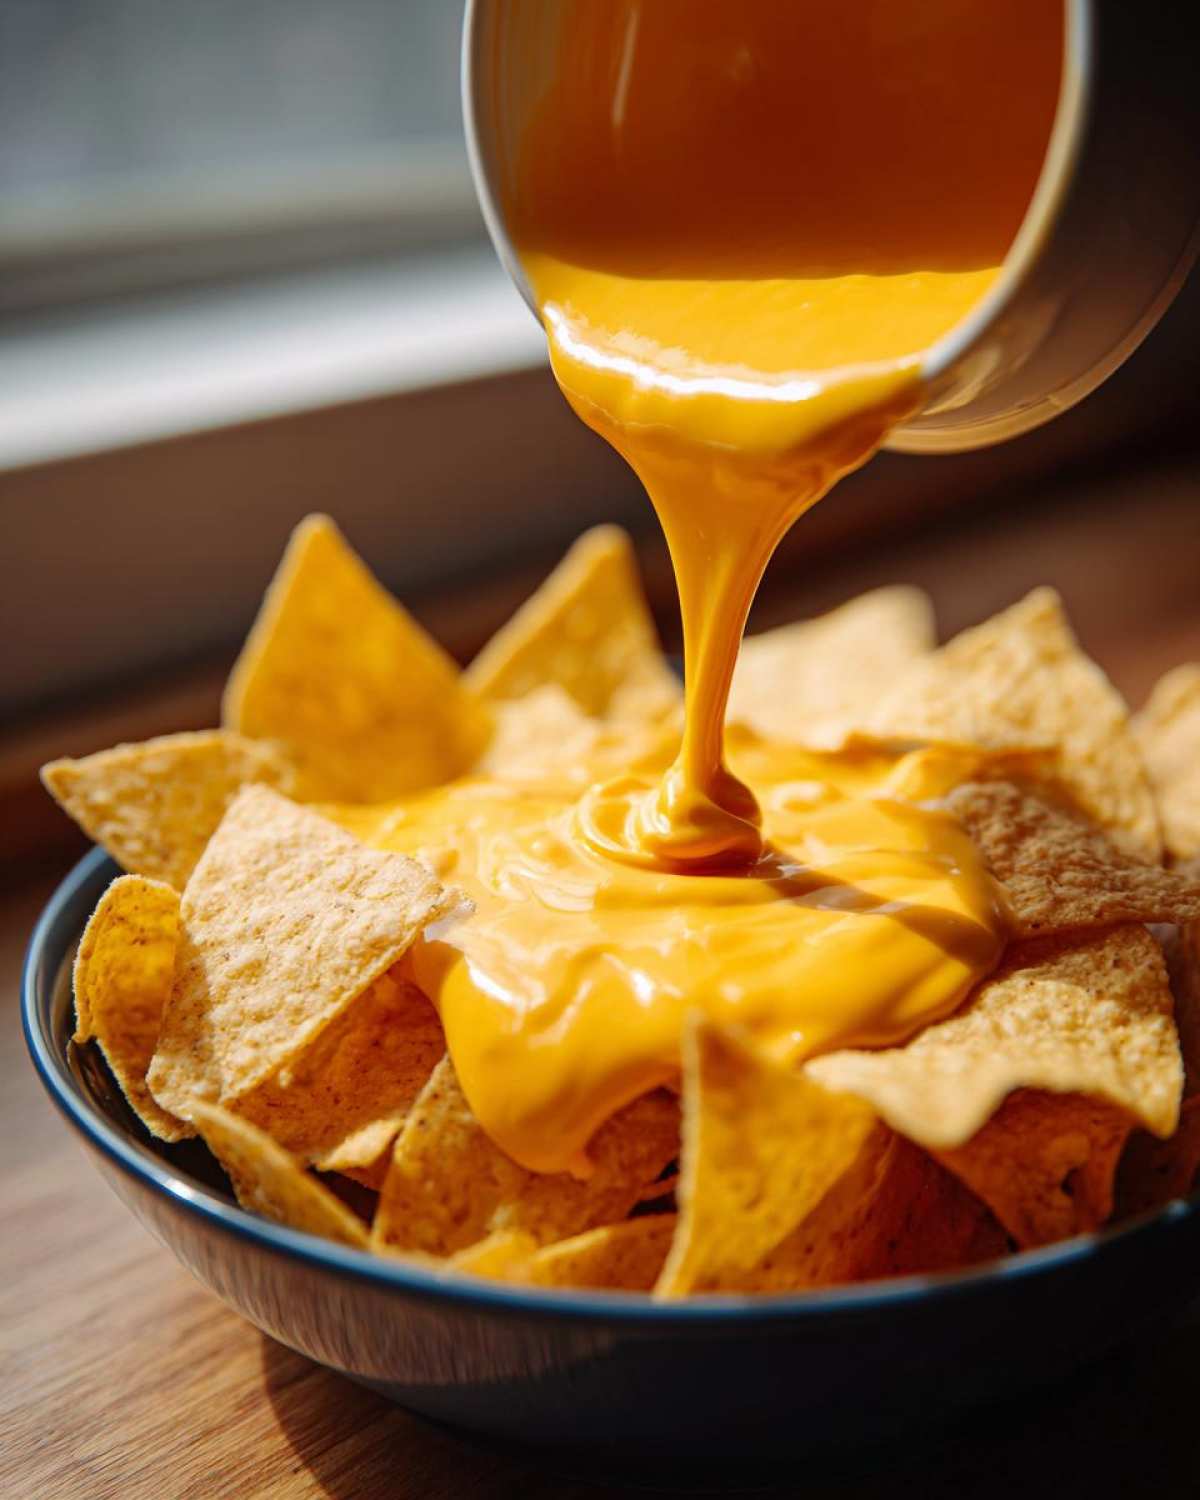
Hannah and I both know that feeling—you’re watching a movie or maybe it’s the big game, and suddenly, nothing less than that impossibly smooth, slightly neon, restaurant-style cheese dip will do. Forget the stuff in the jar! We spent ages trying different combinations to get that perfect, velvety texture you want for real nacho cheese. Elias, with his steady hand, insisted we nail the thickening process so it was quick, creamy, and absolutely stunning over tortilla chips. Trust me, this homemade batch is everything that sad, stiff cheese from a can isn’t.
Why This Homemade Nacho Cheese Sauce Recipe is Your New Go-To
There’s no point in making cheese sauce if it takes forever, right? That’s why I love this recipe so much—it’s a true quick cheese sauce that comes together faster than ordering takeout. We’re talking under 10 minutes total, which is perfect for those sudden cravings that hit right before kickoff.
If you’ve been searching for that perfect, smooth flavor replication, you’ve found it. This isn’t just dip; it’s a rich, deeply satisfying creamy cheese dip that tastes vibrant because we’re using real cheddar.
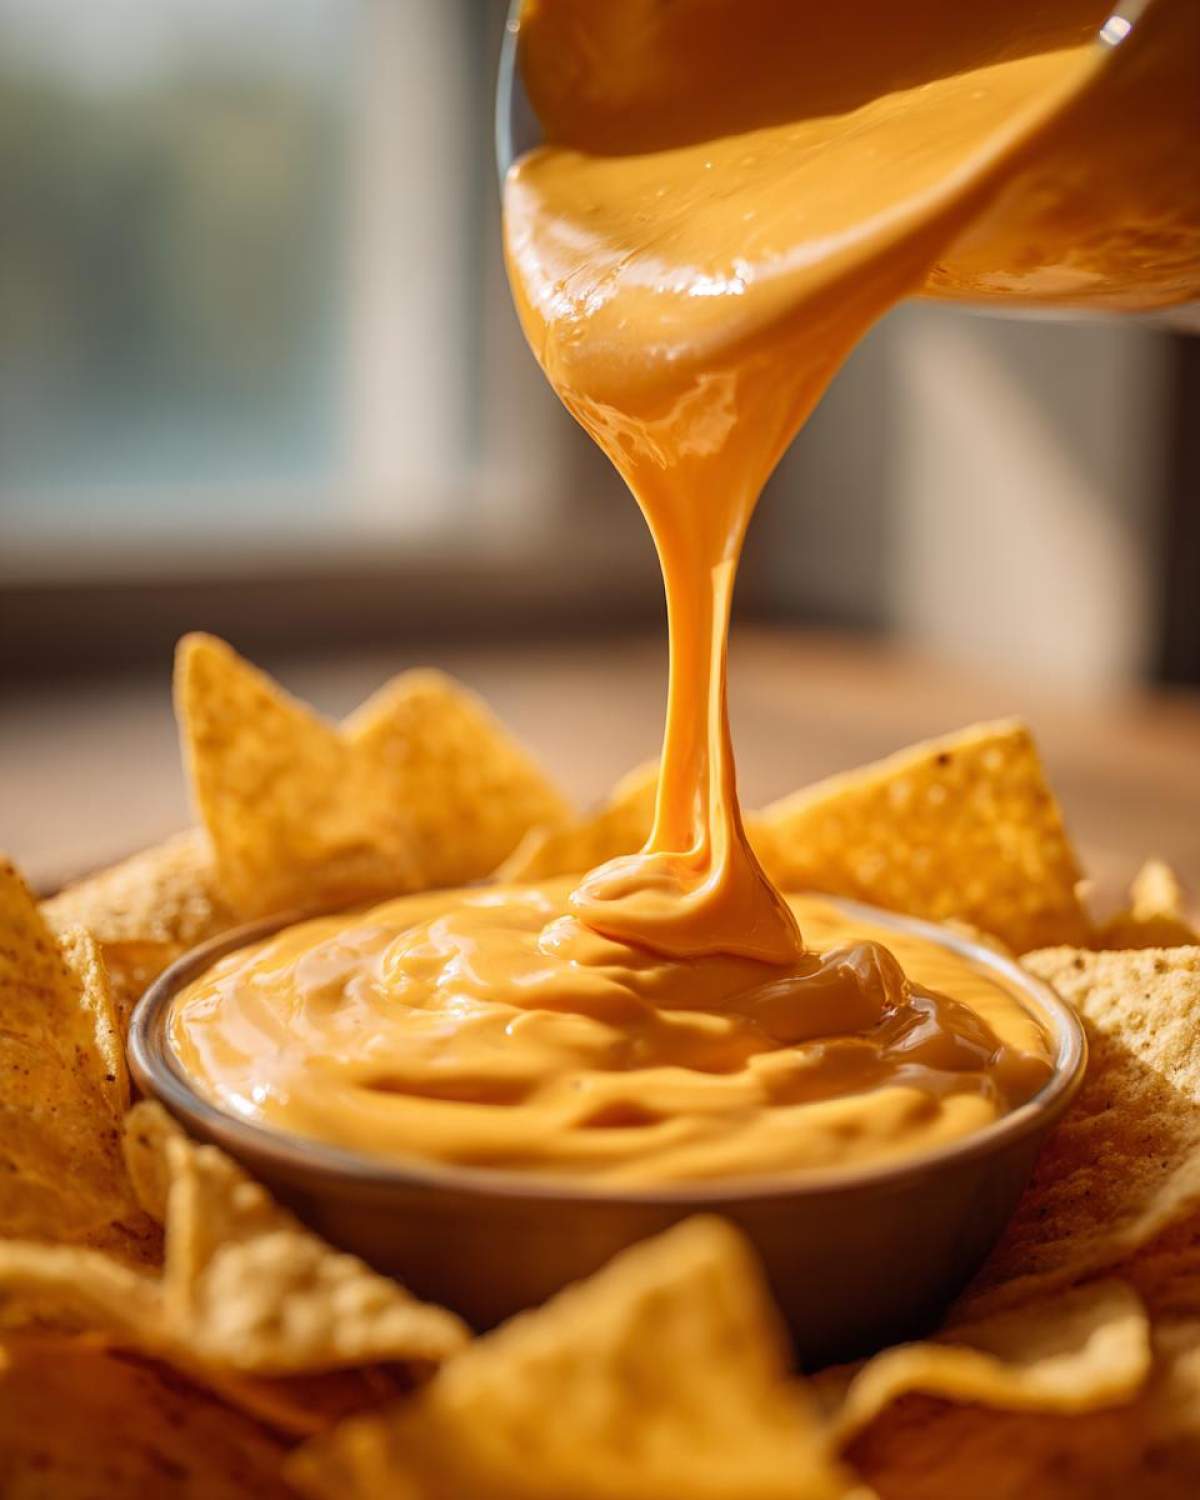
Achieving Velvety Cheese Sauce Perfection
The secret to getting that beautiful, non-grainy finish that restaurants brag about is actually super simple: it’s all in the roux. That little mixture of butter and flour we make first? That’s our structural integrity! Hannah always says that’s where the chemistry happens. By creating a smooth base before adding the milk, we make sure there’s nothing fighting against the cheese when it melts. It keeps everything suspended and silky.
The Best Nacho Dip for Game Day and Beyond
Honestly, I make this specific batch size just for dipping tortilla chips, but don’t stop there! This is the ultimate game day cheese dip. You can drown crispy fries in it, spoon it over soft pretzels, or just use it as a phenomenal party appetizer cheese dip for a crowd. It makes any food instantly better, and nobody has to feel guilty about double-dipping!
Gathering Ingredients for Perfect Nacho Cheese
Okay, now for the fun part: gathering what we need! Since this is such a simple recipe—we’re talking like five main ingredients here—the quality really does sing through. We don’t want lumpy, greasy nacho cheese; we want that amazing, luxurious texture. That means we have to pay attention to what we grab.
Here is exactly what you need to whip up this incredible dip:
- 1 tablespoon unsalted butter
- 1 tablespoon all-purpose flour (this is our thickening buddy!)
- 1 cup whole milk (don’t skimp here, fat equals flavor and texture!)
- 8 ounces sharp cheddar cheese, shredded (Listen up—this is important)
- 1/4 teaspoon salt
- 1/8 teaspoon cayenne pepper (only if you want that little nudge of heat)
Ingredient Notes and Substitutions for Creamy Cheese Dip
This is where Elias and I sometimes argue because he likes the science and I like the taste, but we agree on this one thing: you MUST shred your own cheese. Seriously, don’t even look at the bag of pre-shredded cheddar. Those bags usually have starches or cellulose added to stop clumping, and guess what that does to our beautiful sauce? It makes it grainy and sad!
When you buy a block of quality sharp cheddar and grate it yourself, you are guaranteeing a smooth, creamy cheese dip. Also, stick with whole milk if you can. Lower fat milk has less fat content, and fat is what keeps the sauce emulsified and velvety when we add the cheese. It makes all the difference in achieving that perfect, restaurant style cheese sauce mouthfeel.
How to Make Nacho Cheese: Step-by-Step Instructions
Making this phenomenal cheese sauce for nachos is really straightforward, but you have to respect the process. If you rush the melting part, you end up with chunks, and nobody wants that! I’ve broken down the steps based on the timing, so you can see exactly how fast this comes together. Honestly, if you can make toast, you can master this.
Creating the Roux for Restaurant Style Cheese Sauce
First things first: we build a foundation, which is what gives us that beautiful, restaurant style cheese sauce texture down the line. Grab a small saucepan and melt that tablespoon of butter over a medium heat. Don’t let it brown! Once it’s bubbly, whisk in the flour right away. This mixture is called a roux—it acts like a little security blanket for our milk, making sure it thickens up perfectly and stays smooth later.
You need to keep whisking that roux constantly for about one minute. You’re just waking up the flour, letting it cook slightly. Then, slowly, slowly, start pouring in the whole milk while you never stop whisking! Keep going until everything is smooth and it just starts to look like it’s getting ready to bubble up. This whole first part only takes about two minutes tops.
Melting the Cheddar Cheese Sauce from Scratch
Now, this next step is where you breathe slowly and stay calm. Reduce that heat way down to low—I mean super low. If it’s too hot now, your sauce will seize up. Since we want that velvety cheese sauce texture, we add the shredded sharp cheddar one small handful at a time. Seriously, wait until the first addition is totally melted and completely smooth before you even think about adding the next bit.
Keep stirring gently until every last bit of cheese has melted into the milk mixture. Remember: do not let this sauce boil once the cheese is in! Once everything is unified and looking gorgeous, take it off the heat. Then, stir in your salt and that optional dash of cayenne pepper for a little zing. Serve it right away while it’s hot and perfect!
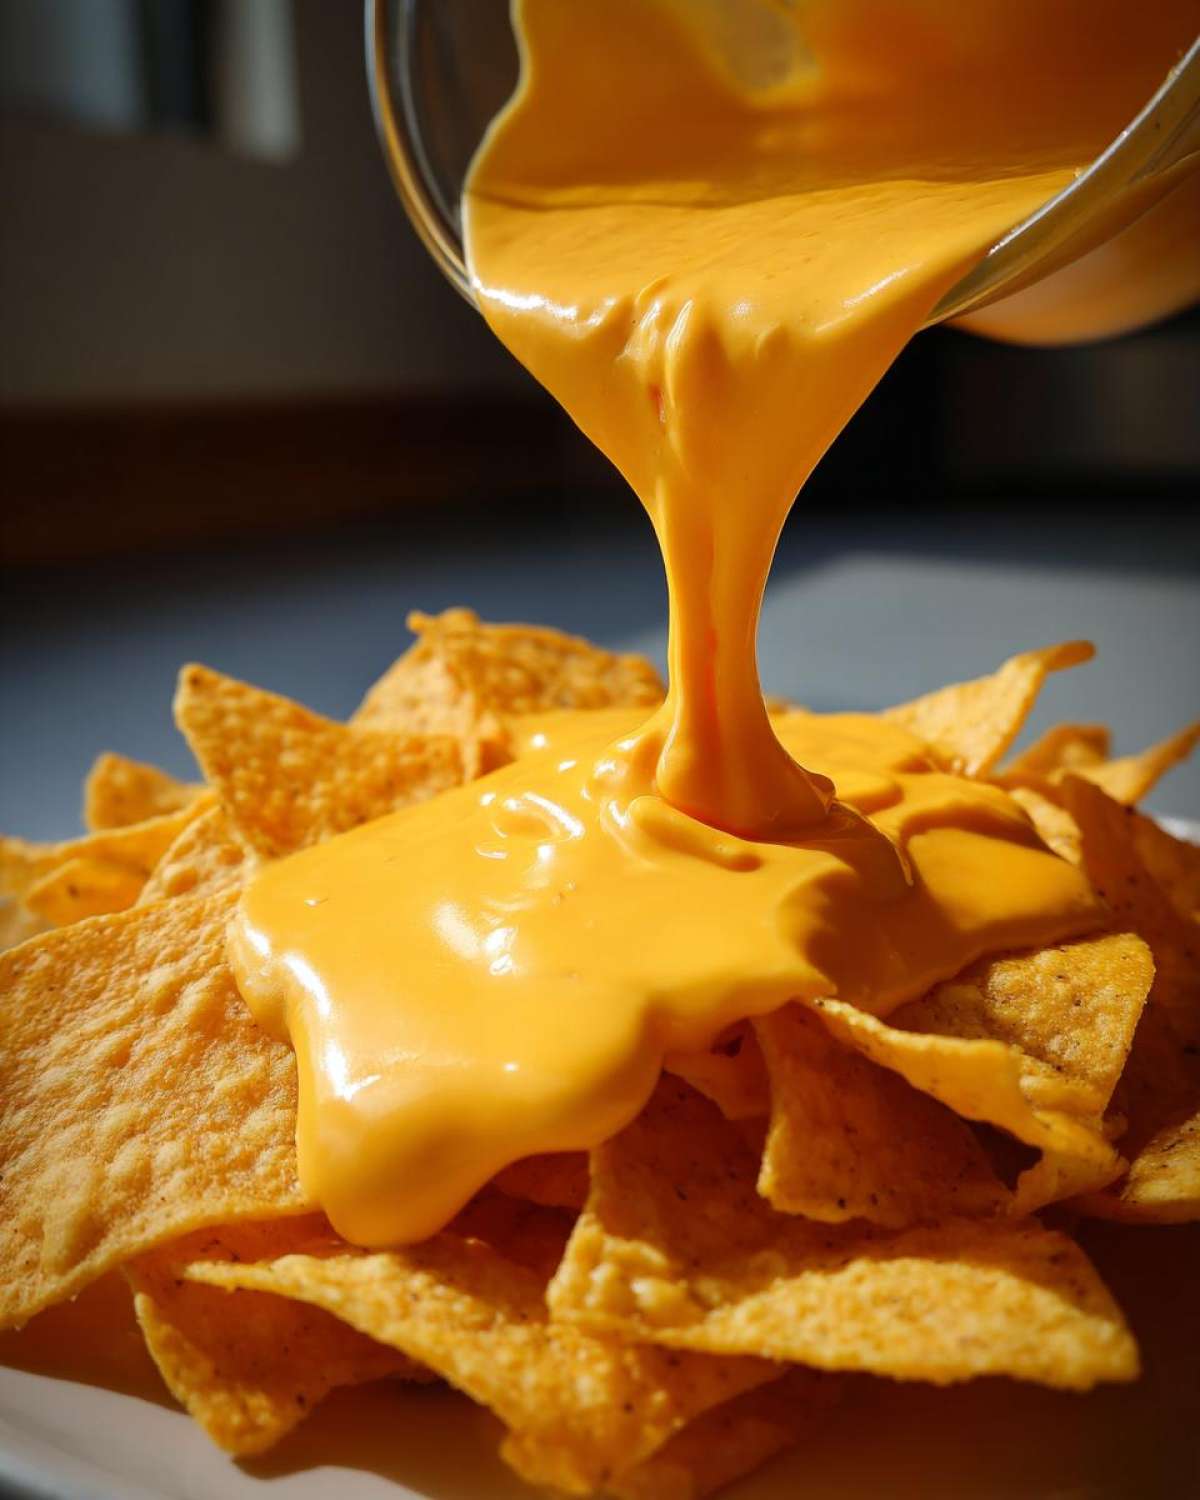
Tips for Success: Mastering Your Nacho Cheese
We’ve made the sauce, and let me tell you, watching it go from milky liquid to that thick, scoopable texture is pure magic. But making it once? That’s beginner luck. Making it perfectly *every time* takes knowing a couple of little tricks that come from experience. Elias is usually the one who reminds me of the golden rules here, especially when we’re rushing to get the nacho cheese ready for a friend coming over unexpectedly.
If you follow the steps for the roux, your chances of graininess are already super low, but here are the two big things people sometimes forget that keep this dip flawlessly smooth and pourable.
First up: I cannot stress this enough—shred your own cheese! I know it feels like an extra, annoying step when you’re already hungry, but those anti-caking chemicals in pre-shredded cheese create tiny barriers when the cheese hits the heat. It prevents that beautiful melt and ends up looking like sand in your silky sauce. Take the extra three minutes to run a block of sharp cheddar over the box grater; your taste buds will thank you!
The second major cleanup tip is regarding heat management while holding the sauce. Once that cheese is perfectly melted in, you need to treat it gently. If you keep this creamy cheese dip simmering on medium heat, the proteins tighten up too much, and bam! Grainy mess again. Keep it on your stove’s absolute lowest setting, or even turn the burner off completely if your pan retains heat well.
What if you made it ahead, or maybe you’re taking a break between football plays and it gets too stiff? No sweat! That’s what the milk is for. If your sauce gets too thick, just whisk in a tiny splash of milk—maybe a teaspoon at a time—and stir gently over very low heat until it loosens back up into that perfect, drizzly consistency. It never fails to revive the sauce back to its perfect state!
Variations: Making Spicy Nacho Cheese or Copycat Taco Bell Cheese
We all appreciate the beauty of a perfect, classic cheddar sauce, but sometimes you need to spice things up a bit, right? This base recipe for our nacho cheese is so versatile, it just begs for extra flavor additions. If you’re looking to replicate that familiar fast-food taste, we have some ways to play with it, or you can dial up the heat to make a truly excellent spicy nacho cheese.
For the spice level, we already put in a little touch of cayenne at the end, but that’s just a gentle nudge. If you really want to feel that warmth, just toss in a little extra cayenne when you add the salt. I’m talking about an extra 1/8th of a teaspoon at a time until you taste it.
For the real heat fiends, forget cayenne and grab a finely minced jalapeño. You can sauté that minced pepper in the butter just before you add the flour for the roux. Sautéing it first really mellows the raw edge and lets the flavor deepen beautifully into the sauce. It’s amazing!
Now, about that famous big-chain flavor—the copycat taco bell cheese vibe. People look for that specific tang. While our recipe is clean and uses real cheese, if you want to lean into that specific artificial tang, adding a tiny drop of yellow mustard (just a few drops!) or maybe a pinch of garlic powder right at the end can sometimes mimic those deep, processed flavors people crave. Taste test constantly! You don’t want it to taste like mustard, just… more like the drive-thru. But honestly? We think our pure cheddar version is way better for drizzling over homemade cheese sauce for nachos.
Serving Suggestions for Drizzling Cheese Sauce Perfection
I swear, Hannah and I could argue about this, but there’s almost nothing that can’t be improved by a blanket of this warm, glorious, homemade nacho cheese. It’s not just for chips, although, obviously, that’s the foundation of any great snack session. We’ve seriously tested the limits of this sauce, trying it on almost everything we make in the kitchen!
If you’re having friends over or it’s a hectic weeknight, this sauce makes even the most basic item feel like an event. You’re looking for that immediate satisfaction, that moment where everything just clicks because there’s melted cheese involved. That is what we call drizzling cheese sauce perfection.
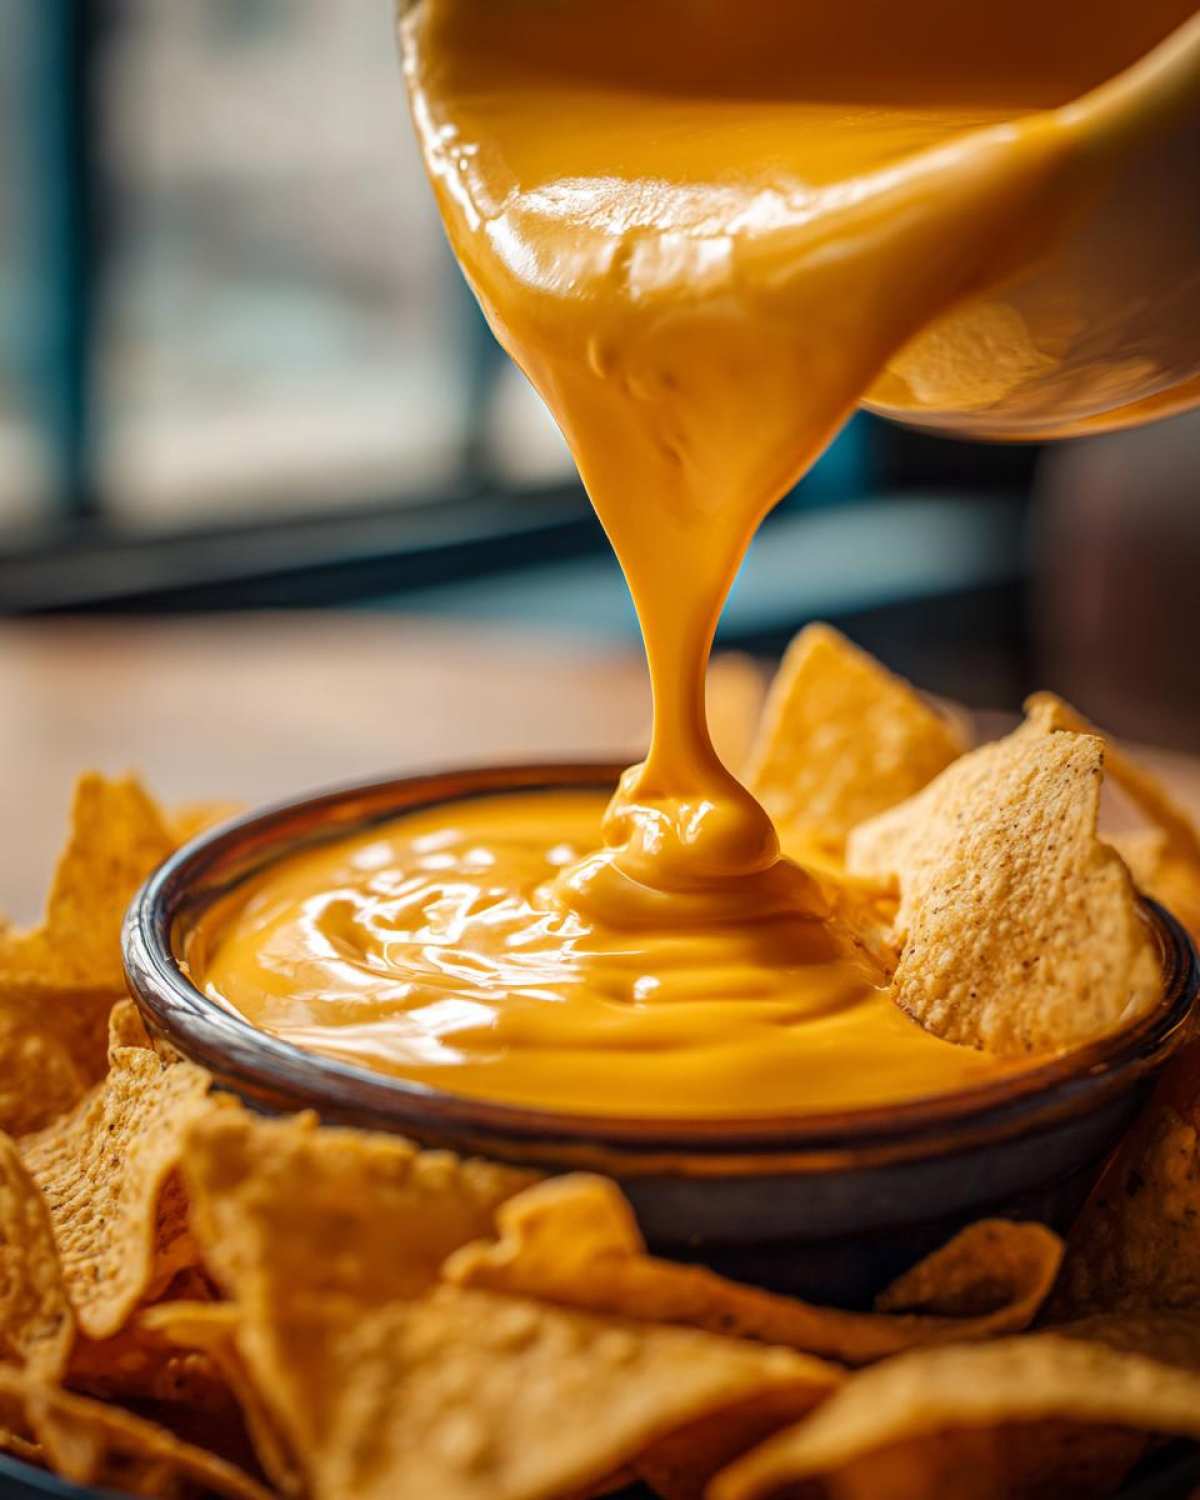
Here are the absolute MUST-TRY ways we use up every last drop before it even has a chance to cool down:
- The Classic Nachos: Layer good quality tortilla chips on a sheet pan, drizzle this sauce generously, add a bit of sliced jalapeño, and bake for about three minutes just to heat everything through. Perfection.
- Loaded Fries: Forget chili cheese fries; try these instead! Pour this over oven-crisped French fries—especially good over thick-cut ones like our roasted potatoes—and top with a sprinkle of green onion. It’s ridiculously good, and it beats any fast-food version, hands down.
- Pretzel Dipping: Soft pretzels are amazing on their own, but they absolutely require a thick, warm dip. This cheddar-based sauce clings beautifully to the dough. It’s a surprisingly upscale treat for a casual night in.
- Taco Topping: Seriously, stop putting cold shredded cheese inside your crispy tacos or folding it into your quesadillas. Warm up just 1/4 cup of this sauce and spoon it right over the top filling for an instant flavor burst. It melts right over everything!
No matter how you decide to use it, just make sure you have a serving spoon ready. Elias and I both usually lose all our self-control holding off until the food is actually ready!
Storing and Reheating Your Homemade Nacho Cheese Sauce
So, you made the most incredible batch of nacho cheese. Congrats! Now, naturally, you might have some left over, or maybe Elias ate three times the serving size he should have and we need to save the rest for lunch tomorrow. Don’t panic if it looks solid or seized up in the fridge. That’s normal! This cheddar cheese sauce from scratch behaves much better than the bottled stuff, but it still needs love when you bring it back to life.
The good news is that because we used real cheddar and a proper roux, this sauce stores surprisingly well. You can keep it tucked away safely in an airtight container in the refrigerator for three to four days. We usually keep ours in a small mason jar—it seals perfectly and doesn’t take up too much space in the fridge door.
Bringing Back That Velvety Texture
When you pull it out of the fridge, it will look thick, almost like a block of soft cheese spread. Don’t even think about using the microwave! Microwaves heat unevenly, and cheese sauces become grainy so fast when zapped that way. We always do this slowly on the stovetop to restore that beautiful, velvety cheese sauce gloss.
First, scoop the cold sauce into your small saucepan. Put the heat on the absolute lowest setting—you’re just looking to gently warm it, not scorch it. As it starts to soften around the edges, you’ll notice it’s still too thick to pour. Now is the time to bring back the milk.
Whisk in a tiny splash of whole milk—maybe a teaspoon to start. You want to stir it constantly. If it’s still too stiff after it warms up a bit, add just another teaspoon of milk. You’re aiming to loosen up that roux that solidified overnight. It might take five or six minutes of gentle stirring and just a tiny bit of liquid, but eventually, it will turn back into that gorgeous, pourable sauce you made the first night. It’s worth the patience, I promise you!
Can I Freeze This Quick Cheese Sauce?
This is a question we get a lot! While technically you *can* freeze any sauce, I usually advise against freezing our quick cheese sauce recipe. Because we rely on the specific stabilization of the roux and the milk solids, freezing and thawing can sometimes break that stable emulsion, even if you reheat it perfectly. It often ends up separating or becoming a little gritty.
If you know you’re hosting a huge party and need a big batch, it is much, much better to simply double the recipe and keep the excess chilled in the fridge for a few days. If you just must freeze it, use a very small, freezer-safe container, leave plenty of room for expansion, and when you reheat it, be very generous with the milk/water and expect a slightly different texture. For best results, though, make just what you need and enjoy it fresh!
Frequently Asked Questions About Making Nacho Cheese
When we first started tinkering with this recipe, Hannah and I had so many questions, and I bet you do too! It’s the little things that trip people up when they are trying to make a perfect nacho cheese sauce recipe for the first time. That’s why we put together these quick answers for those moments when you need a helping hand. We want you to have the best dip ever!
Why is my homemade cheese sauce grainy?
Oh, that is the absolute nightmare result! Nine times out of ten, that graininess happens for one of two reasons, and we talked about both of them above. First, and most commonly, it’s because you used pre-shredded cheese. Those bags have coatings, and when they get hot, that coating stops the cheese from incorporating smoothly into the milk, leaving little gritty specks. For a true cheddar cheese sauce from scratch, you must shred your own block!
The second reason is the heat. If you let the sauce come to a rolling boil once you’ve added the cheese, the milk proteins can seize up and separate from the fat. That’s bad news for a velvety cheese sauce. Always keep it barely bubbling, or better yet, just warm enough to melt the cheese on very low heat.
Can I use Velveeta instead of real cheese for this quick cheese sauce?
If you are in a huge rush and need a super stable, almost indestructible cheese dip, Velveeta works wonders—it melts beautifully and stays smooth. But here’s the difference: this recipe is designed to be a *real* creamy cheese dip using sharp cheddar. Velveeta is processed cheese food, and while it’s great for convenience, it doesn’t have the sharp, authentic cheddar tang that we built this recipe around.
If you use Velveeta, you skip the whole roux step because the emulsifiers in the Velveeta are doing all the work for you. So, no, I don’t recommend swapping it out here if you want the flavor profile we intended, but if you do, just skip the butter, flour, and milk entirely, and just melt the Velveeta with a splash of regular milk until smooth!
How do I make this a hot cheese dip recipe?
You’re speaking my language! If you want a serious kick, you have a couple of great ways to turn this into a proper hot cheese dip recipe without sacrificing the texture. The absolute easiest way is what we mentioned before: increase the cayenne pepper! You can go up to 1/4 teaspoon of cayenne instead of just 1/8th.
But if you want depth, try this: grab one small fresh jalapeño, remove most of the seeds (unless you’re crazy for heat!), mince it super fine, and sauté it in the butter for about a minute before you add the flour for your roux. This infuses the entire base of the sauce with chili flavor right from the start, making it taste way more integrated and complex than just sprinkling pepper on top at the end. It’s fantastic!
Nutritional Estimates for This Real Cheese Nacho Dip
Now, I know sometimes we just want to know what we’re digging into, even if the main goal of this fantastic nacho cheese is pure, unadulterated happiness. Elias is the careful one who always pushes us to be transparent about what goes into our food, even when it comes to something as simple as a cheese dip for game day.
Because we are using real ingredients—sharp cheddar, whole milk, and actual butter—the nutritional profile is going to be way better than anything ultra-processed you find on the shelf. But, and this is important, these numbers are just estimates based on the ingredients we personally used in our kitchen! If you switch to low-fat milk or use a different brand of salt, those numbers might shift a little, which is why we always encourage folks to check their specific labels, especially if you have dietary concerns.
For a standard serving size of about 1/4 cup, here’s what you’re looking at for this creamy, homemade goodness:
- Serving Size: 1/4 cup
- Calories: 155
- Fat: 12 grams (About 7g of that is saturated fat, coming straight from that lovely sharp cheddar and butter!)
- Protein: 9 grams (Real cheese packs a punch!)
- Carbohydrates: 3 grams
- Sodium: 350 milligrams (This number can swing wildly based on how salty you like your cheese, so taste before you add the full 1/4 teaspoon of salt!)
- Sugar: 1 gram (Naturally occurring lactose from the milk)
See? Not bad at all for something that tastes so incredibly indulgent! It’s satisfying enough to make your nachos feel legendary, but simple calories overall. We think that makes it the perfect topping for tacos or our roasted potatoes anytime we want a little comfort food without any guilt weighing us down.
Share Your Flavor Vista Experience
Well, that’s it! We’ve made the unbelievably quick, supremely satisfying, nacho cheese sauce. Now, the best part of cooking—besides eating it all immediately, of course—is hearing from you! We put a lot of care into perfecting the roux and making sure the texture stays right, so we really, truly want to know how it went in your kitchen.
Did you manage to keep your hands off the saucepan long enough to drizzle it over fries? Did you try the spicy version? Was the texture exactly what you hoped for when you were dreaming of that classic, creamy dip? Don’t keep the good news to yourself!
Please take a second and leave us a quick rating down below—even just a star rating tells us so much. If you have a specific tip that worked wonders for your batch, or if you topped your sauce on something totally unexpected (I’m always looking for new uses!), drop a comment! We read every single one, and those little tidbits help us improve all our recipes here at Flavor Vista.
Happy dipping, friends! We hope this sauce brings a little bit of cheesy joy to your next movie night or gathering!
PrintQuick and Creamy Homemade Nacho Cheese Sauce

Make the best creamy, smooth nacho cheese sauce right in your kitchen in under 10 minutes. This recipe uses simple ingredients to create a rich dip perfect for nachos, fries, or game day snacks.
- Prep Time: 5 min
- Cook Time: 5 min
- Total Time: 10 min
- Yield: About 1.5 cups
- Category: Appetizer
- Method: Stovetop
- Cuisine: Tex-Mex
- Diet: Vegetarian
Ingredients
- 1 tablespoon unsalted butter
- 1 tablespoon all-purpose flour
- 1 cup whole milk
- 8 ounces sharp cheddar cheese, shredded
- 1/4 teaspoon salt
- 1/8 teaspoon cayenne pepper (optional, for a kick)
Instructions
- Melt the butter in a small saucepan over medium heat.
- Whisk in the flour to create a roux. Cook for one minute, stirring constantly.
- Slowly whisk in the whole milk until the mixture is smooth and begins to thicken slightly. Continue cooking for about 2 minutes.
- Reduce the heat to low. Add the shredded cheddar cheese one handful at a time, stirring until each addition is fully melted and smooth before adding more. Do not let the sauce boil.
- Once all the cheese is incorporated and the sauce is velvety, stir in the salt and cayenne pepper, if using.
- Remove from heat. Serve immediately over your favorite snacks or keep warm on the lowest heat setting.
Notes
- Shred your own cheese from a block for the smoothest melt; pre-shredded cheese often contains anti-caking agents that can make the sauce grainy.
- If the sauce becomes too thick while holding, whisk in a splash of milk until you reach your desired consistency.
- This sauce is excellent drizzled over tacos or used as a dip for soft pretzels.
Nutrition
- Serving Size: 1/4 cup
- Calories: 155
- Sugar: 1
- Sodium: 350
- Fat: 12
- Saturated Fat: 7
- Unsaturated Fat: 5
- Trans Fat: 0.3
- Carbohydrates: 3
- Fiber: 0
- Protein: 9
- Cholesterol: 35