

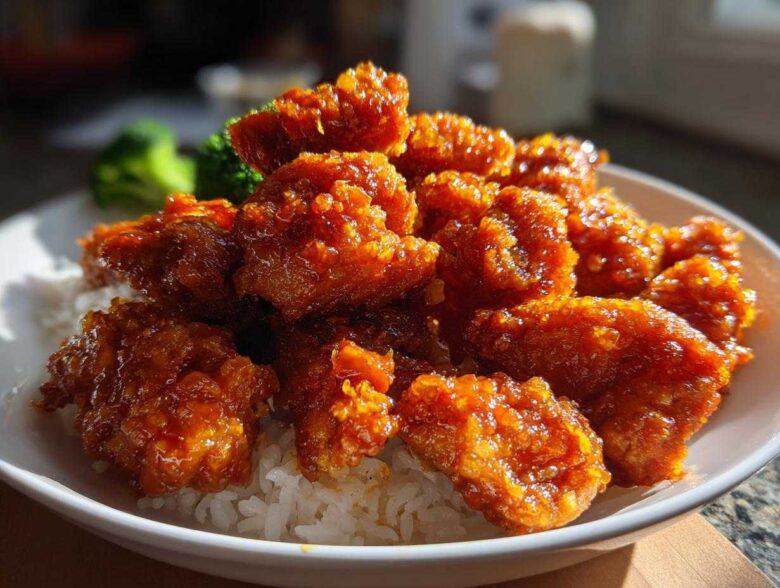
You know that feeling, right? It’s 6:30 PM, you’re tired, and the siren song of delivery apps is calling your name. We’ve all been there, craving crispy, sticky, sweet-and-sour goodness, but knowing that takeout orange chicken is usually just… a little too heavy, a little too sweet, and definitely lacking that fresh-from-the-wok crunch. Well, Elias and I wanted something better for our weeknights, and that’s how this ultimate orange chicken recipe was born!
I’m Hannah, and when I tackle Asian-inspired dishes, my absolute focus is flavor chemistry—getting that perfect *tangy* note to cut through the sweetness. Trust me when I say this version beats delivery every single time. We’ve whittled down the process so you get incredible, restaurant-quality results in just 30 minutes total. Forget waiting an hour; we’re talking super crispy chicken bites smothered in the most glossy, perfectly balanced sauce you can imagine. This is your new go-to weeknight favorite!
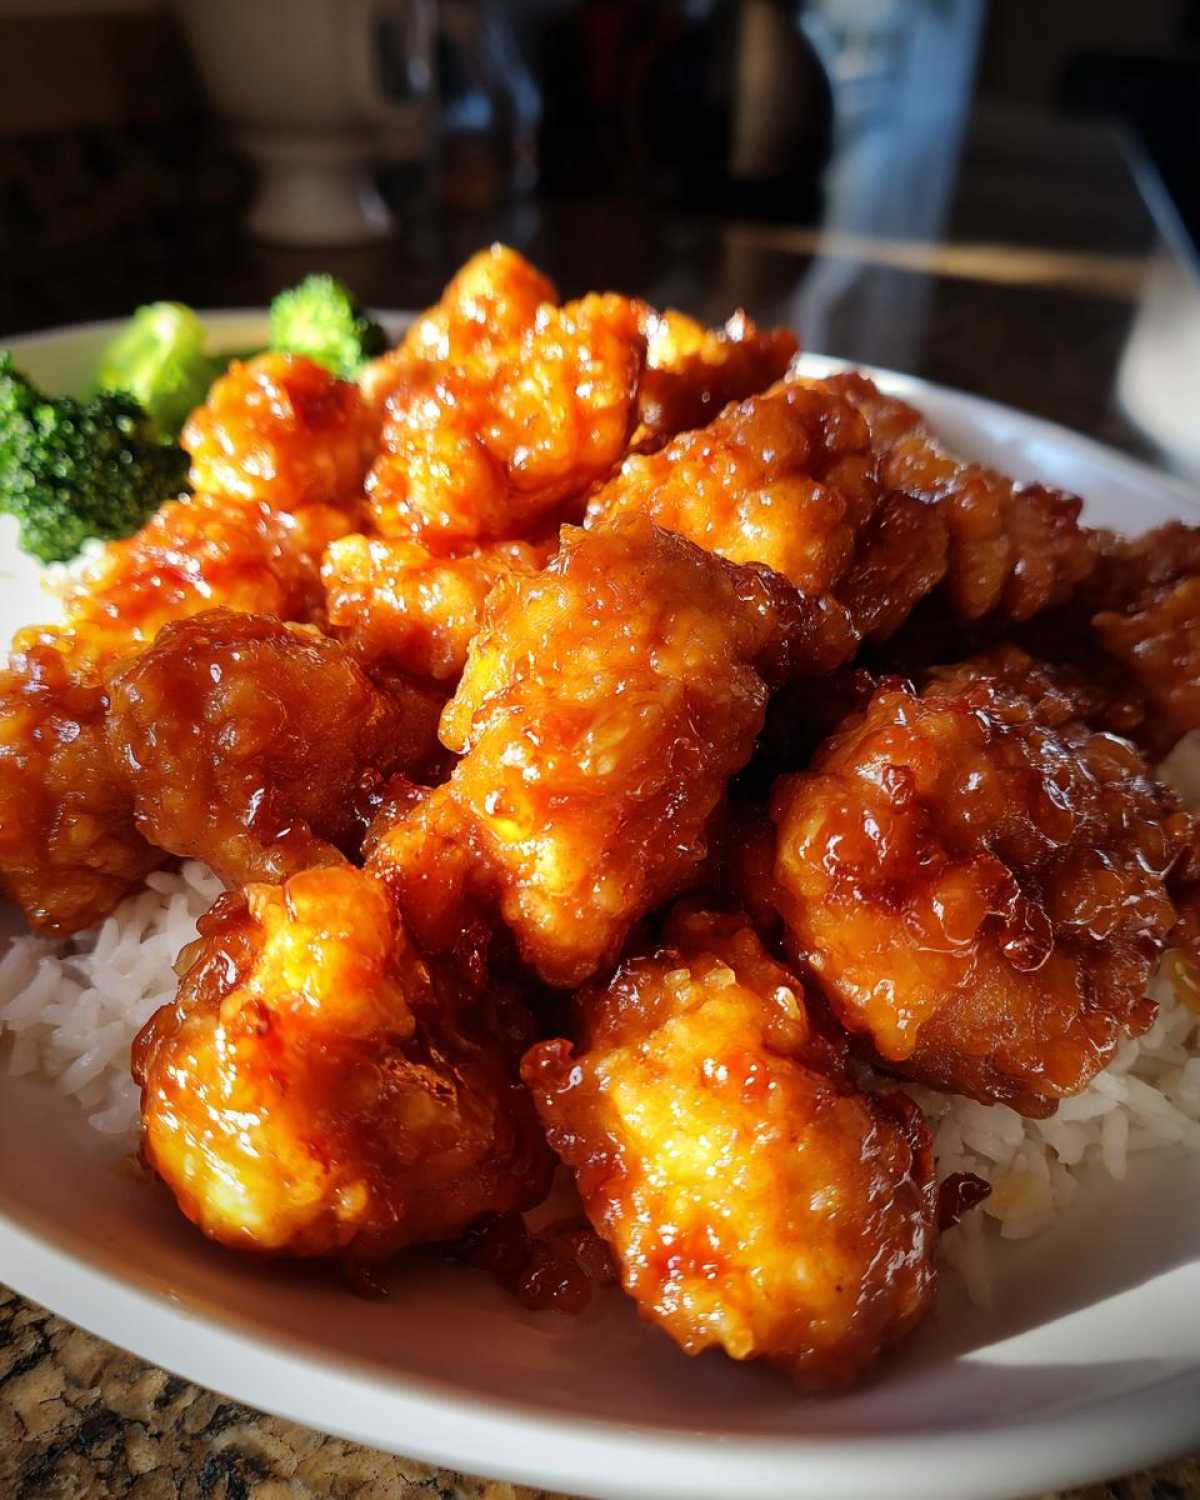
Why This is the Best Orange Chicken Recipe You Will Make
I won’t lie; when Elias gets that look in his eye, I know he’s about to ask for something we can order in. But this orange chicken recipe stops him in his tracks every time! We developed this because we needed a truly satisfying quick chicken dinner that didn’t taste like it came out of a bucket. It’s that crispy-on-the-outside, juicy-on-the-inside texture that matters most to us, and we absolutely nailed it.
Here’s why you need to ditch the delivery menu tonight. This is going straight into your ‘favorites’ folder:
- It’s Ready in 30 Minutes Flat: Seriously! From chopping the chicken to sitting down to eat, we time this start to finish.
- Crispiness That Lasts: We use a specific flour and cornstarch dredge that locks in the crunch, even after tossing it in the sauce.
- Authentic Flavor Balance: It’s properly sweet, perfectly tangy, and zingy, making it truly Better Than Panda Express Chicken, in my honest opinion!
- Big Flavor, Small Budget: This is a fantastic budget friendly chicken meal; the ingredients are simple pantry staples.
Ingredients for the Ultimate 30-Minute Orange Chicken Recipe
The key to hitting that 30-minute mark is having everything measured out and ready to go before you even turn on the stove! Elias always jokes that kitchen chaos is my kryptonite, so preparation is essential for this quick orange chicken recipe. We break the ingredients into two main groups: what makes that chicken shatteringly crisp, and what makes that incredible sticky orange glaze. Don’t skip grating your own orange zest—it makes a world of difference!
For the Crispy Chicken Coating
We use a combination coating here to get that satisfying crunch that holds up against the sauce. Aim for chicken breasts or thighs cut into uniform 1-inch pieces so everything cooks evenly in that hot oil.
- 1 pound boneless, skinless chicken breasts or thighs, cut into 1-inch pieces
- 1 large egg, lightly beaten
- 1/2 cup all-purpose flour
- 1/4 cup cornstarch (this is vital for the crisp!)
- 1/2 teaspoon salt
- 1/4 teaspoon black pepper
- Vegetable oil, for pan-frying (about 1/2 inch deep)
For the Sticky Orange Glaze
This is where the chemistry comes in! You need the sweetness from the sugar balanced by the acid from the vinegar and the freshness of the orange. Note that we use both juice AND zest.
- 1 cup fresh orange juice
- 1/2 cup granulated sugar
- 1/4 cup rice vinegar
- 2 tablespoons soy sauce
- 1 tablespoon grated fresh ginger
- 2 cloves garlic, minced
- 1 teaspoon sesame oil
- 1/2 teaspoon red pepper flakes (only if you want a little kick!)
- 1 tablespoon cornstarch mixed with 2 tablespoons cold water (this is your slurry for thickening!)
- Zest of 1 large orange
How to Prepare the Crispy Orange Chicken Recipe Step-by-Step
Okay, this is where we make the magic happen! Since we’re aiming for that delicious Homemade Orange Chicken in under 30 minutes total, we need to multitask slightly. While the chicken is resting post-coat, you can start the sauce. But first things first: let’s get those chicken pieces ready for their glorious golden moment!
Prepping and Coating the Chicken
Get your dredging stations set up! You need one medium bowl for your beaten egg—just a quick whisk will do. In a separate shallow dish, you’re mixing your dry coating: the flour, the crucial cornstarch, salt, and pepper. I like to use a fork to really blend those dry ingredients together so there are no pockets of pure cornstarch left.
Take each 1-inch piece of chicken and give it a quick swim in the egg wash—just enough to coat, but don’t let it get soggy! Then, move it straight into the flour/cornstarch mixture. Press the coating onto the chicken gently, making sure it’s fully covered. This next part is key for crispiness: give the coated chicken a good shake. You want a nice, thin, dusty layer clinging on, not clumps of dry powder. Excess coating just burns off in the oil, trust me!
Achieving Crispy Chicken Bites
Now for the cooking! This entire process takes us about 15 minutes of active cooking time, so make sure your skillet is ready. Pour about a half-inch of vegetable oil into your skillet and get it up to medium-high heat. You’ll know it’s ready when you see tiny little ripples if you swirl the oil gently, or you can drop a tiny pinch of flour in; if it sizzles right away, you’re good to go!
Carefully place your coated chicken pieces into the shimmering oil. Here is my biggest rule for achieving that superior texture: Do not overcrowd the pan! If you try to shove too many pieces in there at once, the temperature of the oil drops instantly, and your chicken won’t crisp up—it’ll just steam and get rubbery. We work in batches! Cook each batch for about 3 to 4 minutes per side until they are deeply golden brown and totally cooked through. Use tongs to move them right onto a plate lined with paper towels to drain. That’s how we get those signature juicy chicken bites!
Making the Sweet Tangy Orange Sauce
While the chicken is frying up in batches, we build the sweet tangy orange sauce in a small saucepan over medium heat. Combine the fresh orange juice, sugar, rice vinegar (that’s for the tang!), soy sauce, ginger, minced garlic, sesame oil, and those red pepper flakes if you like a little heat. Whisk this until the sugar is completely dissolved and the mixture starts simmering lightly.
Quickly whisk your cornstarch slurry (the cornstarch and cold water you mixed earlier) again, because it settles fast! Slowly drizzle that slurry into the simmering sauce while whisking continuously. It thickens up shockingly fast—honestly, it only takes about a minute until it looks glossy and coats the back of a spoon. Pull it right off the heat and stir in that beautiful orange zest. We add the zest last so that bright, fresh orange perfume really pops!
Tossing and Finishing the Orange Chicken Recipe
This is the grand finale! Once all your chicken is beautifully crispy and drained, place it all into one big bowl—or back into that now-empty skillet, making sure you wipe out any burnt bits first. Pour that gorgeous, sticky orange glaze right over the top. You want to toss everything gently but quickly. We’re coating it, not letting it sit and soak and steam!
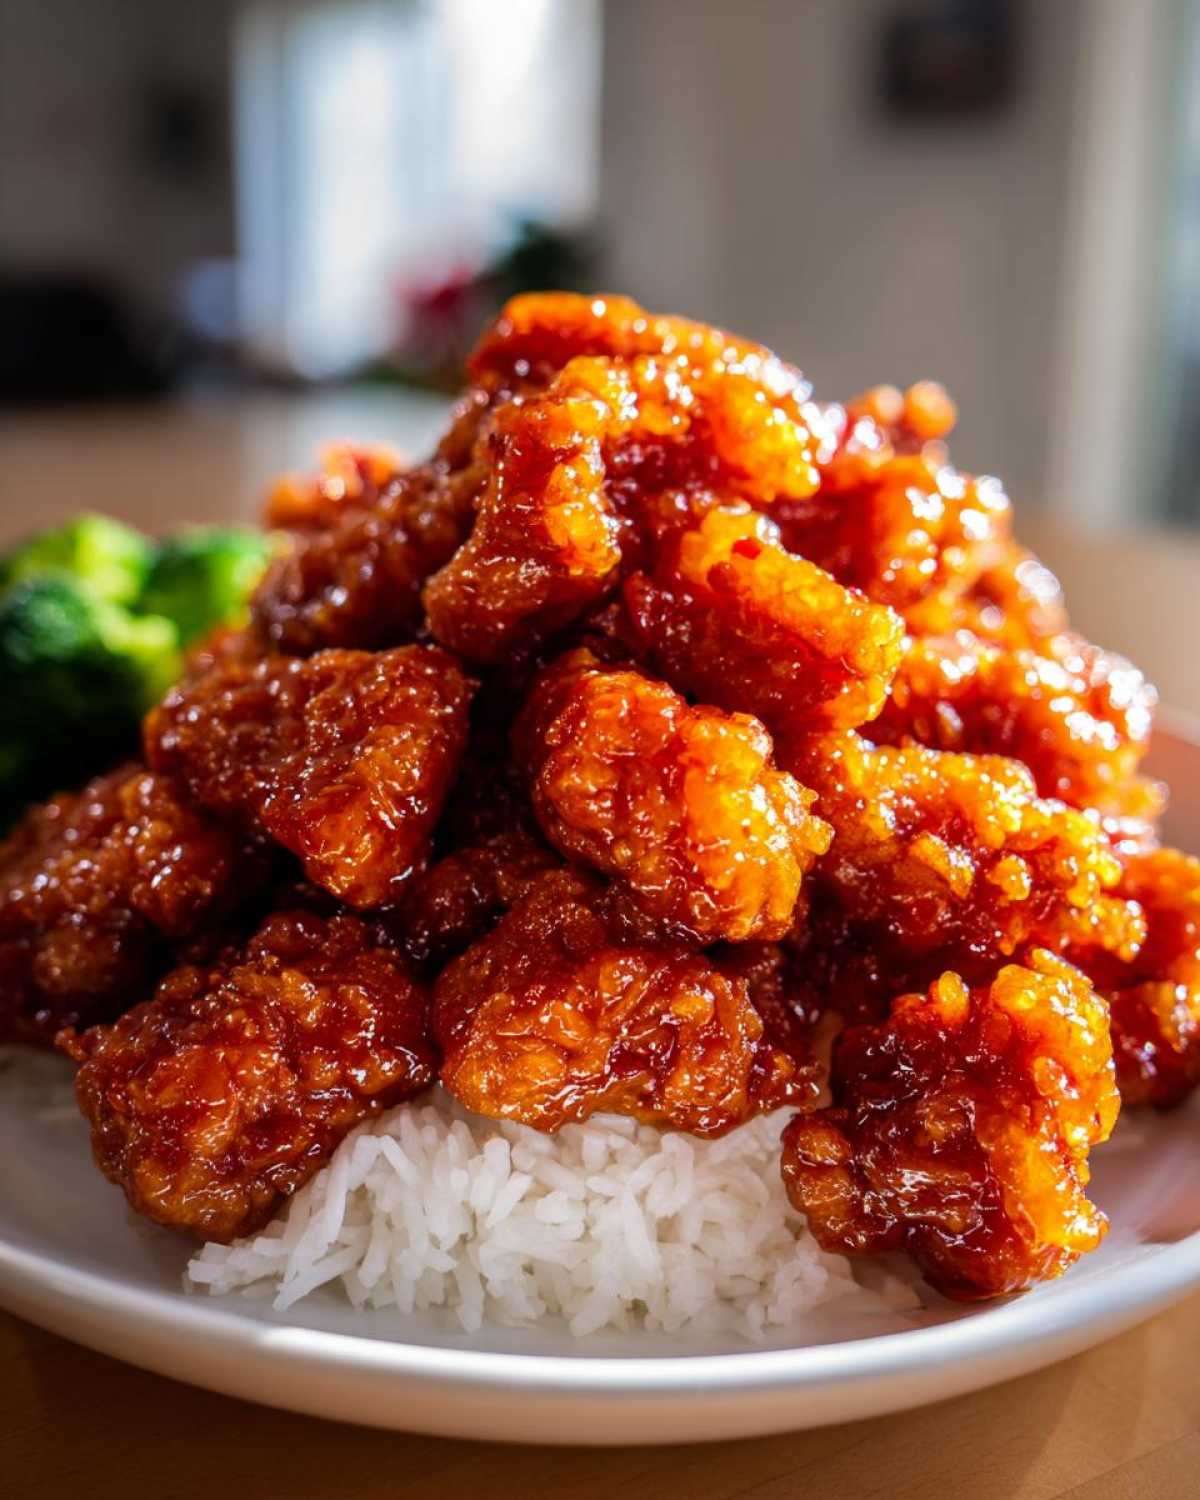
The goal here is quick coating so the exterior of the chicken stays gloriously crisp for as long as possible. As soon as every piece is sufficiently glazed and glistening, it’s time to serve this amazing Takeout Orange Chicken immediately!
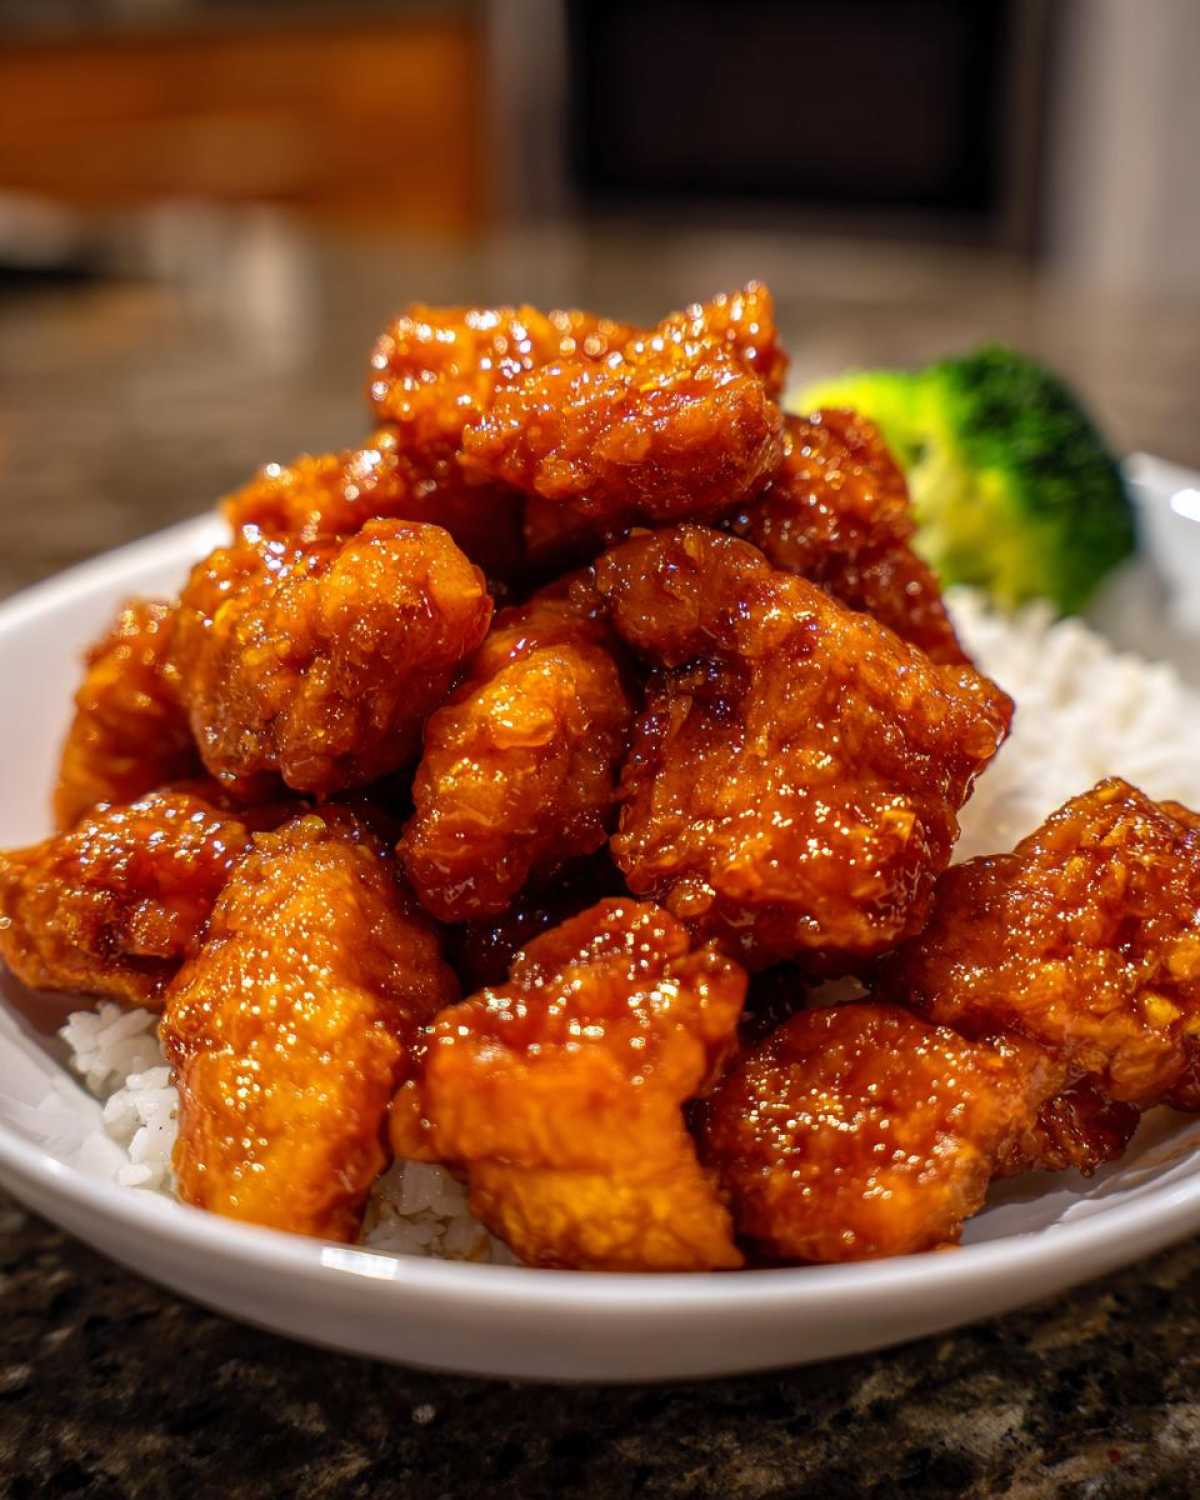
Tips for the Perfect Homemade Orange Chicken
I know the pan-frying method gets you the absolute crispiest result, but that means hot oil, and sometimes, not everyone wants that mess on a busy Tuesday night. Elias and I have worked out a couple of ways to make this orange chicken recipe just as good using less oil, which helps keep those juicy chicken bites tender on the inside.
When you’re aiming for that perfect coating consistency that turns into a wonderful sticky orange glaze without losing texture, these little tweaks make all the difference!
Baking or Air Frying Your Orange Chicken Recipe
If you want to skip the skillet altogether, don’t worry! You can absolutely bake or air fry the coated chicken first. This is a fantastic way to lighten things up a bit without sacrificing too much crisp.
For the oven method, lay your coated chicken pieces out in a single layer on a baking sheet lined with parchment paper—don’t let them touch! Bake them high, around 400°F (200°C), for about 15 to 20 minutes. You’ll need to flip them halfway through so they brown nicely on both sides.
If you’re a fan of the air fryer (and we are, for fast reheating!), set it to 380°F (195°C). Cook the chicken for 10 to 12 minutes. Again, shaking that basket halfway helps ensure every surface gets beautifully golden before you toss it in that sweet sauce.
Ingredient Swaps for Your Orange Chicken Recipe
I always tell people that recipes are just starting points! If you want to tweak the texture or depth of flavor in your homemade orange chicken, I have two quick suggestions.
First, if you prefer really tender, mouth-melt-in-your-mouth chicken, switch out the breasts for thighs. Thighs have a little more fat, which keeps them unbelievably moist even when you’re tossing them around in the pan getting that lovely glaze on. They are absolutely divine.
Second, regarding the spice—we love that tiny bit of heat from the red pepper flakes in the sauce, but if you’re serving this to the kiddos first, feel free to just leave them out! You can always sprinkle a pinch of dried chili flakes over Elias’s portion at the table. It’s all about making the recipe work for your family!
Serving Suggestions for Your Orange Chicken Recipe
Honestly, a dish this flavorful doesn’t need much help, but Elias always insists that you need something neutral underneath to soak up all that amazing, glossy sauce. When we whip up this orange chicken recipe on a busy night, we keep the sides super simple so we can focus on eating faster!
This is classic weeknight Asian recipe territory, so starch is your best friend. We most often default to freshly steamed white rice. It’s fluffy, neutral, and acts as the perfect little sponge for that sweet and tangy glaze. If you have a few extra minutes, maybe try cooking your rice with a little chicken broth instead of water for extra savory depth!
To balance out the richness of the crispy chicken and the high sugar content in the sauce, you absolutely need a crisp green vegetable. Steamed broccoli is the standard here because it’s ready almost instantly and provides a necessary little crunch that isn’t soft or starchy. If broccoli isn’t your jam, snow peas or lightly steamed asparagus tossed with just a whisper of salt and sesame oil work wonderfully too. The key is keeping the vegetable simple so the orange chicken remains the star of the show!
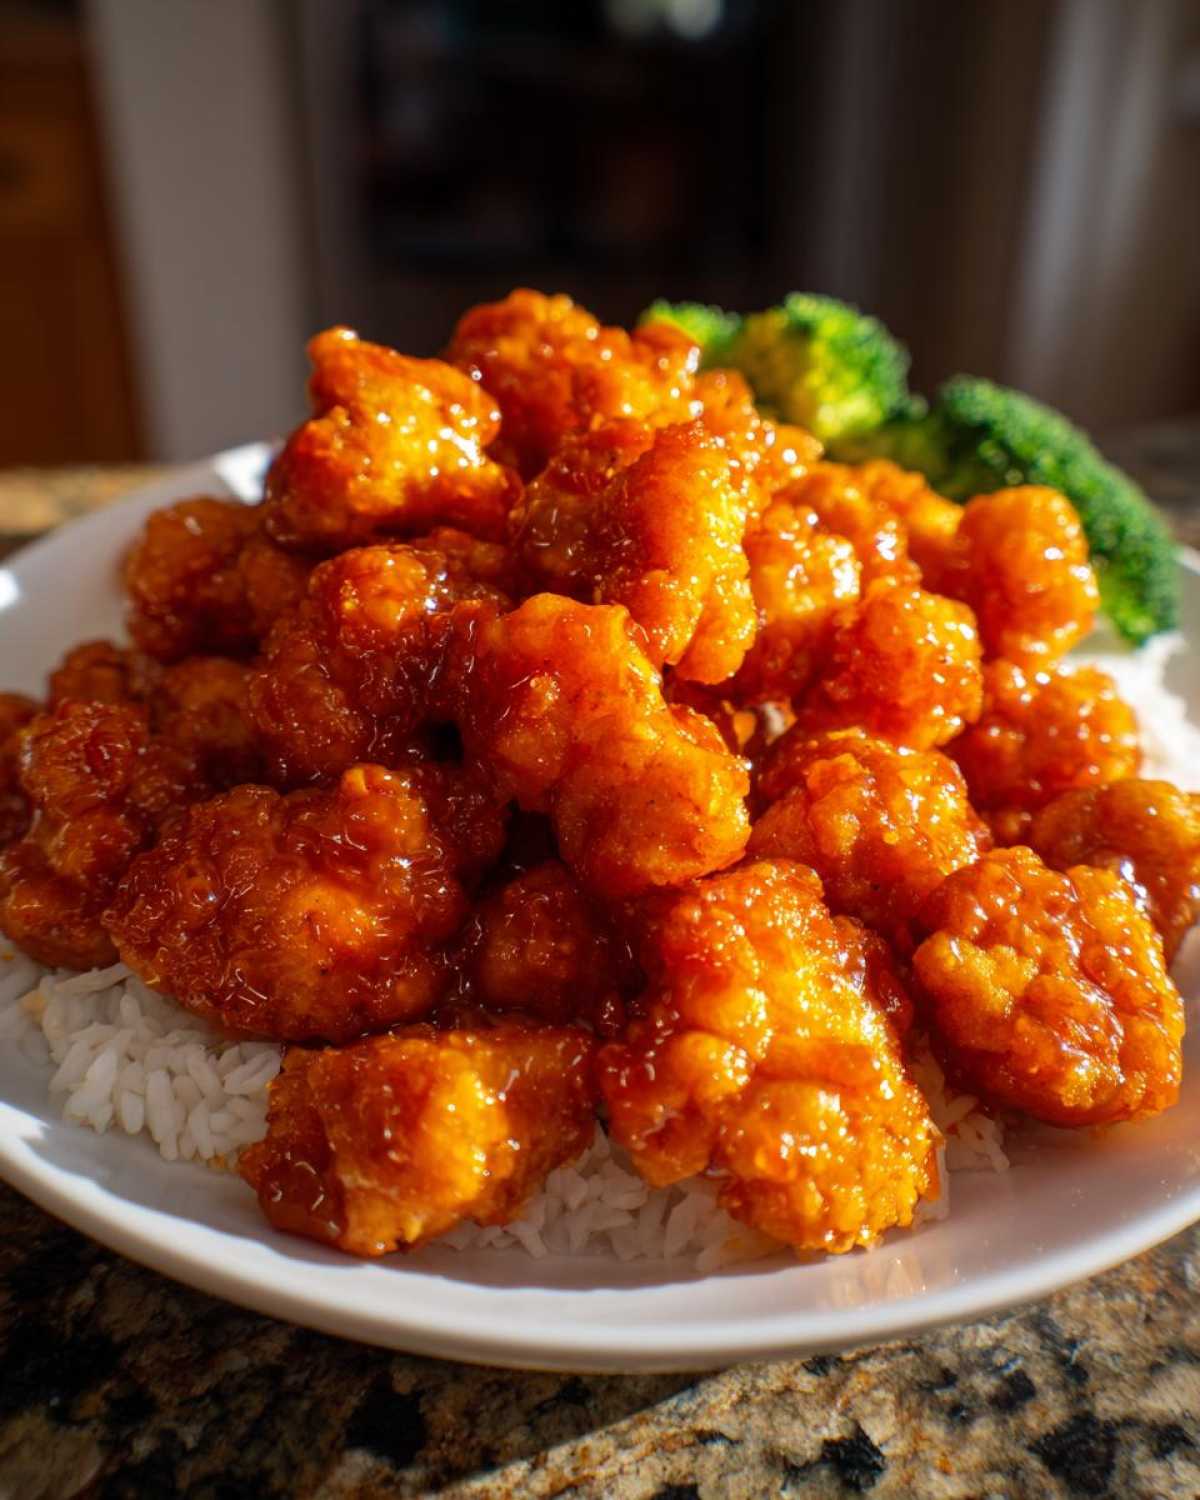
Storage and Reheating Instructions for Leftover Orange Chicken Recipe
Okay, let’s talk about the aftermath! If you happen to have any leftovers—which, between Elias and me, is rare with this orange chicken recipe—storage is super important for maintaining the texture. The real enemy here is moisture lingering on the coating, so you have to be proactive!
As soon as the dish cools down slightly, you want to move those saucy pieces into an airtight container. Glass containers work perfectly for us. Make sure you get all the leftover sauce in there too, because you’ll need it for reheating! Keep it in the fridge, and these leftovers usually hang out happily for about three days.
Now, reheating is where most people lose the battle with crispiness, but I have a secret. Absolutely, positively, avoid the microwave if you possibly can! Microwaves are great for reheating rice, but they turn crispy coating into soggy sadness almost instantly. We want to bring back that glorious crunch we worked so hard for in the skillet.
My absolute favorite method for reheating is using the oven or the air fryer. Preheat your oven to a lower heat—say 350°F (175°C). Spread the chicken pieces in a single layer on a baking sheet. Toss them in a tiny splash of any leftover sauce right before baking. Pop them in for about 8 to 10 minutes. This dries out the coating just enough to re-crisp it.
If you’re using the air fryer, it works even faster! Set it to 375°F (190°C) and cook for maybe 5 minutes, tossing halfway. That little blast of dry heat mimics that initial hot oil bath and gets you back to enjoying that perfect texture. If the chicken seems dry after reheating, just mix the leftover glaze with a teaspoon of water or broth and toss quickly before serving. Enjoy those second-day leftovers!
Frequently Asked Questions About This Orange Chicken Recipe
I always get so many questions after posting this recipe because people are trying to figure out how we make it taste so much like restaurant quality when it only takes 30 minutes! It’s exciting to see everyone trying out this orange chicken recipe at home. Here are the things I hear most often!
Can I use pre-cut chicken for this orange chicken recipe?
Yes, you totally can! Honestly, on a really crazy Tuesday, I’ll grab a package of pre-cut stir-fry chicken, and it works just fine with our Crispy Orange Chicken Recipe. The trick is just making sure the pieces are roughly the same size. If you have some big chunks and some tiny little slivers, the tiny ones will burn before the big ones are cooked halfway through. Uniformity definitely helps things cook evenly in that hot oil!
How can I make the Sweet Tangy Orange Sauce less sweet?
That’s a great question for balancing flavor! If you find your batch leans a bit too sweet for your taste—which can happen depending on the sugar content of your specific orange juice—don’t worry, we can fix that instantly. Since the foundation of our sauce relies on that sharp taste, just whisk in an extra teaspoon or two of rice vinegar while it’s simmering. That acidic punch will really cut through the sugar flavor. Sometimes, Elias even sneaks a tiny splash of fresh lime juice in at the very end, just before tossing the chicken. It gives the sauce an extra bright lift!
Is this orange chicken recipe budget-friendly?
Absolutely, yes! This is one of the reasons we love sharing this Homemade Orange Chicken so much. Compared to ordering even a small container from your favorite spot, making this at home is significantly cheaper. You’re using pantry basics like flour, sugar, and vinegar, and chicken breasts or thighs are usually very affordable proteins. It truly shines as a fantastic budget friendly chicken meal that tastes gourmet. It’s a major win for the wallet!
Nutritional Information for This Orange Chicken Recipe (Estimate)
Elias always reminds me that while we are focused on flavor and texture in our orange chicken recipe, some folks are watching their macros, and that’s totally fair! I put together an estimate of what you’re looking at per serving based on the ingredients listed above. Remember, since we’re pan-frying, the oil content can fluctuate, and if you add a little extra sugar to your sweet tangy orange sauce, those numbers will shift a bit!
This information is just a guideline, of course. If you use the air fryer method instead of pan-frying, you’ll definitely see the fat content drop! This recipe truly shows how versatile a great base weeknight Asian recipe can be.
- Serving Size: 1 serving
- Calories: 450
- Protein: 35g
- Fat: 15g
- Saturated Fat: 3g
- Trans Fat: 0g
- Unsaturated Fat: 12g
- Carbohydrates: 45g
- Fiber: 2g
- Sugar: 35g (That’s where all that joy is!)
- Sodium: 550mg
- Cholesterol: 100mg
Please keep in mind these are just estimates! If you use chicken thighs instead of breasts, the fat content will naturally be slightly higher, which is what gives you those wonderfully juicy chicken bites we love so much. Also, remember that if you bulk up the rice and broccoli servings, the nutrition per piece of chicken will change!
Share Your Homemade Orange Chicken Recipe Success
Elias and I genuinely, truly hope you loved making this orange chicken recipe as much as we do! There is nothing that makes us happier than knowing we helped turn a stressful weeknight into a delicious, homemade celebration. We put our hearts into making sure this recipe delivers that perfect, craveable crunch and that vibrant, sticky glaze.
So, now it’s your turn! If you tried this recipe—whether you went full-throttle pan-fry or opted for the lighter air fryer method—we would be thrilled if you came back down here and let us know how it went. Did you tweak it? Did you add extra garlic to the sauce? Did your kids clear their plates?
Please take a moment to leave your star rating right below the recipe card. That feedback is super important to us! It helps us know which recipes are hitting home runs and guides us when we’re planning what new flavor adventures to tackle next. Your comments are the best way you can support us here at Flavor Vista.
If you have any lingering questions or need a quick tip, feel free to hop over to our contact page; we love hearing from our readers! Happy cooking, and we can’t wait to see your sticky, crispy results!
PrintThe Ultimate 30-Minute Crispy Homemade Orange Chicken (Better Than Takeout Style)

Make restaurant-quality orange chicken at home in just 30 minutes. This recipe delivers crispy chicken pieces coated in a perfectly balanced sweet and tangy orange glaze that beats any delivery order.
- Prep Time: 15 min
- Cook Time: 15 min
- Total Time: 30 min
- Yield: 4 servings
- Category: Dinner
- Method: Pan-Frying
- Cuisine: Chinese American
- Diet: Vegetarian
Ingredients
- 1 pound boneless, skinless chicken breasts or thighs, cut into 1-inch pieces
- 1 large egg, lightly beaten
- 1/2 cup all-purpose flour
- 1/4 cup cornstarch
- 1/2 teaspoon salt
- 1/4 teaspoon black pepper
- Vegetable oil, for pan-frying
- 1 cup fresh orange juice
- 1/2 cup granulated sugar
- 1/4 cup rice vinegar
- 2 tablespoons soy sauce
- 1 tablespoon grated fresh ginger
- 2 cloves garlic, minced
- 1 teaspoon sesame oil
- 1/2 teaspoon red pepper flakes (optional)
- 1 tablespoon cornstarch mixed with 2 tablespoons cold water (slurry)
- Zest of 1 large orange
- Cooked white rice and steamed broccoli, for serving
Instructions
- In a medium bowl, whisk the egg. In a separate shallow dish, combine the flour, 1/4 cup cornstarch, salt, and pepper.
- Dredge the chicken pieces first in the egg mixture, letting excess drip off, then coat thoroughly in the flour mixture. Shake off any excess flour.
- Heat about 1/2 inch of vegetable oil in a large skillet over medium-high heat. When the oil is shimmering, carefully add the chicken in a single layer, working in batches if necessary to avoid crowding the pan.
- Pan-fry the chicken for 3 to 4 minutes per side until golden brown and cooked through. Remove the crispy chicken and place it on a paper towel-lined plate to drain excess oil.
- While the chicken cooks, prepare the sauce. In a small saucepan, combine the orange juice, sugar, rice vinegar, soy sauce, ginger, garlic, sesame oil, and red pepper flakes (if using). Bring the mixture to a simmer over medium heat, stirring until the sugar dissolves.
- Whisk the cornstarch slurry one more time and slowly pour it into the simmering sauce, whisking constantly until the sauce thickens and becomes glossy, about 1 minute. Remove from heat and stir in the orange zest.
- Add the crispy chicken pieces back to the skillet or a large bowl. Pour the orange sauce over the chicken and toss gently until every piece is evenly coated in the sticky glaze.
- Serve your homemade orange chicken immediately over hot white rice with steamed broccoli on the side.
Notes
- For extra crispy chicken without deep frying, you can bake the coated chicken at 400°F (200°C) for 15-20 minutes, flipping halfway, before tossing it in the sauce.
- If you prefer an air fryer method, cook the coated chicken at 380°F (195°C) for 10-12 minutes, shaking the basket halfway through.
- You can substitute chicken thighs for breasts for a juicier result.
Nutrition
- Serving Size: 1 serving
- Calories: 450
- Sugar: 35g
- Sodium: 550mg
- Fat: 15g
- Saturated Fat: 3g
- Unsaturated Fat: 12g
- Trans Fat: 0g
- Carbohydrates: 45g
- Fiber: 2g
- Protein: 35g
- Cholesterol: 100mg