

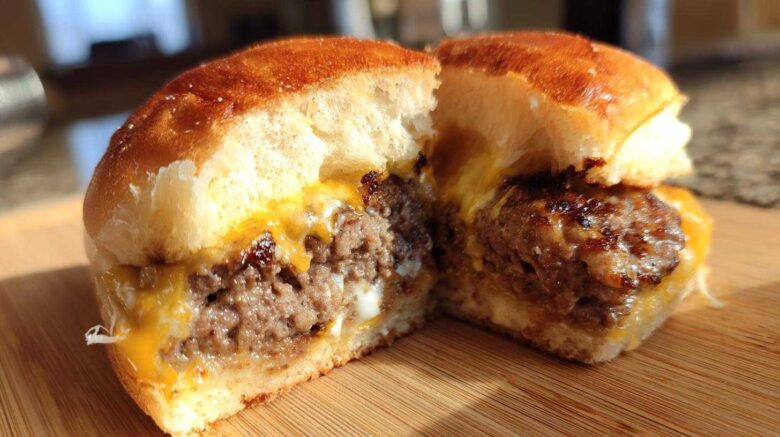
Juicy Lucy Stuffed Burger: Your Ultimate Guide
There’s something truly magical about a burger that bursts with flavor. And when that flavor comes from a gooey, molten cheese center? Pure bliss! We’re Elias and Hannah from Flavor Vista, and we’re so excited to share our guide to making the legendary Juicy Lucy stuffed burger right in your own kitchen. Forget those fancy restaurant prices; this recipe brings that incredible, oozy cheese experience home. We’ve spent years perfecting simple meals, and this burger is a shining example of how easy and rewarding home cooking can be. Get ready for a burger that’s unbelievably juicy and satisfying.
Why You’ll Love This Juicy Lucy Stuffed Burger
Get ready for your new favorite burger! This Juicy Lucy stuffed burger is a game-changer.
- It’s incredibly juicy, thanks to the sealed-in cheese.
- You get that amazing molten cheese center with every single bite.
- It’s restaurant-quality deliciousness you can easily make at home.
- The recipe is surprisingly simple and quick to follow.
- Perfect for barbecues, family dinners, or just a special treat.
A Flavor Vista Favorite: Our Juicy Lucy Story
We remember the first time we truly mastered a Juicy Lucy. It was a chilly evening, and we’d just come back from a long day. We wanted something comforting, something special, but easy. We decided to try our hand at this cheese-stuffed marvel. Elias was a bit nervous about sealing the cheese, but Hannah encouraged him, reminding him of all the simple meals we’d created together. When he pulled the first perfectly cooked burger off the skillet, that oozy cheese just flowed out. It was a delicious moment that perfectly captured our Flavor Vista philosophy: simple ingredients, made with love, creating an expansive view of culinary joy right in our own kitchen.
Gathering Your Juicy Lucy Stuffed Burger Ingredients
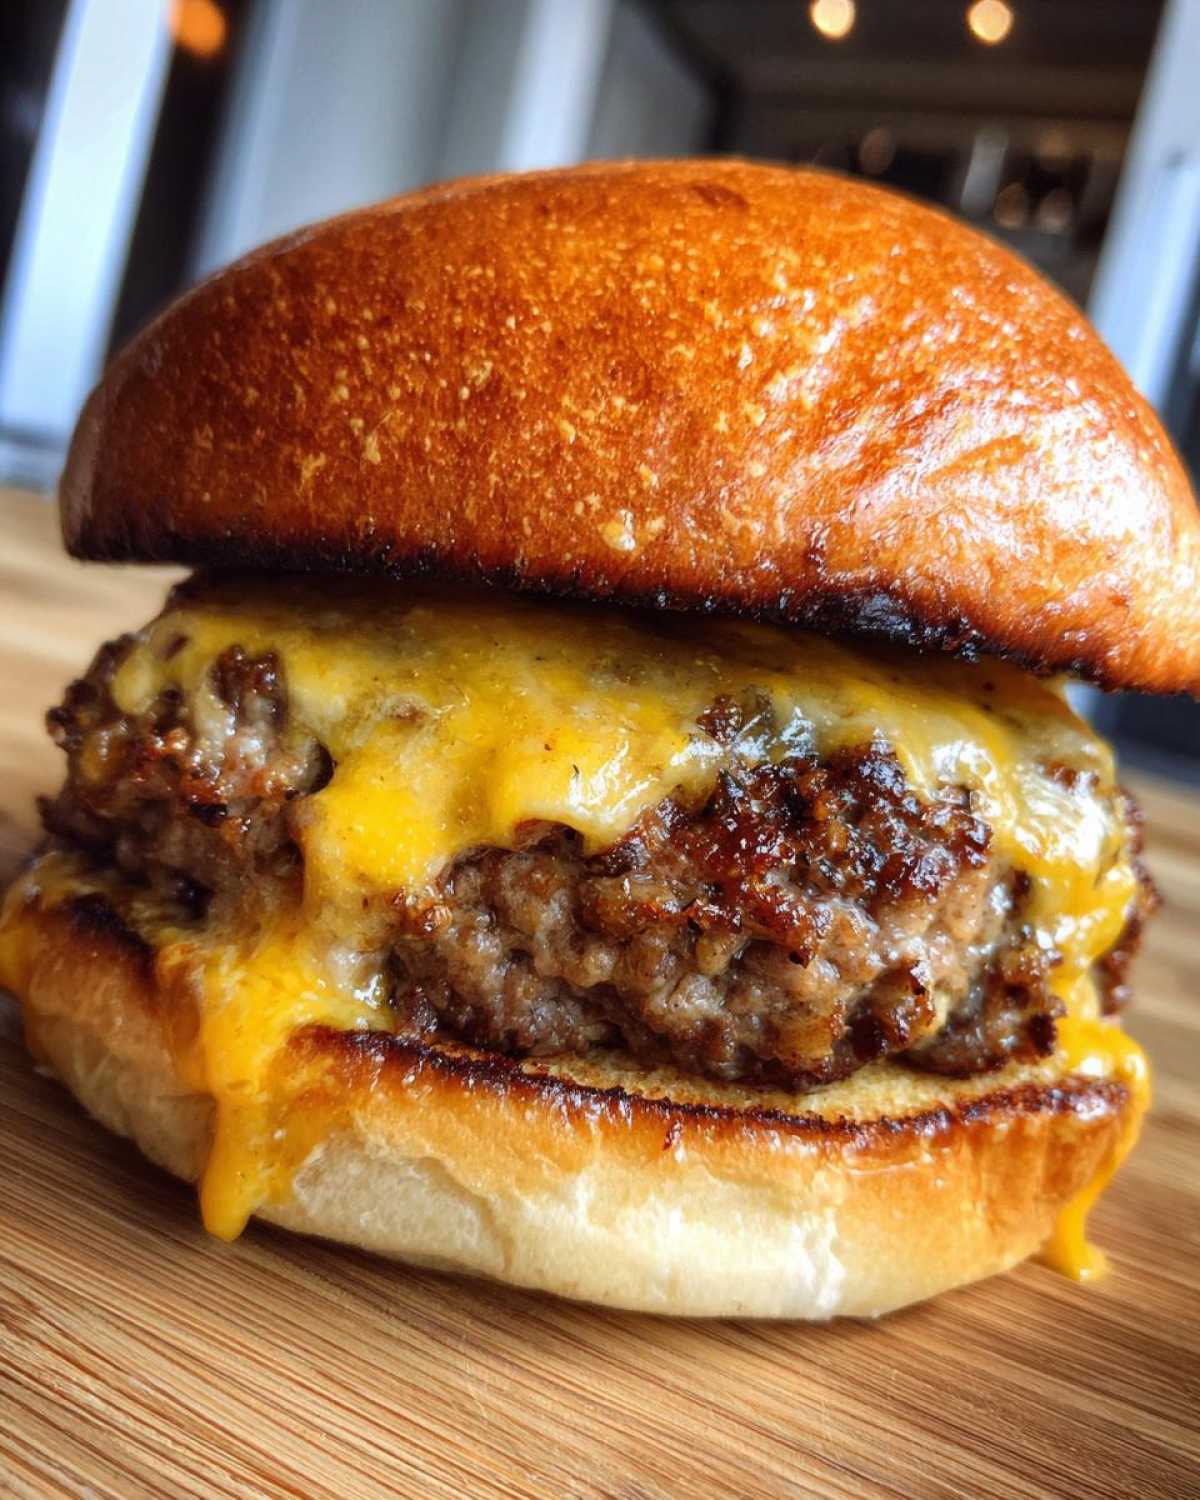
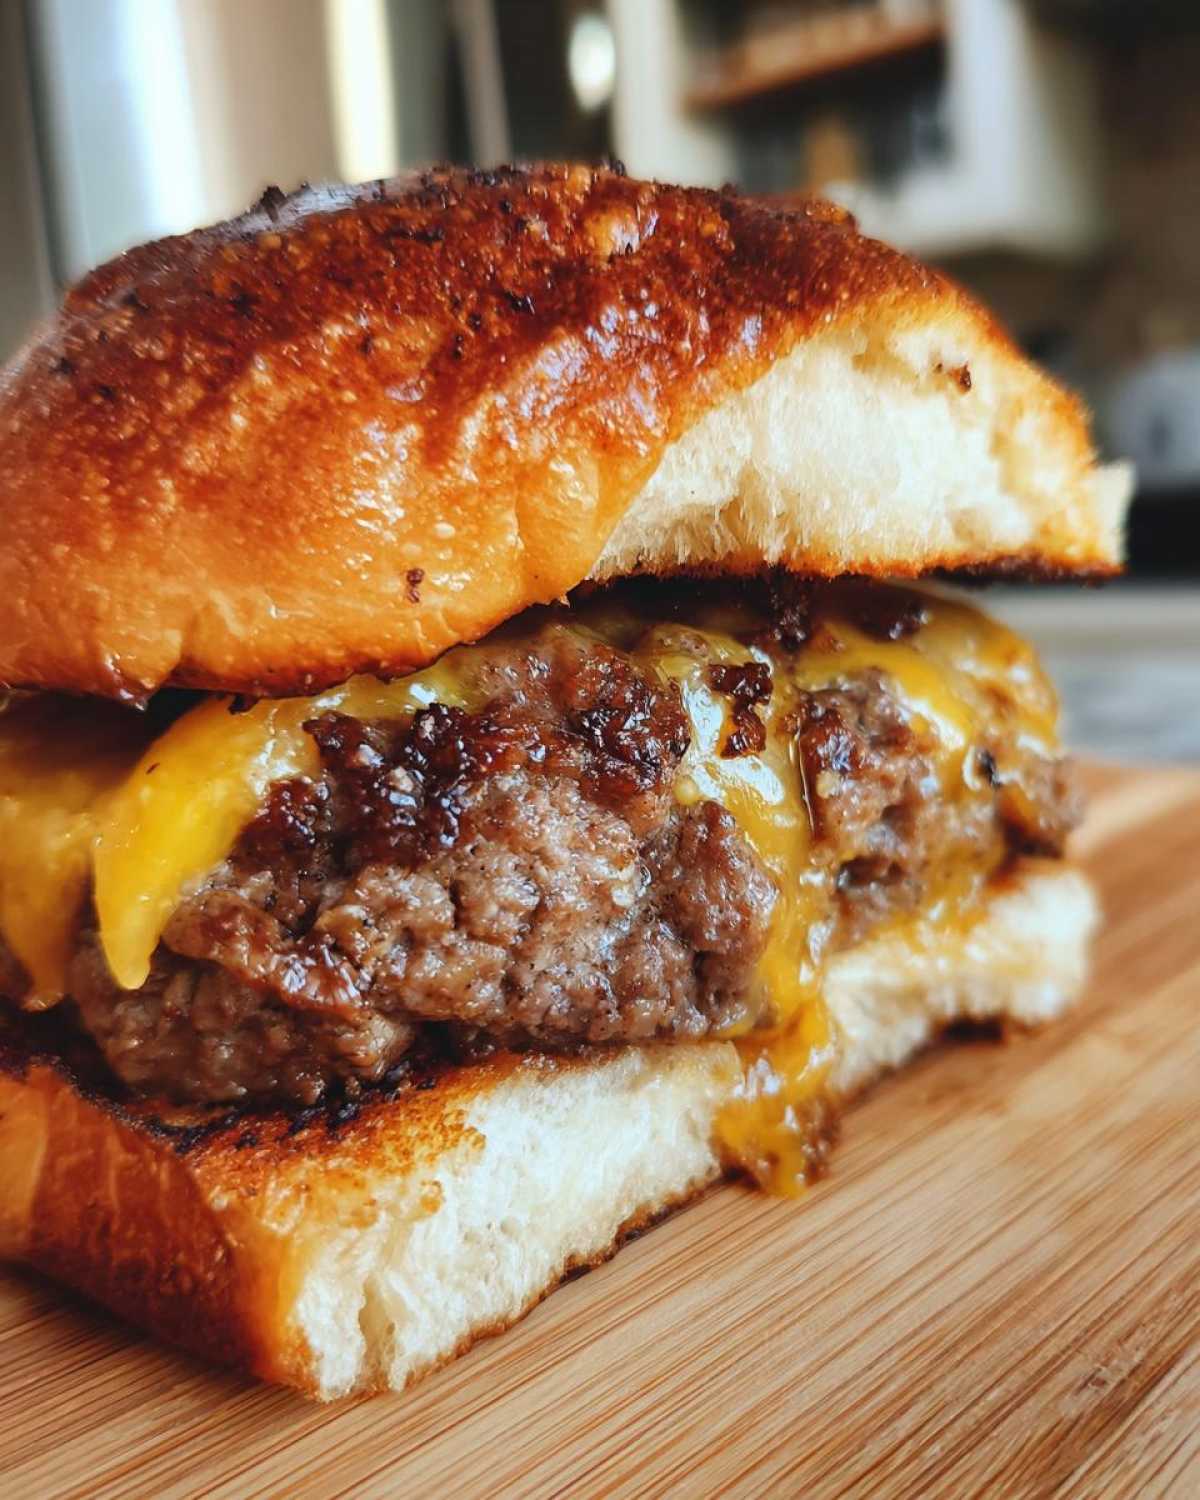
Let’s get everything ready for your delicious Juicy Lucy stuffed burger adventure! The key to this amazing burger is good quality ingredients. We’re starting with one pound of ground beef. For the juiciest results, I always reach for an 80/20 blend. This means 80% lean meat and 20% fat, which keeps the burger moist and flavorful. You’ll also need four slices of cheese. Cheddar is a classic choice, but American cheese melts like a dream, giving you that perfect oozy center. Feel free to mix them up! We’ll also grab four hamburger buns and some butter for toasting them. Don’t forget salt and black pepper for seasoning.
Ingredient Clarity for Your Juicy Lucy Stuffed Burger
The 80/20 ground beef is crucial for that signature juiciness. The fat renders beautifully as it cooks, keeping your burger from drying out. When it comes to cheese, cheddar offers a nice sharpness, while American cheese provides an unparalleled creamy, melty texture that’s ideal for the stuffed center. If you’re feeling adventurous, try a slice of pepper jack for a little kick! For an extra flavor boost, consider mixing a pinch of garlic powder or onion powder right into the ground beef before forming your patties.
Crafting the Perfect Juicy Lucy Stuffed Burger: Step-by-Step
Now for the fun part: building your very own Juicy Lucy stuffed burger! It’s all about a few simple steps that make a big difference. We’ll guide you through forming the patties, sealing in that cheesy goodness, and cooking them to absolute perfection. Follow along, and you’ll be biting into a masterpiece in no time. Remember, patience is key here.
Preparing the Patties for Your Juicy Lucy Stuffed Burger
First, let’s get our beef ready. Divide your pound of ground beef into two equal portions. Then, divide each of those portions into two smaller balls. You should have four balls total. Take one ball and gently flatten it into a patty. We’re aiming for about half an inch thick. Make sure they’re nice and even so they cook uniformly. Repeat this with the other three balls.
Sealing the Molten Cheese Center
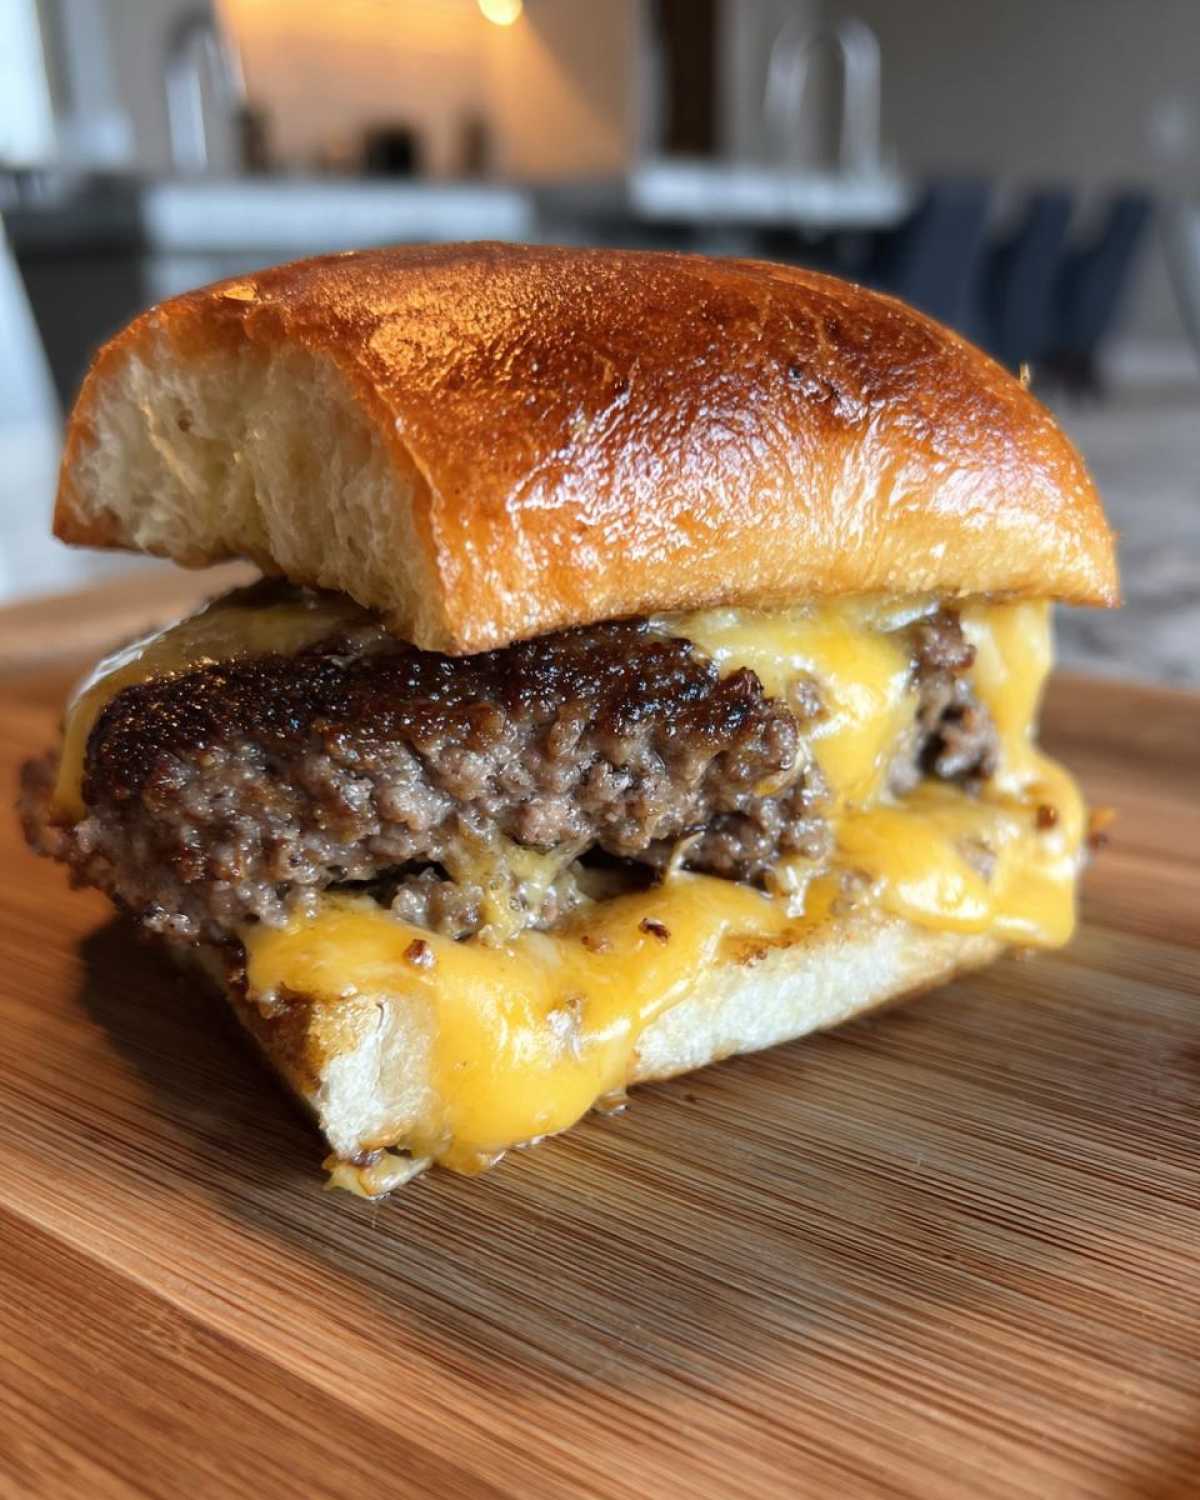
This is where the magic happens! Take one of your flattened patties. Place two slices of cheese right in the middle, leaving a small border around the edge. Now, take a second patty and carefully place it on top of the cheese. This is the crucial step: gently pinch the edges of the two patties together. You want to create a really good seal. Make sure there are absolutely no gaps where that glorious cheese can escape. Repeat this whole process for your second burger.
Cooking Your Juicy Lucy Stuffed Burger to Perfection
It’s time to cook! Preheat your grill or a skillet to medium-high heat. Season the outside of both your sealed burgers generously with salt and pepper. Place them on the hot grill or skillet. Cook for about 4 to 5 minutes per side. We’re looking for an internal temperature of 160°F (71°C). A meat thermometer is super helpful here! A vital tip: please don’t press down on the burgers while they’re cooking. This will squeeze out all that precious cheese. While the burgers cook, butter the insides of your buns and toast them until they’re golden brown.
Essential Equipment for Your Juicy Lucy Stuffed Burger
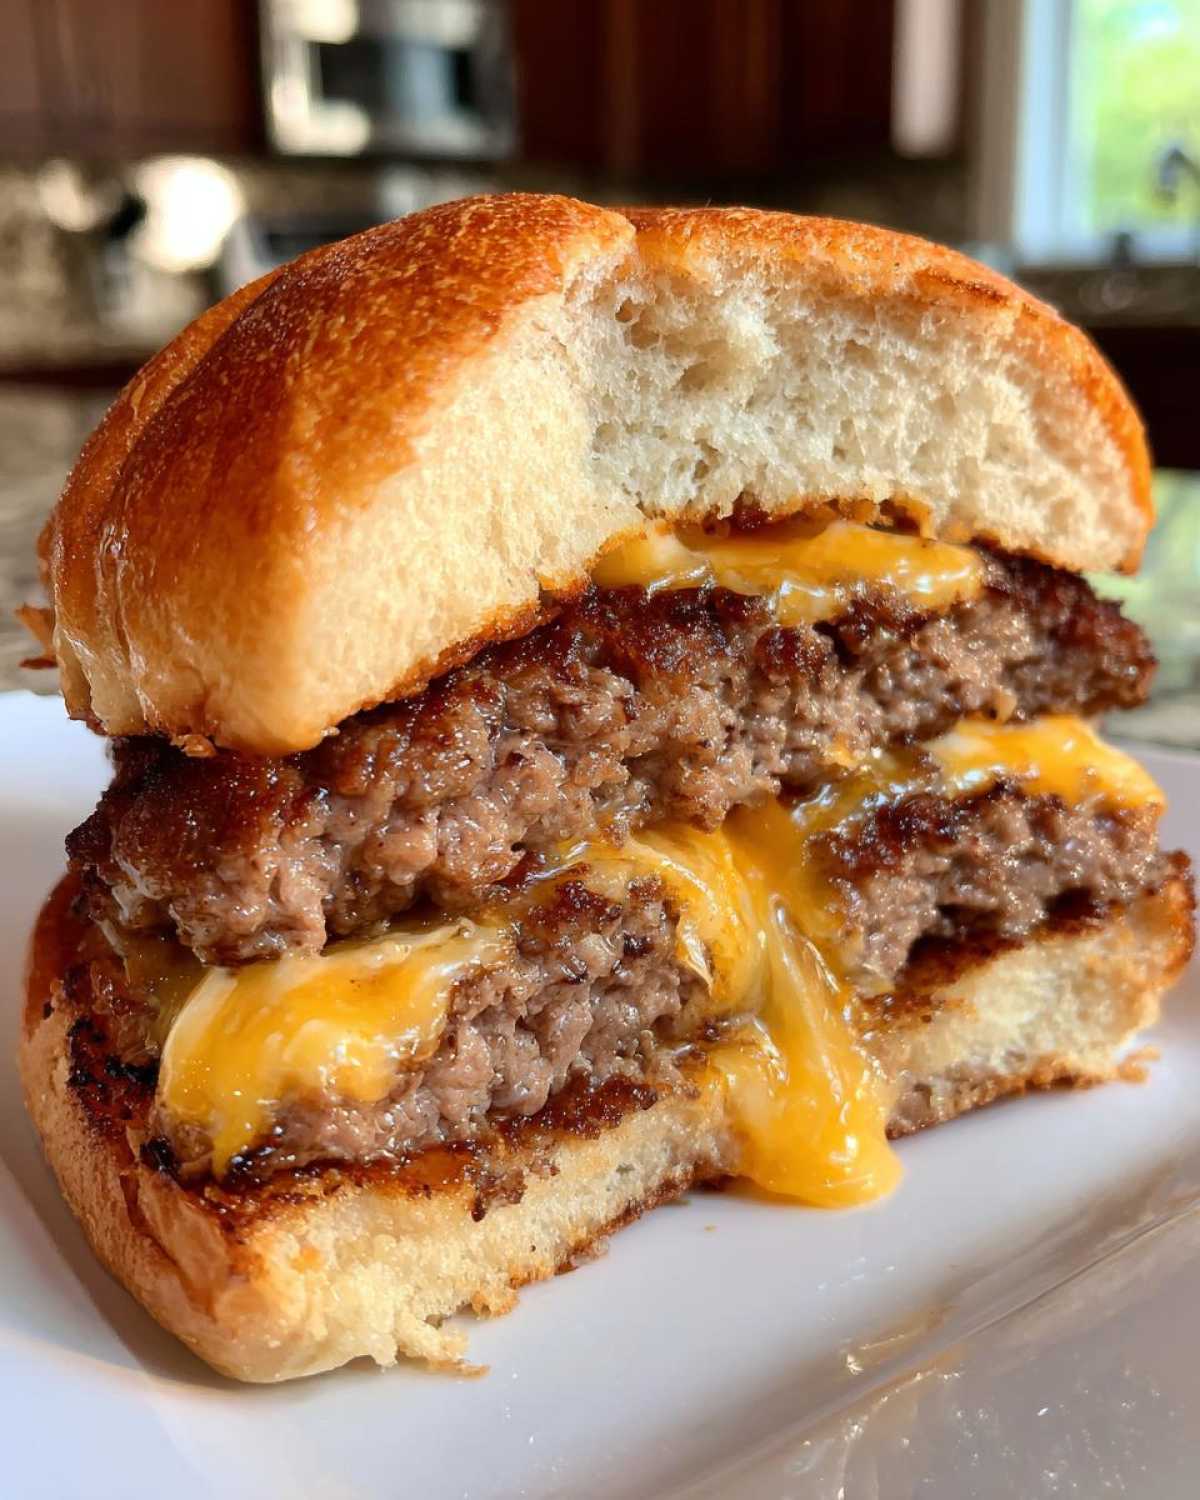
To make these amazing burgers, you don’t need a lot of fancy gadgets. You’ll definitely want a good skillet or a grill for cooking. A couple of mixing bowls are handy for portioning the beef. A sturdy spatula is your best friend for flipping those juicy patties. Don’t forget some measuring spoons if you decide to add those optional seasonings. A meat thermometer is also a great tool for ensuring your burger is cooked just right, giving you peace of mind.
Mastering the Juicy Lucy Stuffed Burger: Pro Tips
Want to guarantee a perfect Juicy Lucy every time? I’ve learned a few tricks along the way. When handling the ground beef, try not to overwork it; this keeps the burgers tender. For a beautiful sear, make sure your grill or skillet is nice and hot before adding the burgers. The biggest secret to preventing cheese blowouts is that careful pinching of the patty edges. Really seal them well! And seriously, a good meat thermometer is your best friend here. It takes the guesswork out of cooking and ensures your burger is safely cooked without overdoing it.
Enjoying Your Juicy Lucy Stuffed Burger
The moment has arrived! Take a big bite and experience that incredible oozy cheese center. It’s pure joy in every juicy mouthful. These burgers are best enjoyed right away, while they’re hot and the cheese is perfectly melted. Get ready for a truly satisfying meal.
Frequently Asked Questions About Juicy Lucy Stuffed Burgers
Got questions about making the perfect Juicy Lucy stuffed burger? We’ve got answers! Many of you ask about the best cheese. While cheddar and American are fantastic, feel free to experiment. Pepper jack adds a nice warmth, and a mix of Swiss and Gruyere offers a nutty depth. If you’re wondering, “Can I make Juicy Lucys indoors?”, the answer is a resounding yes! A cast-iron skillet on the stovetop works beautifully, just like our method describes.
A common concern is, “How do I stop the cheese from leaking?” The key is a really good seal. When you pinch the edges of the two patties together, take your time and be thorough. Ensure there are no gaps. Pressing the edges firmly helps create a secure pocket for that glorious molten cheese. Also, avoid pressing down on the burger while it cooks; this can force the cheese out.
Juicy Lucy Stuffed Burger: Nutritional Estimate
While exact numbers vary, one of these amazing burgers typically falls between 500-600 calories. You’ll get a good amount of protein from the beef, and the fat content contributes to that incredible juiciness. Carbohydrate counts will depend mainly on your bun choice. Remember, these are estimates and can change based on your specific ingredients!
PrintJuicy Lucy Stuffed Burger: 4 Ooey-Gooey Bites
Learn how to make the ultimate Juicy Lucy burger at home. This classic burger features a molten cheese core, creating an incredibly juicy and flavorful experience with every bite. Elias and Hannah from Flavor Vista share their simple, encouraging guide to mastering this restaurant-favorite.
- Prep Time: 15 minutes
- Cook Time: 10 minutes
- Total Time: 25 minutes
- Yield: 2 burgers
- Category: Main Course
- Method: Grilling or Pan-Frying
- Cuisine: American
- Diet: None
Ingredients
- 1 pound ground beef (80/20 recommended)
- 4 slices of cheese (cheddar, American, or a mix work well)
- Salt and black pepper to taste
- 4 hamburger buns
- Butter for toasting buns
Instructions
- Divide the ground beef into two equal portions.
- Divide each portion into two smaller, equal balls. You should have four balls total.
- Flatten each ball into a patty, about 1/2 inch thick.
- Place two slices of cheese on one patty, leaving a small border around the edge.
- Top with the second patty.
- Carefully pinch the edges of the patties together to seal the cheese inside. Ensure there are no gaps.
- Repeat with the remaining patties and cheese.
- Season the outside of both burgers generously with salt and pepper.
- Preheat your grill or a skillet to medium-high heat.
- Cook the burgers for about 4-5 minutes per side, or until the internal temperature reaches 160°F (71°C). Avoid pressing down on the burgers while cooking to keep the cheese inside.
- While the burgers cook, lightly butter the inside of the hamburger buns.
- Toast the buns on the grill or in a separate pan until golden brown.
- Place each cooked burger on a toasted bun.
- Serve immediately and enjoy the oozy cheese center!
Notes
- For an extra flavorful burger, you can add a pinch of garlic powder or onion powder to the ground beef.
- Experiment with different types of cheese for unique flavor combinations.
- If you don’t have a grill, a cast-iron skillet works perfectly for cooking these burgers.
Nutrition
- Serving Size: 1 burger
- Calories: Approximately 500-600 (will vary based on ingredients)
- Sugar: N/A
- Sodium: N/A
- Fat: N/A
- Saturated Fat: N/A
- Unsaturated Fat: N/A
- Trans Fat: N/A
- Carbohydrates: N/A
- Fiber: N/A
- Protein: N/A
- Cholesterol: N/A