

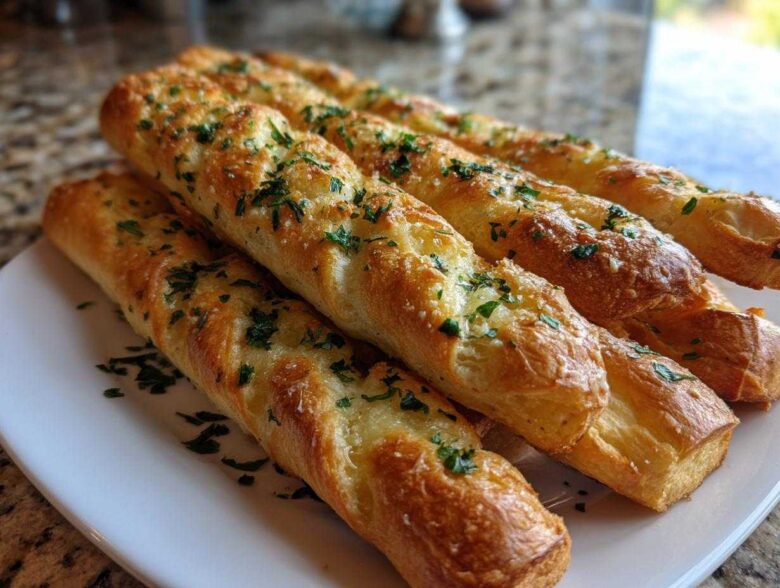
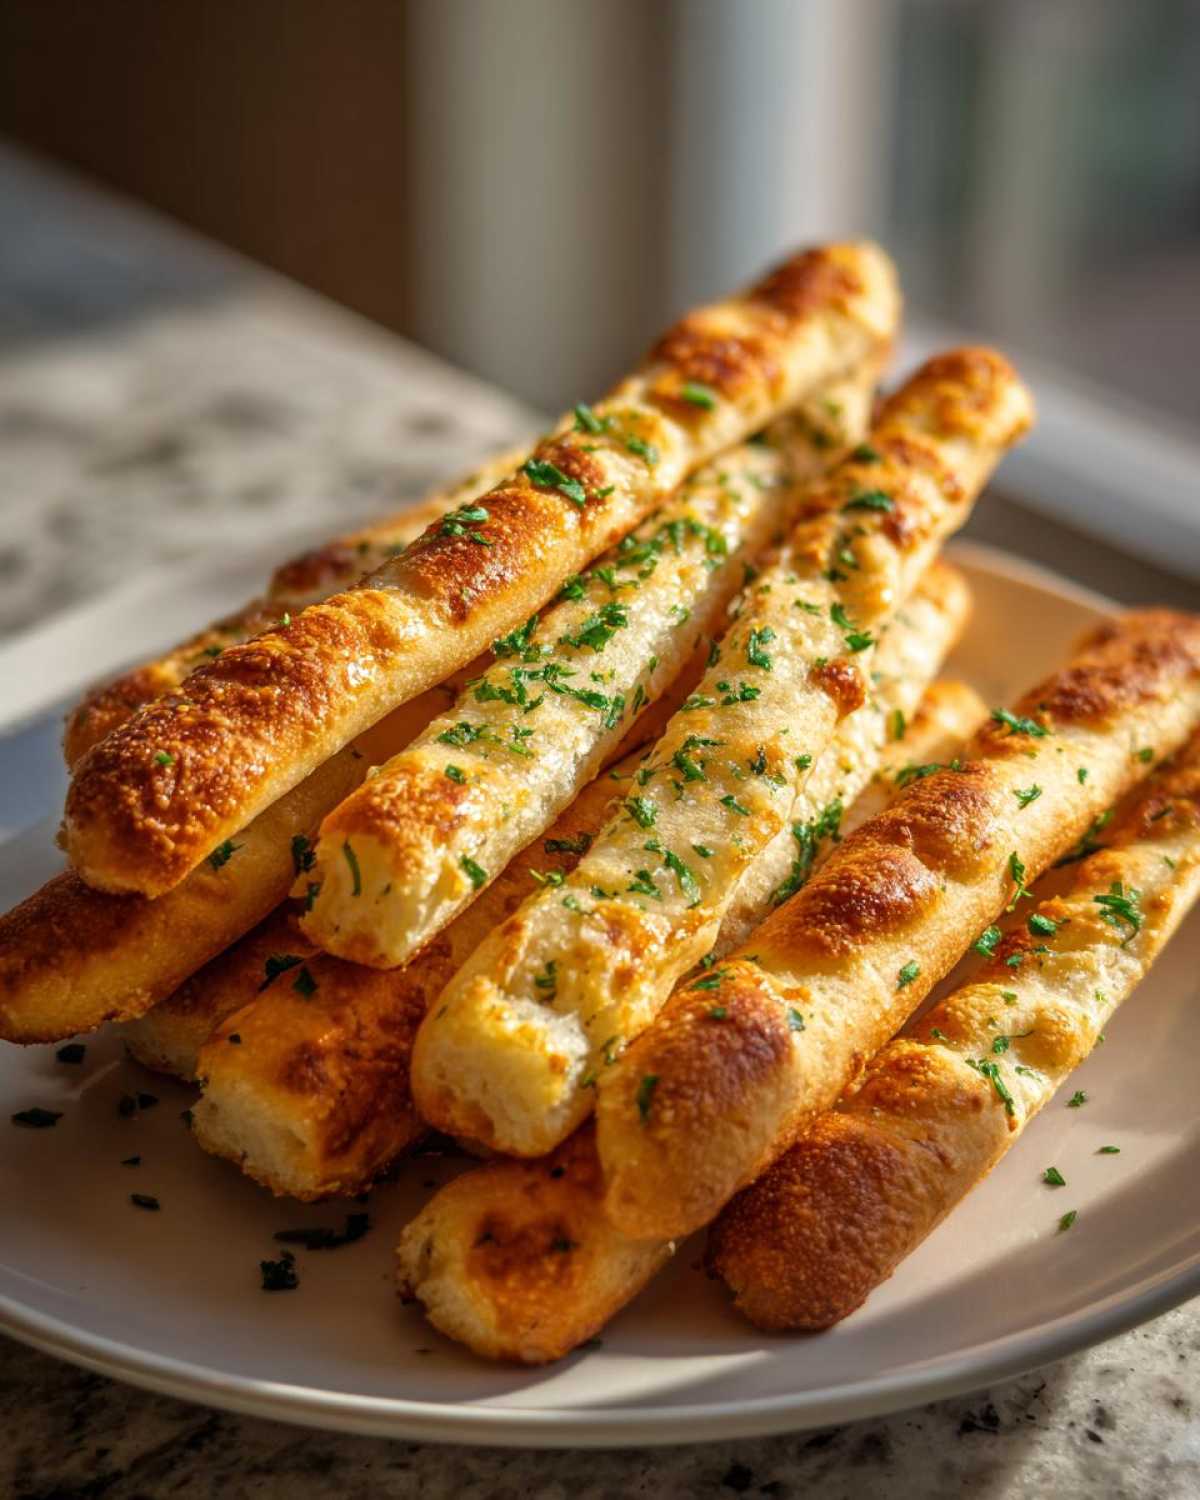
There’s nothing quite like that perfect bite of golden, garlicky goodness, right? We all crave the best appetizers that don’t take half the evening to make. That’s why I swear by these **Air Fryer Crispy Garlic Breadsticks**! Let me tell you, I used to battle soggy bottoms every time I tried baking breadsticks in the oven. They’d look beautiful coming out, but the second they cooled, they turned into limp, sad dough sticks. Ugh! But once I dragged my air fryer onto the counter, everything flipped. This machine is truly the secret weapon for achieving that shatteringly crispy outside while keeping the inside soft and fluffy in seriously less than fifteen minutes total. Trust me, you won’t miss the oven for a minute!
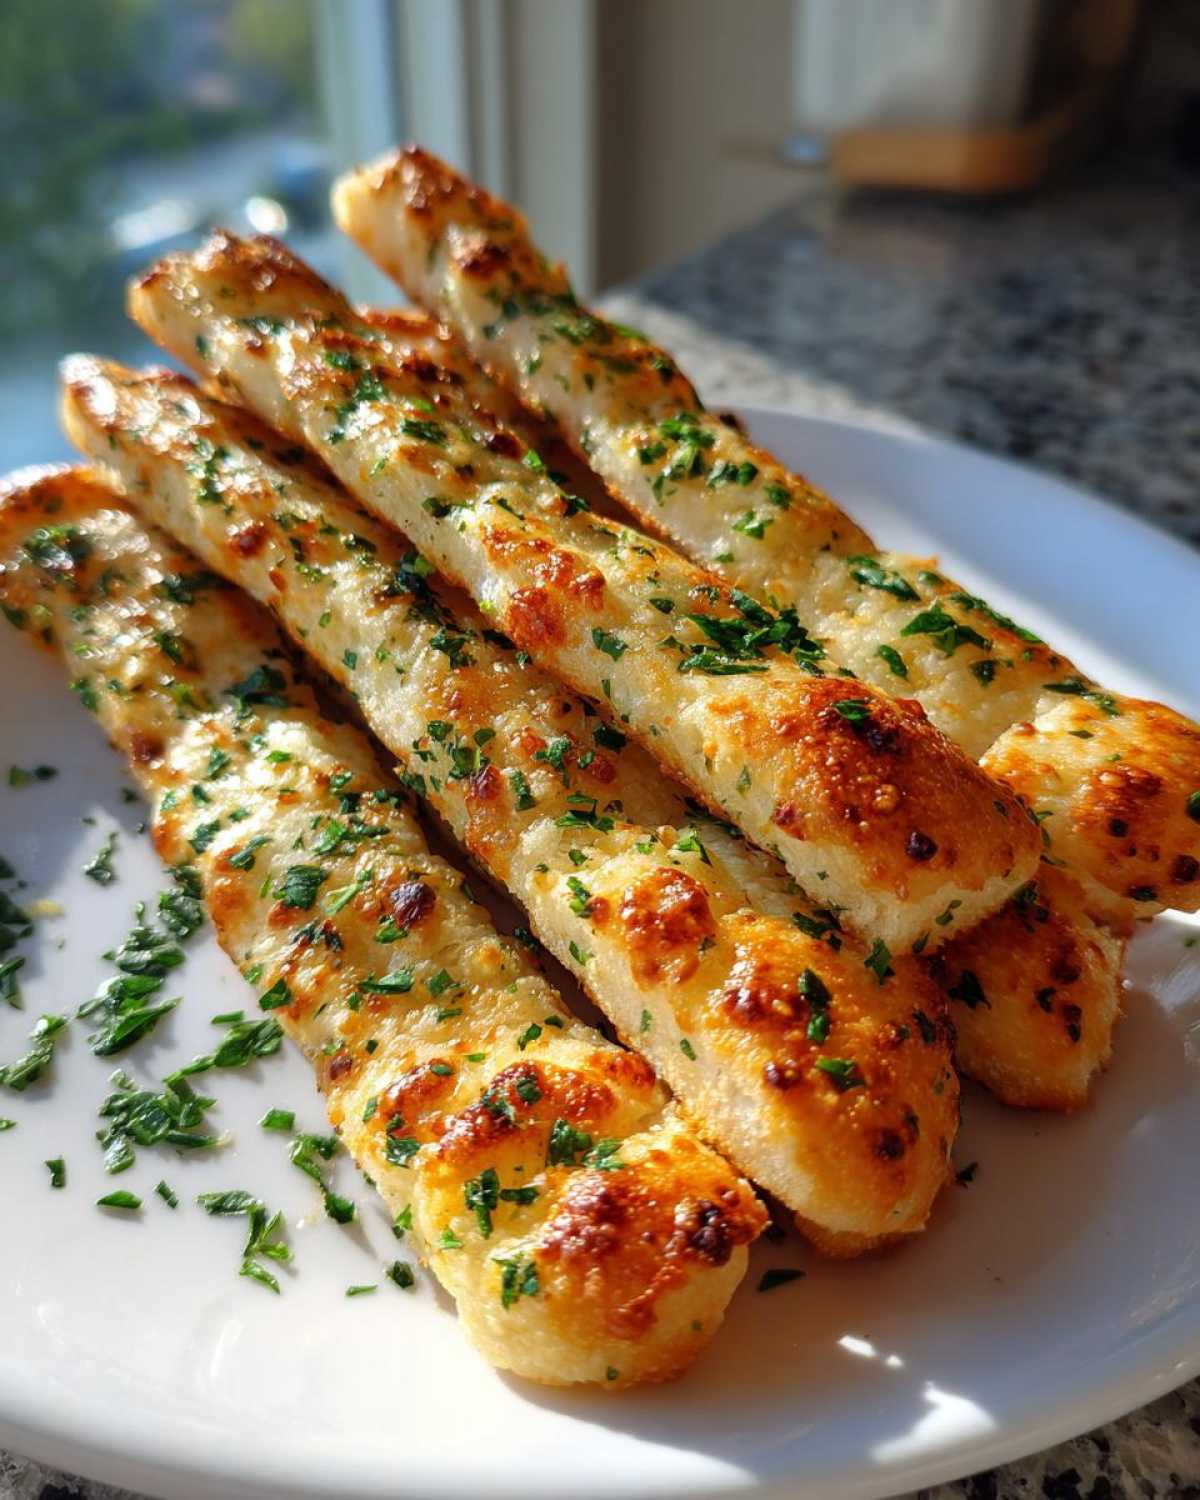
If you’ve ever wanted to master garlic breadsticks without the fuss, I share all my tips, including how I get that deep, rich flavor profile, over at my other homemade breadsticks recipe, but you’ll want the speed of this air fryer version for weeknights!
Why You Will Make These Air Fryer Crispy Garlic Breadsticks
Seriously, once you try these, you’re going to wonder why you didn’t use your air fryer for this sooner. It completely changes the game! I find myself making these as a quick side dish all the time now because the payoff is huge for almost zero effort.
- Seriously Crisp Texture: The circulating hot air blasts away any surface moisture, giving you that beautiful golden-brown crust that sinks your teeth right into the soft bread interior. They are exactly what the name promises: crispy!
- Fastest Appetizer Ever: We’re talking 5 minutes of prep, tops. Because all you’re doing is brushing and tossing them in the basket, you’ll have a hot snack on the table before the oven-baked versions even hit 250 degrees.
- Zero Preheat Stress: While I do recommend a quick preheat, even if you skip it, the dough cooks through super fast. It’s just so much more forgiving than waiting for a massive oven to get to temp.
- Perfect Portion Control: Using pre-made dough means you can easily cook just a few sticks if you’re only snacking, or make a huge batch for a party, all without wasting energy heating up a huge appliance.
Essential Ingredients for Perfect Air Fryer Crispy Garlic Breadsticks
When you’re making something this quick, you really need your ingredients to bring the powerful flavor, right? Since we’re relying on the air fryer’s speed, there’s no time for flavors to deepen slowly. That means we hit hard with the garlic and butter! We’re talking about standard refrigerated crescent roll dough—it’s the easiest base for perfect air fryer sticks. Don’t forget to check out my garlic parmesan green beans if you’re looking to double down on that flavor profile!
Dough Base and Garlic Butter Mixture
The dough is simple: just one standard 8-count can of crescent rolls. For the butter mixture, that’s where the magic happens. You need 4 tablespoons of melted unsalted butter to carry all that gorgeous flavor. Into that, you stir in 2 cloves of finely minced garlic—don’t use the jarred stuff if you can help it, that fresh bite is everything here! I also mix in 1/2 teaspoon of dried parsley for color, 1/4 teaspoon of garlic powder for an extra savory punch, and just a tiny pinch of salt.
Optional Cheesy Topping for Air Fryer Crispy Garlic Breadsticks
Now, if you want to turn this from a tasty side dish into a full-blown indulgence, the cheese comes in! I call this the **Cheesy Garlic Bread Air Fryer Method**. You just need about 1/4 cup of shredded mozzarella cheese. The trick here is that we do *not* add it at the beginning. If you put it on too early, it just melts and burns before the dough fully cooks. Save that sprinkle for the very last two minutes of air frying!
Step-by-Step Instructions for Air Fryer Crispy Garlic Breadsticks
Okay, this is the fun part where all that chopping and melting actually turns into food! Remember, the whole thing, from pulling out the dough to pulling out the sticks, takes about 13 minutes total, since prep is only about 5 minutes. You want these to come out golden, not pale, so pay close attention to the heat settings. When you’re done, you’ll want to try them immediately with my crispy air fryer potato wedges recipe for true appetizer nirvana!
Preparing the Dough and Butter Coating
- First thing: gently open that can of crescent roll dough. Separate those 8 triangles, but don’t unroll them completely—just try to keep them the same general size. If you want slightly longer sticks, you can gently pull them apart, but don’t stretch them too thin!
- Take that fantastic garlic butter mixture you just made and use a pastry brush to paint every piece generously. Make sure you coat the tops really well, because that butter is going to crisp up beautifully in the hot air.
Air Frying Technique for Best Air Fryer Crispy Garlic Breadsticks
This is where the air fryer earns its keep! Step one here is preheating. You want the basket ready to go, so pop it into the air fryer at 350°F (175°C) for about 3 minutes. Once it’s hot, place the buttered dough pieces inside the basket in a single, totally separate layer. I can’t stress this enough: do not stack them! Overcrowding means steaming, and we want crispy air fryer breadsticks, not soggy dough puddles. They only take about 6 to 8 minutes total to cook.
If you’re adding cheese, throw that mozzarella on during the last 2 minutes of the cook time. Then pull them out—they should be puffed up and gloriously golden!
Expert Tips for Achieving Ultimate Air Fryer Crispy Garlic Breadsticks Texture
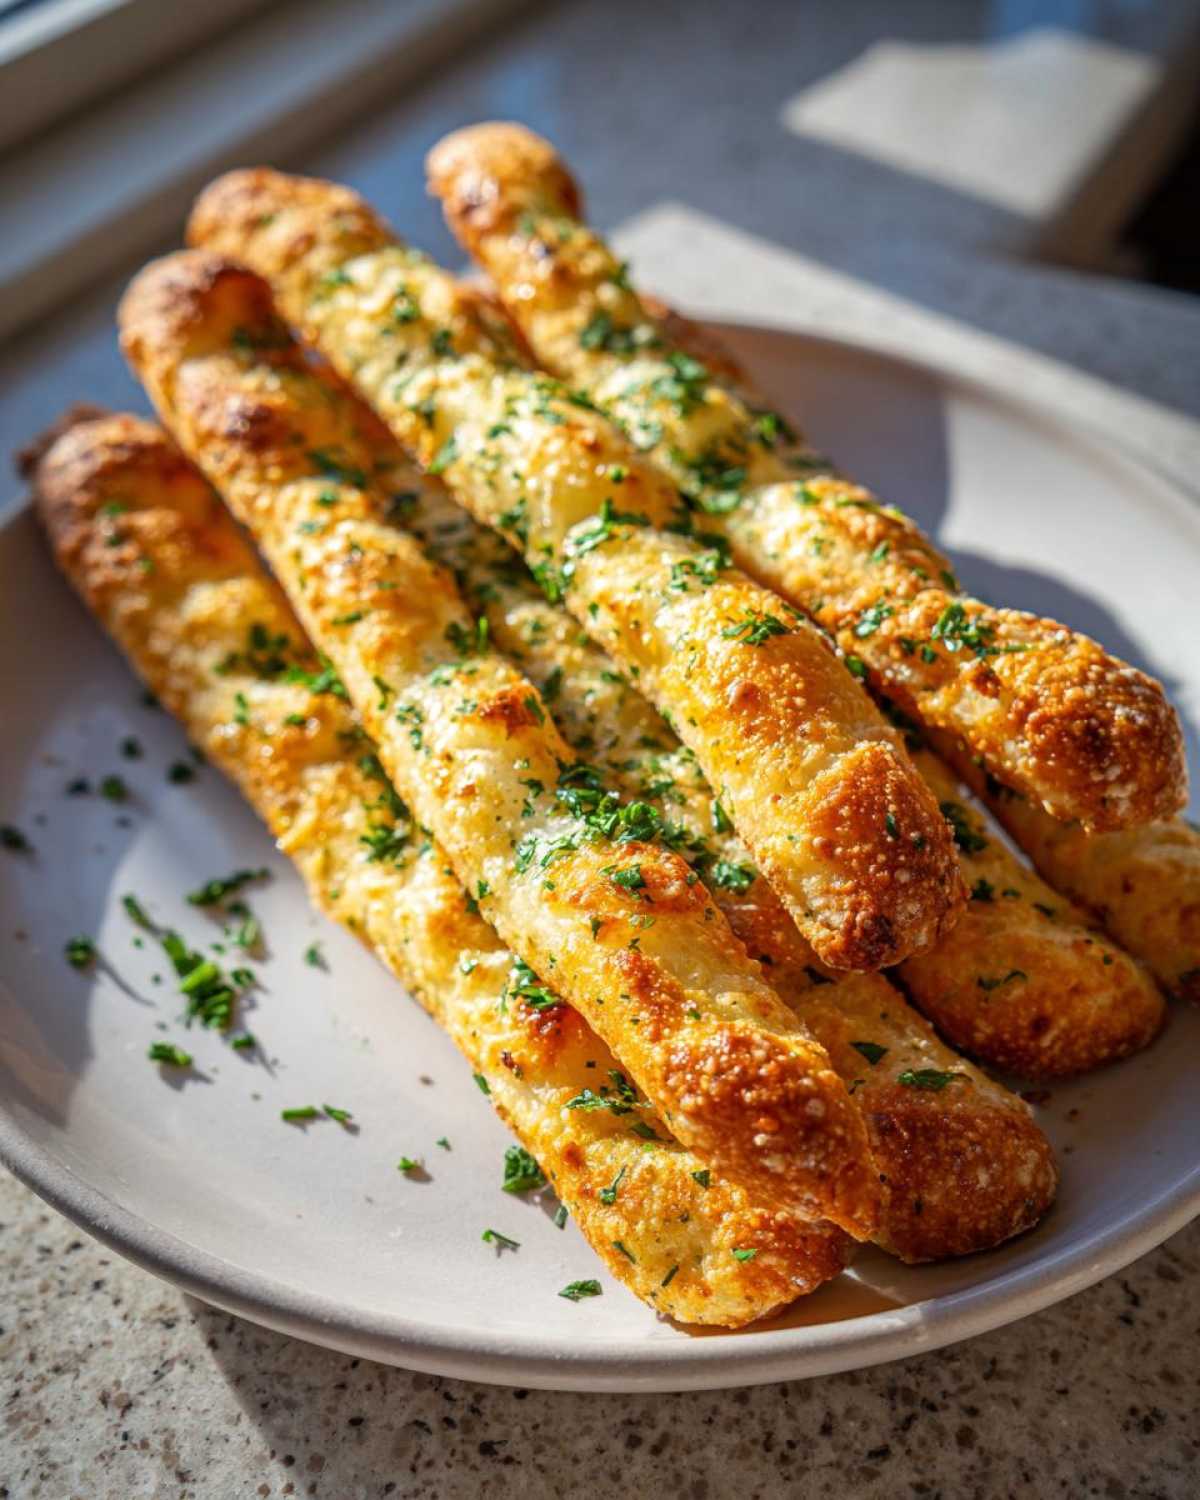
Okay, getting these **Air Fryer Crispy Garlic Breadsticks** this good isn’t just luck; it’s about leaning into what the air fryer does best! Since the cooking window is so short—only about 8 minutes—you need to be smart about how you load that basket. If you’re looking for some general appliance advice, check out my post on air fryer snack hacks, but let’s talk texture specifically for these sticks.
Temperature Control and Batch Cooking
I cannot say this enough: do not overlap your breadsticks! If the dough pieces are touching or layered, the hot air can’t circulate freely around them. What happens then? You end up with steamed bottoms instead of that advertised **Crispy Texture Air Fryer** goodness. It ruins the whole point! You have to cook in batches if you are doubling the recipe. It might take an extra minute or two overall, but it guarantees every single stick comes out golden and perfect.
Now, if you happen to be using a dough that is naturally much thicker than the standard crescent roll triangles—maybe you cut them extra wide—you might find the outside is getting too dark before the middle is hot. If that happens, just drop your temperature down low, maybe to 340°F (170°C), and then let them cook for an extra minute or so. It’s all about balance!
Boosting Crispiness in Your Air Fryer Breadsticks Recipe
Want that bonus crunch that puts these over the top? Before you brush on your garlic butter, go ahead and give the bottom of your air fryer basket a very light, even spray of non-stick cooking spray. This little step, which I learned from a friend who swears by it, helps the bottom of the dough get almost fried rather than just baked. It really helps lock in that crunchy exterior we are aiming for!
Also, the cheese! If you choose to add that optional mozzarella, remember the timing. You want it melted and slightly browned, not burnt crisp. Sprinkle it on for the last 2 minutes of cooking time along with the others. That way, you get great cheese pull *and* that wonderful crispy exterior on the bread underneath.
Variations for Your Homemade Garlic Bread Air Fryer Sticks
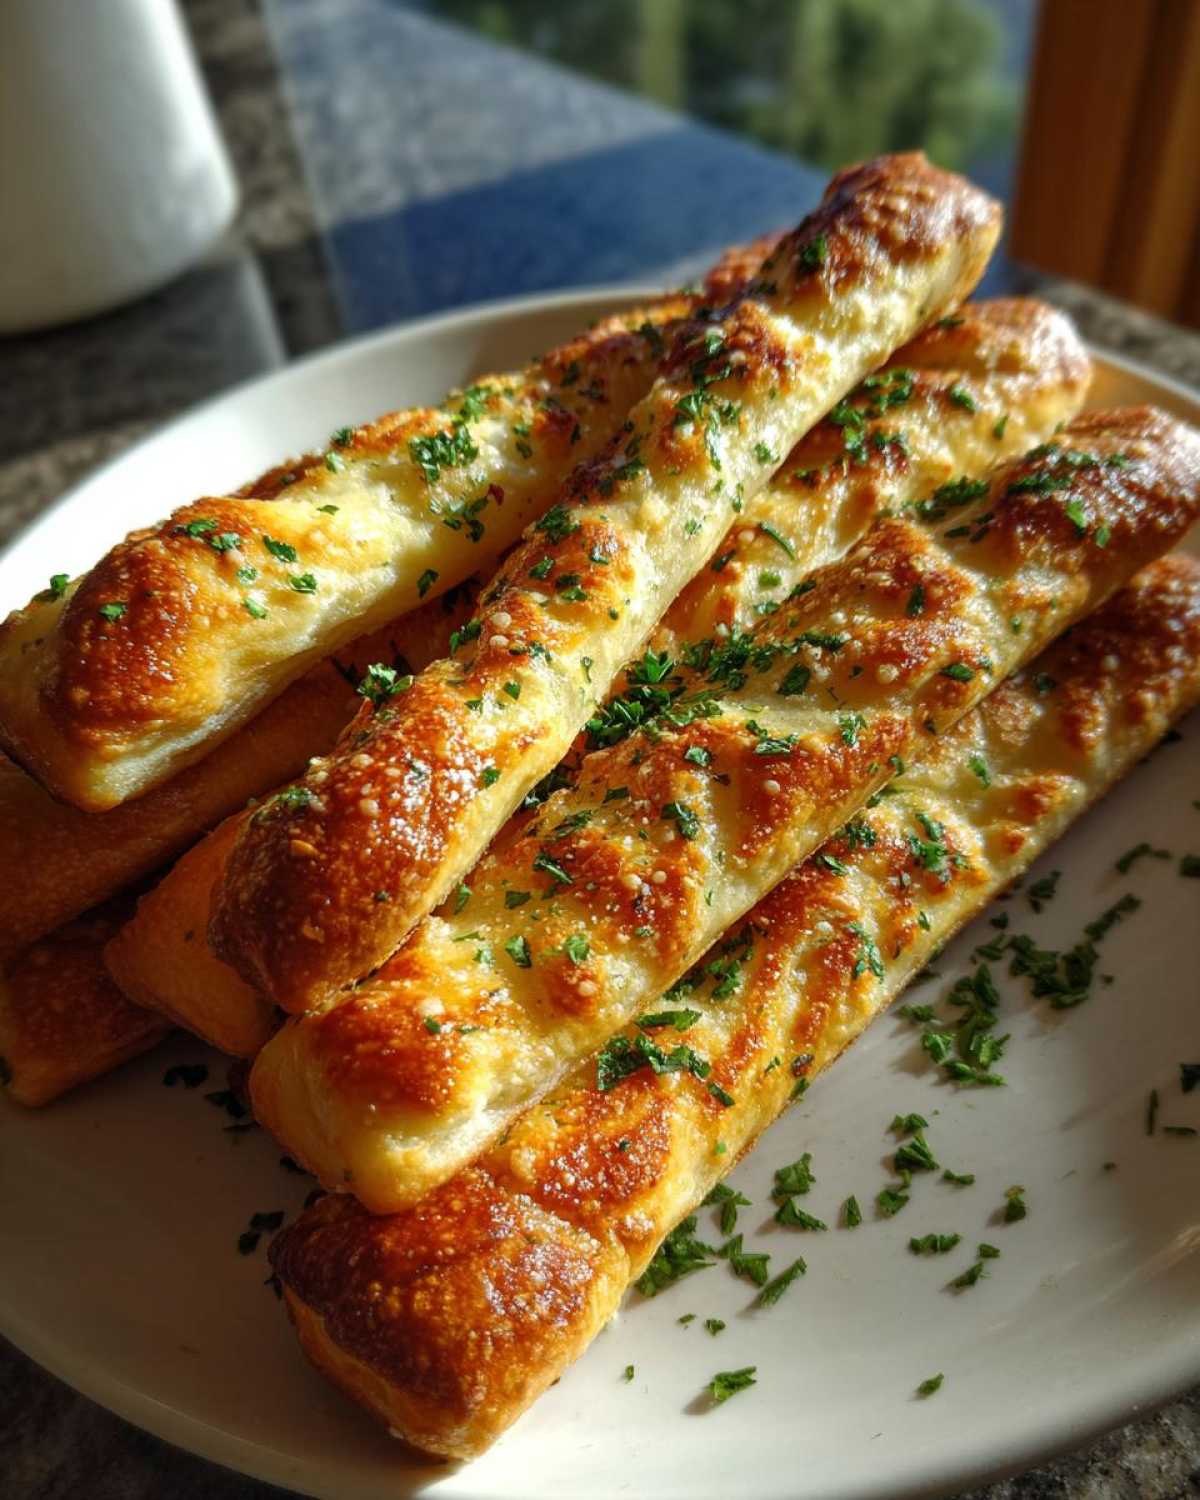
Once you nail the basic technique for these **Air Fryer Crispy Garlic Breadsticks**, the sky’s the limit! It’s so fast that you can totally afford to experiment a little. I usually have half my batch plain and garlic-y, and the other half customized, just so everyone gets what they want. It’s a great way to switch things up for a party or just to keep things interesting for the family!
If you’re building out a whole spread of appetizers, you should definitely check out my recipe for the Italian Herb and Cheese Bread—it uses a similar base but packs a different spice punch!
Here are three simple ways I like to change up the flavor profile for these **Quick Air Fryer Snacks**:
- Parmesan Pepper Crust: Forget the mozzarella sometimes and load up on finely grated Parmesan cheese stirred right into your garlic butter mixture before you brush it on. Then, dust liberally with freshly cracked black pepper right before they go into the air fryer. It gives you a salty, sharp coating instead of a gooey one!
- A Little Smoky Heat: If you like things with a kick, a tiny pinch of smoky paprika or a small dash of cayenne pepper in your butter mix creates a subtly spicy flavor. This turns it into a great **Crispy Air Fryer Appetizer** that surprises people! Make sure to use just a pinch—we don’t want to overpower that beautiful garlic, after all.
- The Pesto Swirl: This is for when I’m feeling fancy but still lazy! After brushing on the garlic butter, use a toothpick or the tip of a knife to swirl in a very small amount of good quality basil pesto right onto the dough surface. This variation makes for a vibrant, herby flavor that really stands out, sort of like a **Cheesy Garlic Bread Air Fryer Method** but with intense basil notes.
Serving Suggestions for This Easy Air Fryer Side Dish
These breadsticks are amazing all on their own, but honestly, who eats a breadstick without a delicious dip for company? They are designed to be your sidekick for so many meals, making them the perfect **Easy Air Fryer Side Dish** when you need something warm and satisfying fast. I always keep a jar of sauce ready because that first grab-and-dip moment is the best part!
I think the best pairing, hands down, is a super simple marinara sauce. I usually have a batch of my easy weeknight Bolognese simmering, and it’s the perfect rich, slightly sweet counterpart to the salty garlic and butter coating we put on these sticks.
But if you’re serving them up differently, here are a few other ideas that always go over huge:
- Hearty Chili or Soup: Forget a boring dinner roll! These make phenomenal soppers for thick soups like creamy tomato bisque or a hearty beef chili. They hold up so well because they’re sturdy on the outside.
- Cold Pasta Salad Night: We often make big pasta salads in the summer, and these breadsticks are perfect for scooping up any leftover dressing or cutting through the richness of the cheese and vinaigrette.
- Homemade Meatballs: If you’re making a big sheet pan of meatballs, you absolutely need these sticks on the side to soak up all those extra sauces and drippings running onto the plate. They disappear quickly!
Storage and Reheating Instructions for Air Fryer Breadsticks Recipe
It’s rare that we have leftovers of these **Air Fryer Crispy Garlic Breadsticks** because they are usually devoured moments after they come out of the basket—they are just too tempting! But, hey, if you manage to save a few, the cleanup is easy, and saving them is even easier. Remember, the goal is to keep that crunchy texture we worked so hard for!
If you do have some left over, get them into an airtight container right away. Room temperature is the best place for them, but only for a day or so—they really are best eaten fresh. If you need to keep them longer than 24 hours, pop them in the fridge, but be warned, they will definitely soften up a bit.
Don’t even think about opening up that microwave for reheating, okay? That’s the quickest path back to sadness and sogginess! The beauty of having an air fryer is that you can bring back that fresh-from-the-basket crispness in literally three minutes. To do this, just set your air fryer back to 340°F (170°C). Pop the sticks in a single layer—we don’t want overcrowding when we are trying to crisp things up! Heat them for about 2 to 3 minutes, and they will be piping hot, fragrant, and crunchy all over again. It’s perfect for reviving them when you serve them up as an Easy Air Fryer Side Dish the next day!
Frequently Asked Questions About Making Air Fryer Crispy Garlic Breadsticks
I know you might have a few little questions fluttering around now that you’ve seen how fast these turn out. It’s totally normal! Anytime you switch from the oven to the air fryer for something like these **Quick Air Fryer Snacks**, you want to make sure you nail the technique the first time. I’ve pulled together a few common things people ask me about **How to make Breadsticks in Air Fryer** successfully!
Can I use frozen bread dough instead of refrigerated dough?
You absolutely can, but you have to plan ahead! Frozen dough won’t work straight out of the freezer unless you want pale, raw dough in the middle. If you are using frozen dough, you must completely thaw it first. Let it sit on the counter for a few hours until it’s soft like the refrigerated kind. Because frozen dough might bring a little bit of excess moisture with it once thawed, I usually recommend dropping the temperature right down to 330°F (165°C) and watching them closely for about 10 minutes instead of the usual 6 to 8. You still get that crisp action, it just needs a little more gentle coaxing!
What is the best temperature for the Best Air Fryer Breadsticks?
For the standard refrigerated crescent roll dough, 350°F (175°C) is my sweet spot. That temperature is hot enough to flash-dry the outside layer of the dough quickly, which is what creates that immediate crispness we are chasing. It gets the exterior golden brown and slightly crunchy in just a few minutes while still allowing enough time for the center to get soft and baked through without burning the garlic butter. It’s that perfect balance. If you followed my cooling tip and lowered the heat for frozen dough, remember that’s just to adjust for the starting temperature!
Can I make these breadsticks ahead of time?
Here’s the honest truth: you *can* make them ahead, but you really shouldn’t if you want the best experience. These are designed to be eaten the second they come out of the air fryer. They are at their peak crispiness at minute one. If you have leftovers from a party, stick them in an airtight container, and definitely plan to reheat them! As I mentioned before, the microwave is your enemy here. Just pop them back into the air fryer at 340°F for a couple of minutes, and they’ll be crunchy again. That’s why I always suggest making smaller batches if you aren’t sure everyone will eat them right away—it saves the reheating effort and keeps the quality high for your next batch of Air Fryer Snack Hacks!
Nutritional Estimates for Air Fryer Crispy Garlic Breadsticks
Now, let’s talk quickly about what’s going into these delicious little sticks. Because these are made primarily from crescent roll dough and butter, they are certainly more of an indulgent appetizer than a health food staple, but hey, everything fits in moderation, right? We made these so fast, so you can get back to eating them even faster!
Just a friendly heads-up before we dive into the numbers—these are just estimates based on the ingredients I listed, especially if you skip the optional cheese. For the most accurate breakdown, always check the packaging of your specific dough brand. You can read my full thoughts on tracking nutrition over on my nutritional disclaimer page to see how I arrive at these figures.
Here’s what you can generally expect for one breadstick serving:
- Calories: Around 150 kcal
- Total Fat: About 9 grams (including 5 grams of saturated fat—thank you, butter!)
- Carbohydrates: Approximately 14 grams
- Protein: About 3 grams
- Sugar: Very low, only about 1 gram
- Sodium: Roughly 250 mg (This can jump up if you use salted butter or add extra salt!)
See? They’re quick, they are tasty, and they are a fantastic way to utilize your air fryer for maximum crunch potential!
PrintAir Fryer Crispy Garlic Breadsticks
Make quick, crispy garlic breadsticks using your air fryer. This recipe delivers a golden exterior and soft interior with strong garlic flavor.
- Prep Time: 5 min
- Cook Time: 8 min
- Total Time: 13 min
- Yield: 8 breadsticks
- Category: Appetizer
- Method: Air Frying
- Cuisine: American
- Diet: Vegetarian
Ingredients
- 1 can (8 count) refrigerated crescent roll dough
- 4 tablespoons unsalted butter, melted
- 2 cloves garlic, minced
- 1/2 teaspoon dried parsley
- 1/4 teaspoon garlic powder
- 1/4 cup shredded mozzarella cheese (optional)
- Pinch of salt
Instructions
- Remove the crescent roll dough from the can and separate the triangles. Do not unroll them fully; keep them in their original shape if possible, or gently stretch them slightly if you want longer sticks.
- In a small bowl, combine the melted butter, minced garlic, dried parsley, garlic powder, and salt. Mix well.
- Brush the garlic butter mixture generously over the top surface of each dough piece.
- Preheat your air fryer to 350°F (175°C) for 3 minutes.
- Place the breadsticks in a single layer in the air fryer basket. You may need to work in batches to avoid overcrowding, which prevents crisping.
- Air fry for 6 to 8 minutes, checking halfway through.
- If using cheese, sprinkle the mozzarella over the tops during the last 2 minutes of cooking.
- Remove when the breadsticks are golden brown and crispy.
Notes
- For extra crispiness, lightly spray the basket with cooking spray before adding the dough.
- If your dough pieces are very thick, reduce the temperature slightly to 340°F (170°C) and cook for an extra minute or two to ensure the center cooks through.
- Serve immediately with marinara sauce for dipping.
Nutrition
- Serving Size: 1 breadstick
- Calories: 150
- Sugar: 1
- Sodium: 250
- Fat: 9
- Saturated Fat: 5
- Unsaturated Fat: 4
- Trans Fat: 0
- Carbohydrates: 14
- Fiber: 0
- Protein: 3
- Cholesterol: 15