

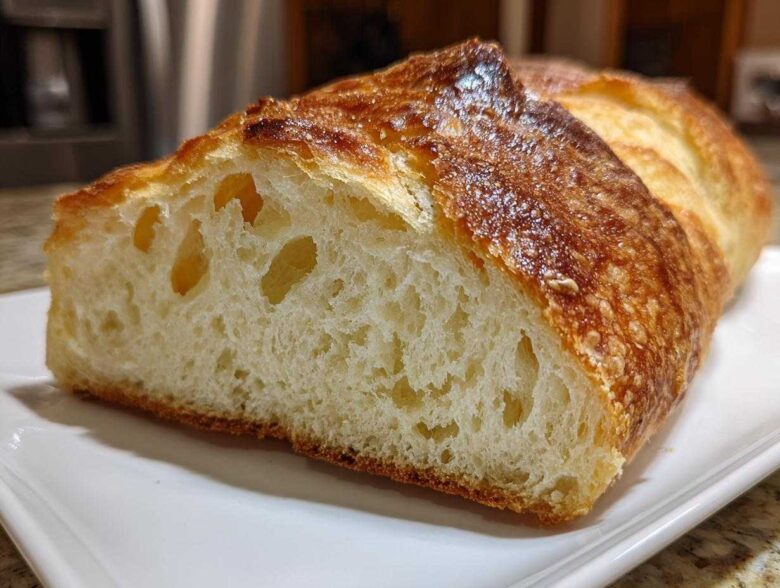
Okay, stop whatever you’re doing. Seriously. There is nothing, and I mean *nothing*, that beats the moment you pull a fresh loaf of italian bread out of the oven. That crackle coming off the crust? That warm, yeasty smell that instantly changes your whole house? That’s what we’re chasing today! Hannah and I are sharing our go-to recipe because it manages to deliver that gorgeous, crunchy exterior and that impossibly soft, chewy interior, all while being super beginner-friendly. Elias tends to be the patient one with dough, making sure we don’t rush the rise, and that’s the secret sauce for achieving that true bakery-style result. If you’re looking for another no-fuss dough recipe, you should definitely check out our guide on making easy homemade soft naan bread recipe sometime!
Why This Homemade Italian Bread Recipe Works for Everyone
I know bread baking can look intimidating, filled with all those terms like ‘hydration’ and ‘shaping,’ but trust me, this recipe is designed for beginner bread making! We focus on the key elements that matter most: that gorgeous, crisp crust and a wonderfully soft interior. That’s why we think this is the perfect entry point for anyone interested in easy crusty bread baking. We stripped out the complicated steps and kept the essentials that give you that unbeatable fresh-baked flavor. If you want to see how others achieved this magic, check out this amazing guide on Crusty Italian Bread!
Achieving the Perfect Bakery Style Italian Loaf Crust
That truly crackly top? That’s all about steam, folks! When you preheat that extra shallow pan in the oven, you are setting up a little sauna for your dough. Pouring hot water in there right before you slide the loaf in creates a burst of steam. This steam keeps the outside of the dough flexible just long enough for the loaf to expand fully before the crust sets. That’s exactly how you get that perfect golden brown crust bread look without needing a fancy professional oven!
The Secret to Soft Inside Crusty Outside Bread Texture
As I mentioned, Elias gets very serious about the kneading process here. It’s not about punishing the dough; it’s about building strength! Kneading this italian bread dough for the full five to seven minutes develops those gluten strands just right. It’s what gives the interior that satisfying, springy chewiness. If you skip that tough part, you end up with a crumbly texture, and nobody wants that. For more great foundational recipes, you definitely need to try our whole wheat bread recipe soft easy next!
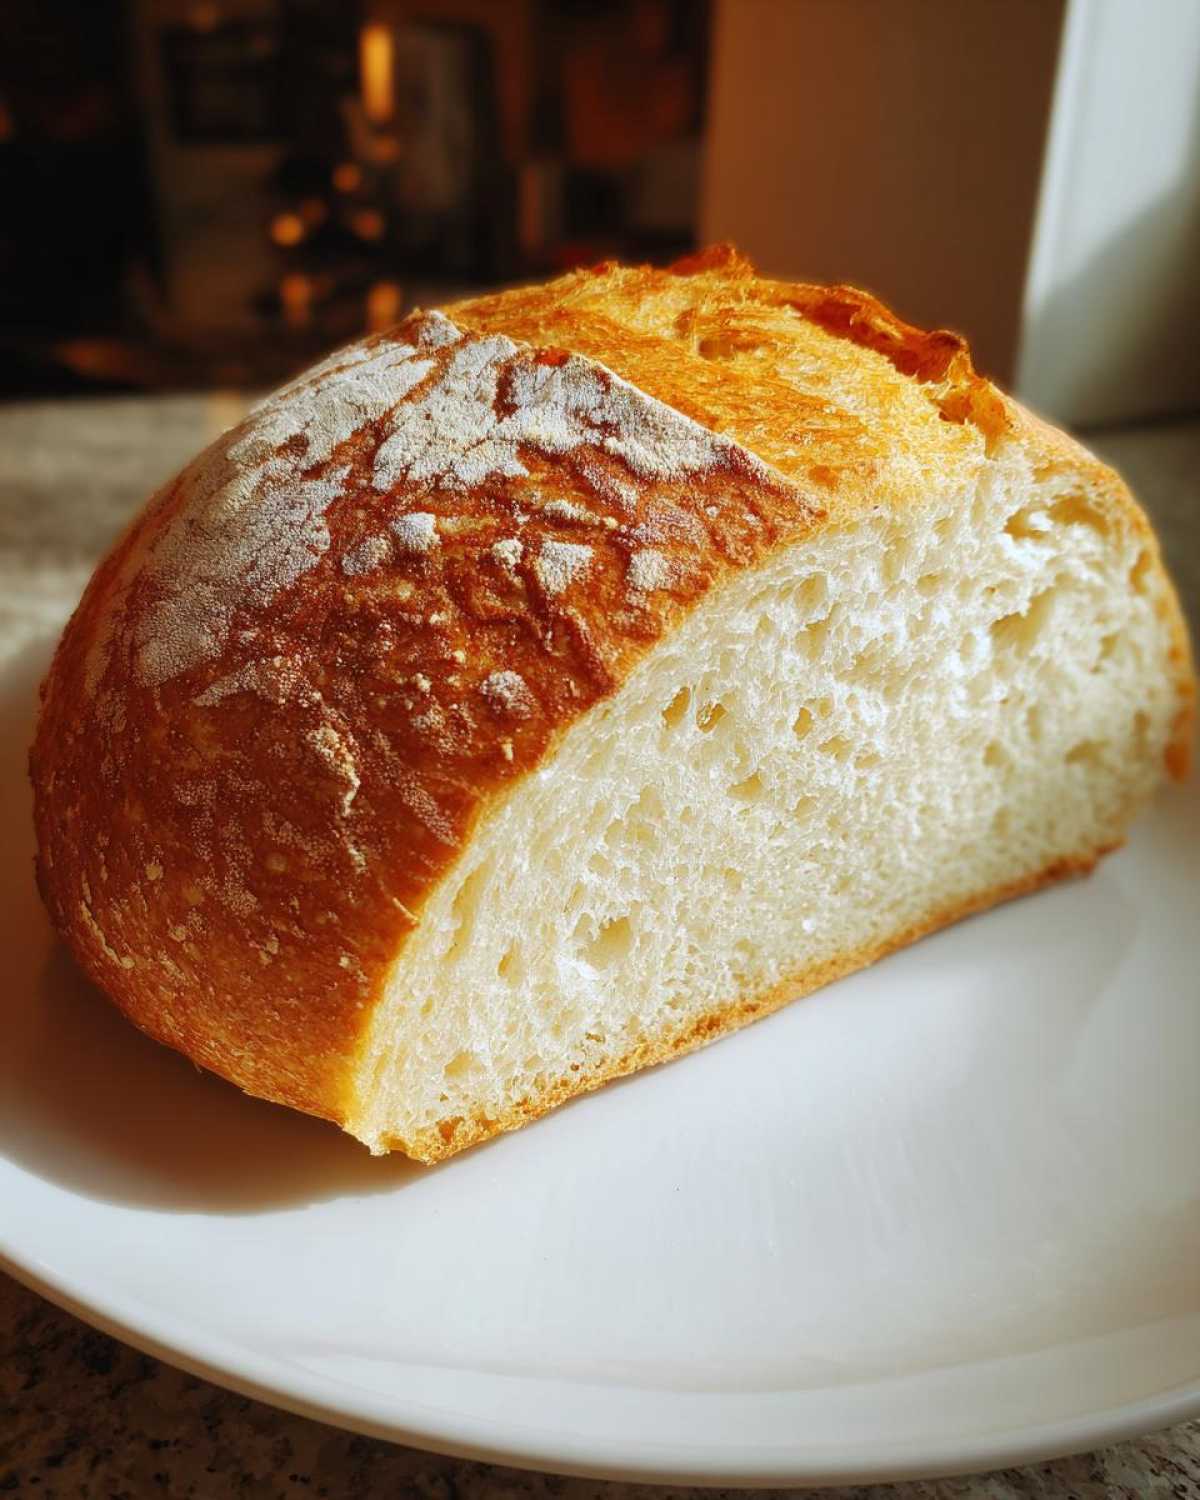
Ingredients for Your Easy Crusty Italian Bread
Okay, let’s talk about what you need to gather up before we mix anything. Since bread is so simple, every ingredient really has to pull its weight, so precision matters here! I always lay everything out on the counter first—Hannah calls it ‘mise en place,’ but I just call it not having a flour explosion mid-recipe.
You’ll need 3 and 1/2 cups of all-purpose flour, which is what gives us that classic texture. Make sure you have 1 and 1/2 teaspoons of salt and just 1 teaspoon of granulated sugar to wake up that yeast. The most important part of the liquid is the water; it needs to be warm, not hot—aim for about 105 to 115°F. That temperature range is crucial because if it’s too cold, the yeast sleeps, and if it’s too hot, you kill your yeast babies before they even start working! You need exactly 2 and 1/4 teaspoons of active dry yeast, which is usually one full packet.
Finally, don’t forget the olive oil! You’ll want 1 tablespoon to go directly into the dough, plus a little extra, just a tiny bit, to lightly oil the bowl we use for rising. See? All simple pantry standards. Nothing scary here!
Step-by-Step Tutorial for Homemade Italian Bread
Alright, let’s get our hands dusty! This process is methodical, but it’s not fast, so put the kettle on and relax. I promise, the patience is worth it when you pull that spectacular loaf out. If you want to see a wonderful visual guide on how to perfect the crust development, check out this great post Homemade Italian Bread with Crispy Crust Tutorial! And before you go, make sure you bookmark our core easy crusty italian bread recipe page so you can come back to it!
Mixing and First Rise for Your Italian Bread Dough
First things first: combine your dry stuff—flour, salt, and sugar—in that big bowl. Then, the yeast needs some TLC. Dissolve that packet of yeast in your warm water. Remember, we want it cozy, around 105 to 115°F. Wait about five minutes until you see that lovely foam appear on top; that foam means your yeast is alive and well! Pour that activated yeast mixture and your tablespoon of olive oil right into your dry ingredients. Mix it all with a wooden spoon until it looks like a messy, shaggy cloud—you aren’t trying to make it smooth yet.
Now, turn that shaggy dough out onto your lightly floured counter. This is where I settle in. You need to knead this for a solid five to seven minutes. This builds the structure for that lovely chew you want later. Once it’s smooth, shine up a large mixing bowl with a little oil, pop the dough inside, turn it over once, cover it, and let it hang out somewhere warm for about 1 to 1.5 hours. It needs to double in size!
Shaping, Second Rise, and Oven Preparation for Italian Bread
Once it’s puffy, breathe into the dough—just gently punch it down to release the air. You can shape it into a round or an oval loaf shape depending on what you’re using for baking! Place your newly shaped dough onto your prepared baking sheet or loaf pan. Cover it gently and let it rest again for 30 to 45 minutes; it should look puffy again. While that’s happening, crank that oven up to 400°F (200°C)! If you want that ultimate crust, put a shallow pan on the bottom rack now so it gets scorching hot. This setup helps us achieve that Golden Brown Crust Bread.
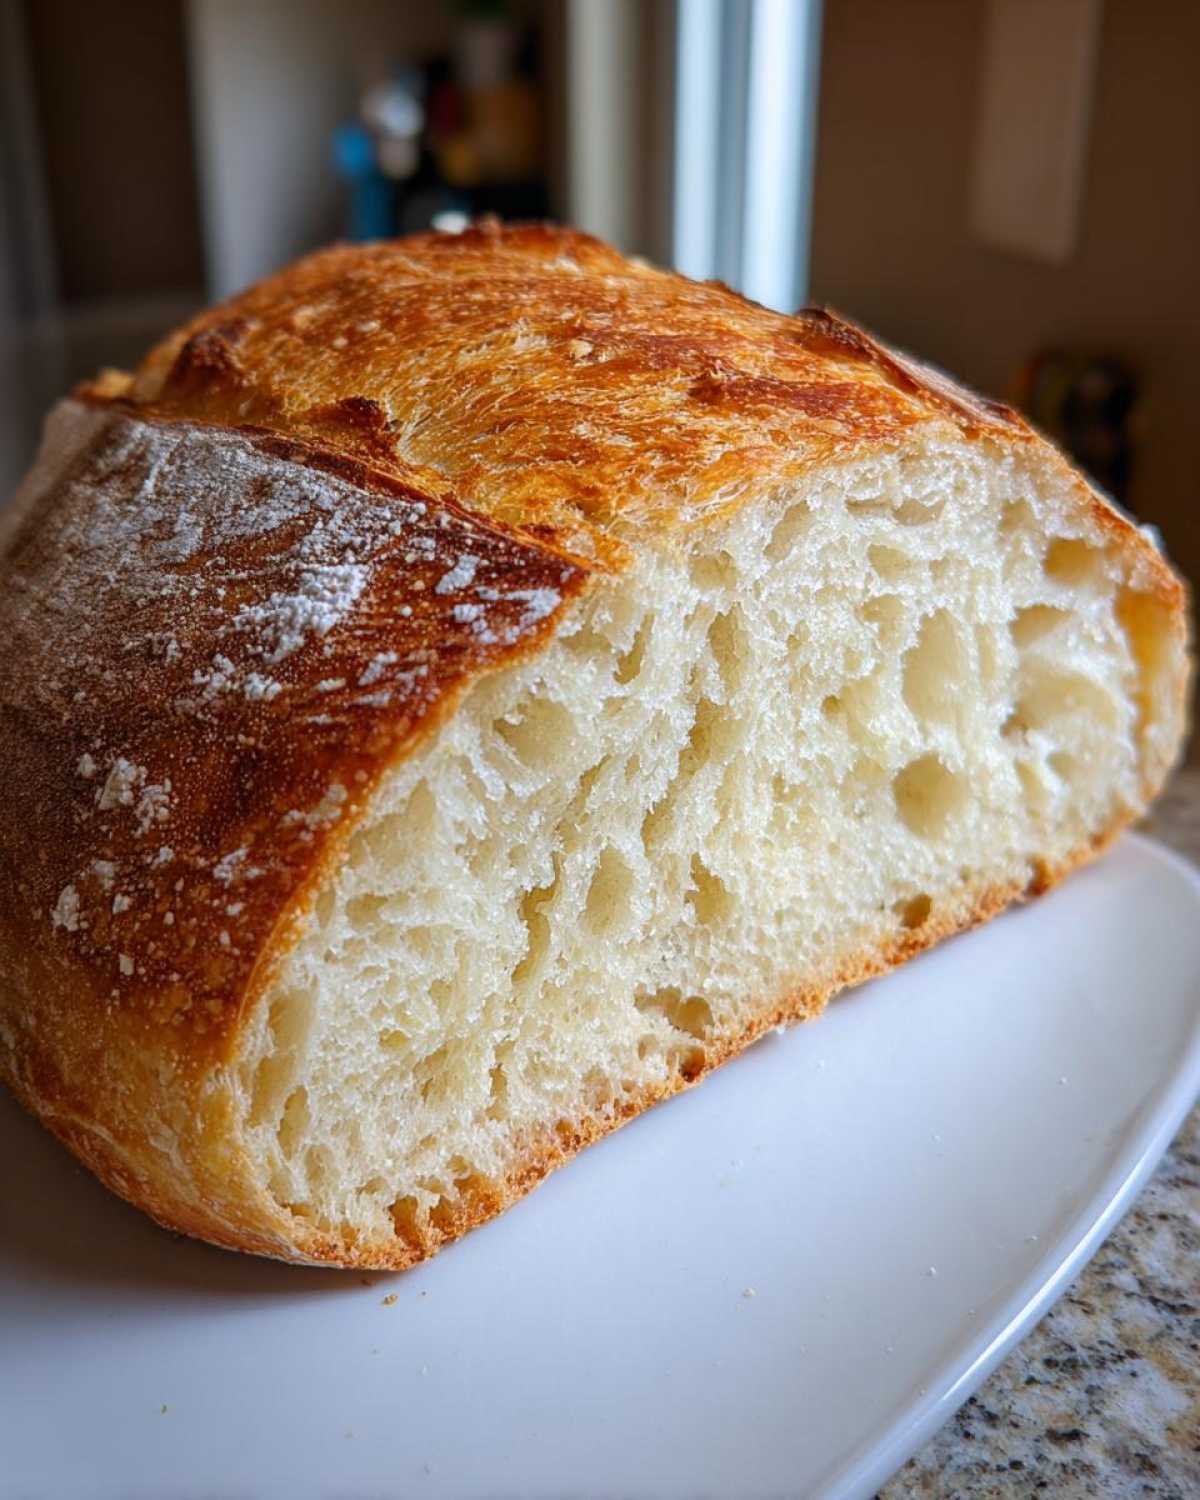
Right before it goes in, grab a sharp knife and score the top a few times. This controls where the italian bread expands. If you set up that steam pan, this is the moment: pour 1 cup of very hot water into the bottom pan quickly and seal up that oven door as fast as you can!
Baking the Chewy Italian Loaf to Perfection
Bake it for 30 to 35 minutes. You’re looking for a deep, beautiful golden brown color, and if you tap the bottom, it should sound satisfyingly hollow. After that, take it out immediately and place it on a wire rack. Don’t try to slice it hot! You have to let it cool completely so those internal textures can settle, otherwise, you flatten that beautiful chewy Italian loaf texture we worked so hard for. Enjoy the incredible aroma!
Tips for Success When Baking Italian Bread
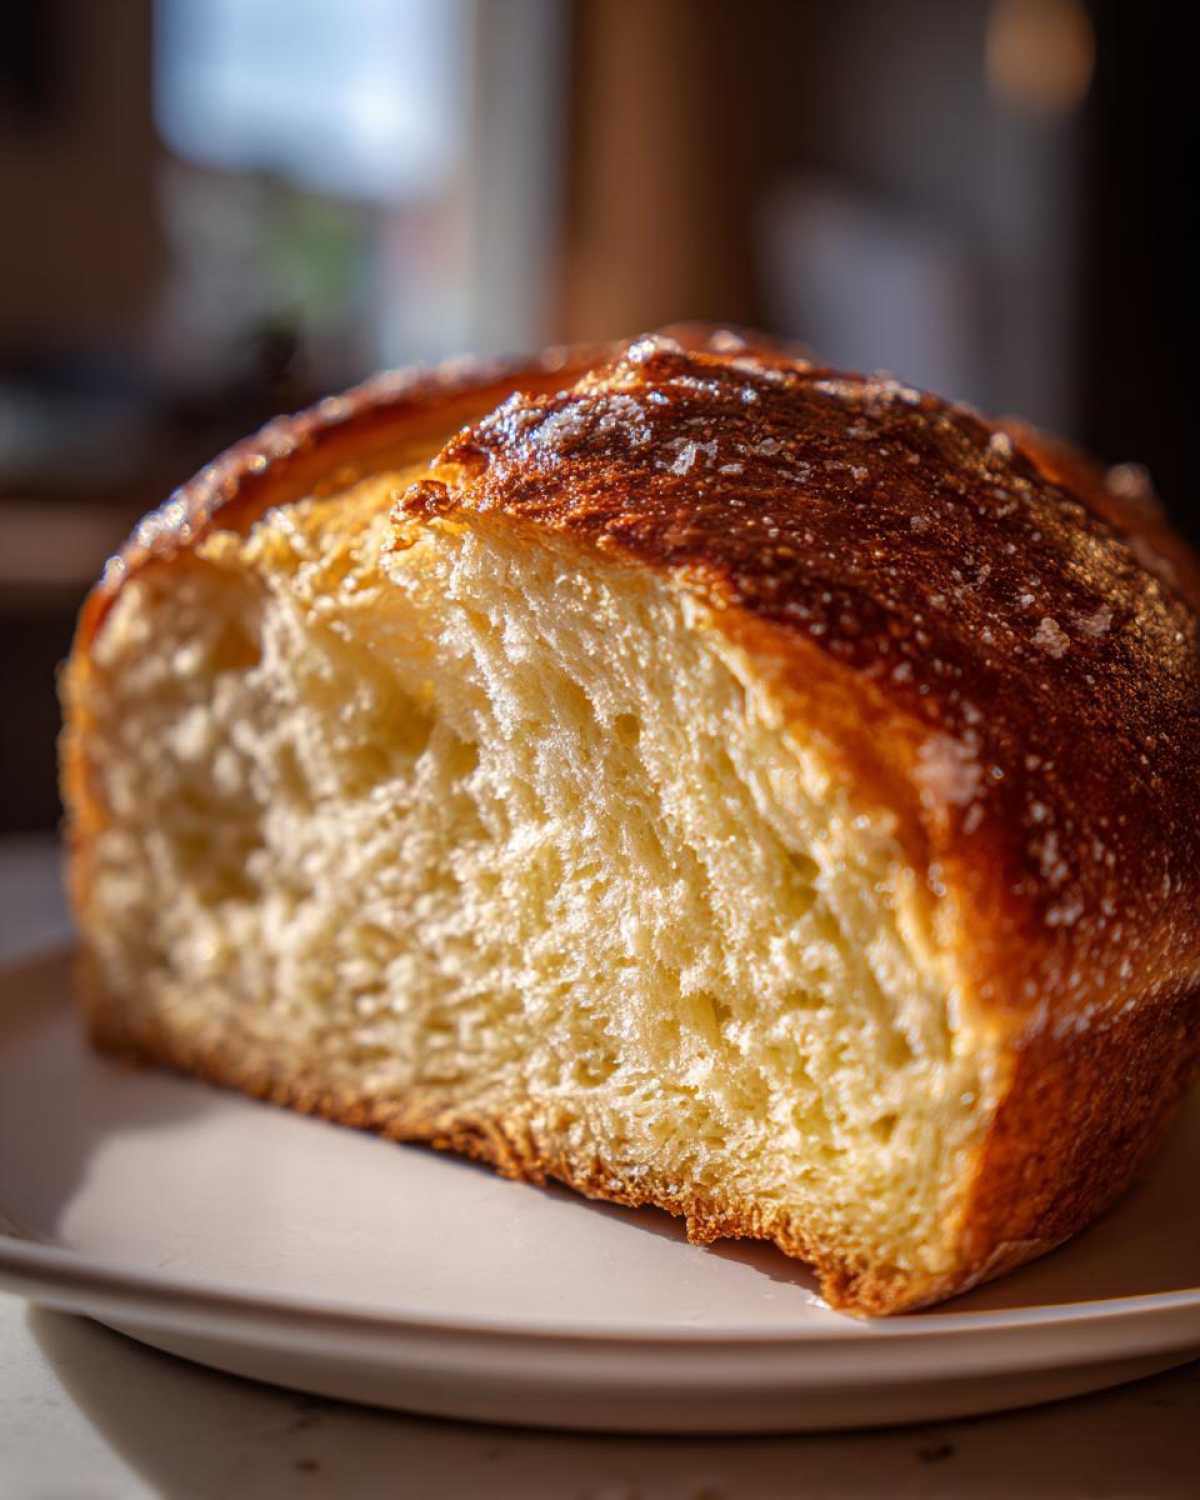
We’ve figured out a few little secrets over the years to make sure this homemade Italian bread comes out exactly how we want it, whether we’re aiming for rustic perfection or a softer sandwich loaf. Think of these as the final checks to elevate your baking when you are trying to create true artisan bread at home. If you want to dive deeper into how we approach hands-on dough work, take a look at our guide on artisan bread at home!
If you are aiming for that super crispy crust, here’s a pro tip we learned: brush the top of the loaf lightly with water about halfway through the baking time. It sounds strange, but that extra surface moisture helps that crust get audible when it cools! Conversely, if you know you need this for sandwiches and prefer a softer exterior, just skip the steam pan entirely and reduce the baking time by about five minutes.
And remember the cooling rack! It’s non-negotiable. Letting air circulate underneath stops the bottom from getting damp, which ruins the crunch we worked so hard for. This attention to just a few extra details is what separates ‘okay bread’ from truly fantastic bread.
Serving Suggestions for Your Fresh Baked Bread Aromas
Wow, you made the loaf! Now comes the best part—eating it! The smell must be filling your kitchen right now, and honestly, there’s no better scent in the world. Because this loaf is so versatile—it has that sturdy structure but still pulls apart nicely—it works for almost any meal. We often make an extra loaf just to have it ready for unplanned dipping sessions!
If you’re looking for fantastic dipping bread recipes, you simply cannot go wrong soaking up good quality olive oil mixed with flaky sea salt and cracked pepper. It’s so simple, but when the bread is hot from the oven, it’s heavenly. We also love using a little of our homemade herb butter on thick slices fresh out of the cooling rack.
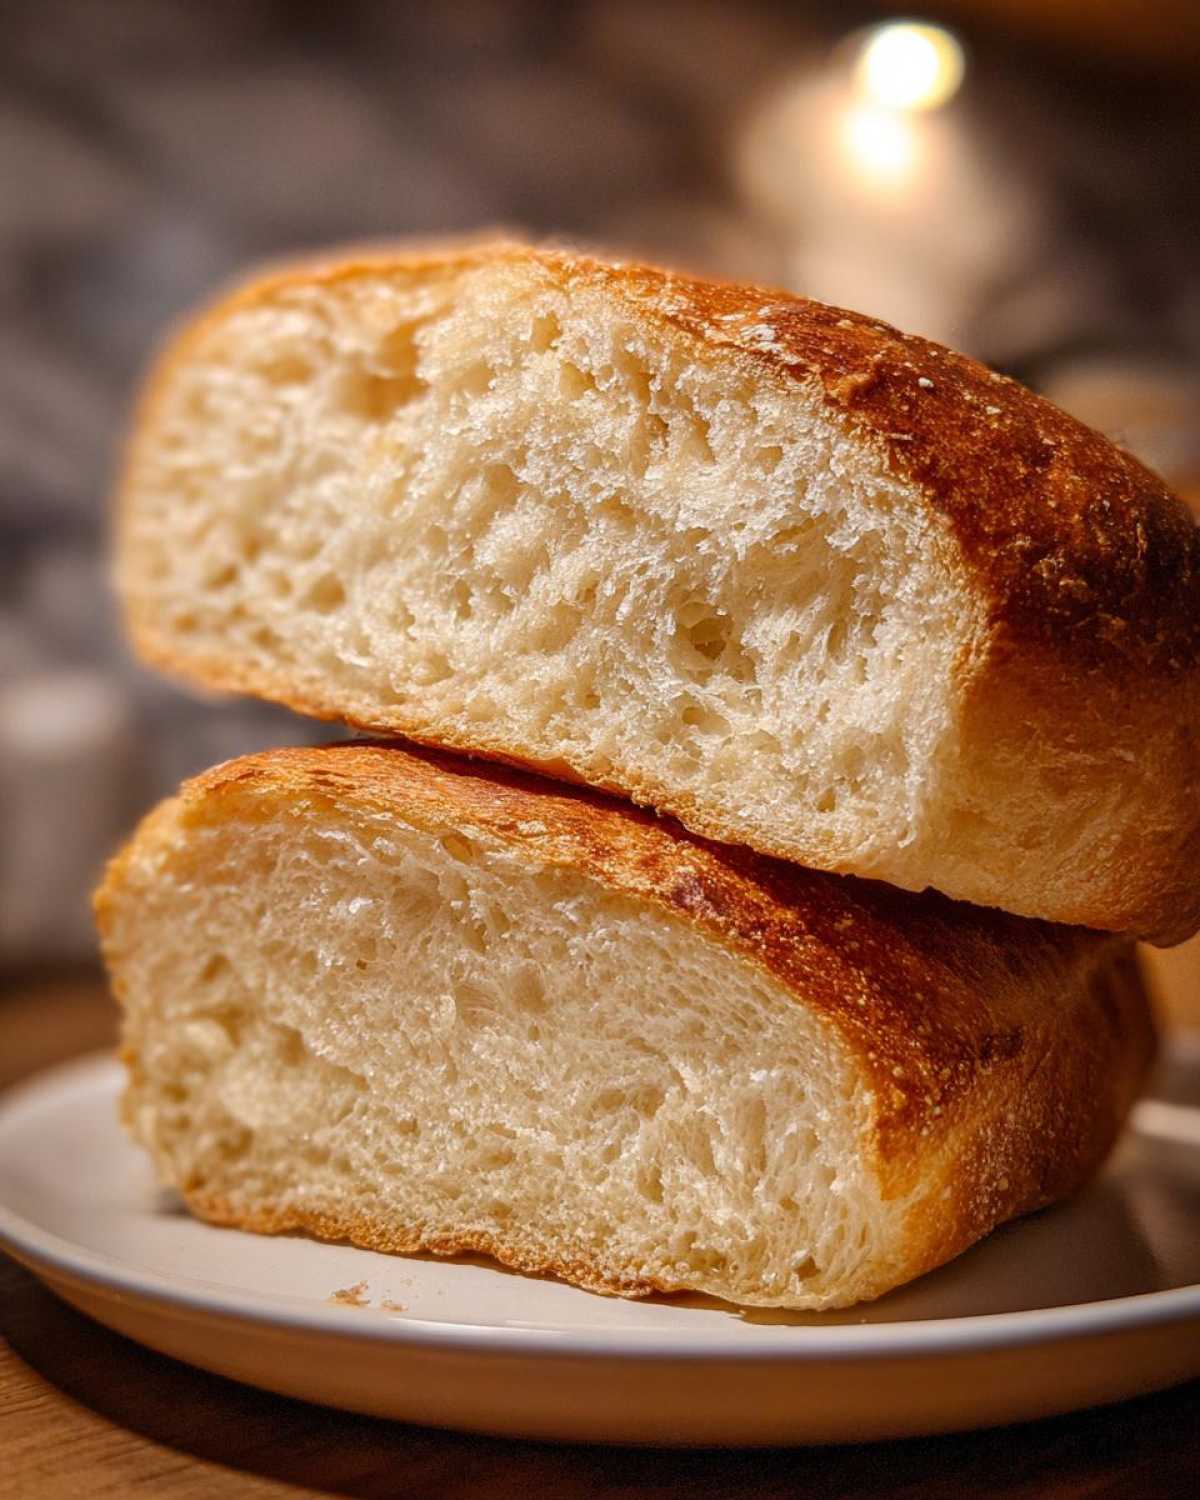
This really shines as a dinner side bread recipes staple. It’s perfect for sopping up the last bits of sauce from a hearty bolognese or just serving alongside a big Italian salad. And of course, if you’re planning on building a towering sandwich—maybe with some sharp provolone and cured meats—this crusty exterior holds up beautifully without getting soggy too fast! If you need a side dish to go along with your bread, you absolutely must try our garlic butter roasted carrots recipe; they’re fantastic alongside a savory meal!
If you want some inspiration on other amazing crusty bread bakes, you can check out this great external resource for more ideas on Crusty Italian Bread recipes!
Storing Your Amazing Italian Bread for Later
So, how do you treat this beautiful loaf after you’ve managed not to eat it all in one sitting? My biggest piece of advice is to avoid the refrigerator if you possibly can. Cold temperatures make the starch in bread go stale super fast, and that’s the quickest way to ruin the chewy texture you worked so hard for in your italian bread.
Keep it at room temperature, wrapped loosely in a clean kitchen towel or an unsealed paper bag for a day or two. If you wait until day three, you MUST reheat it! To bring that beautiful crust back to life, just give the loaf a quick spritz of water around the outside and pop it into a 350°F oven for about 5 to 7 minutes. That little refresh works magic, making it taste almost straight from the oven again!
Frequently Asked Questions About Making Italian Bread
It’s totally normal to have questions when you’re learning any new recipe, especially one that involves yeast! We get a lot of fantastic questions from folks trying this as their first loaf, and honestly, addressing these spots helps everyone improve their artisan bread at home skills. If you have more questions after reading these, feel free to explore our general blog for more kitchen chatter!
Can I use bread flour instead of all-purpose flour for this italian bread?
Yes, you absolutely can! Bread flour has a higher protein content than all-purpose, which means you’ll develop more gluten when you knead. The result? Your italian bread will likely be a bit chewier—almost denser—than the version made with AP flour. If you prefer that ultra-soft, slightly pillowy texture that feels less chewy, stick with the all-purpose flour we specified. Bread flour is fantastic, but it changes the final mouthfeel!
What is the best way to get a very hard, crackly crust on my italian bread?
If you want that loud, crackly crust that sounds like shattering glass, you have to commit to the steam in the oven. Remember that step where we put a pan on the bottom rack? Heat that pan up until it’s smoking hot, then carefully pour in that cup of hot water right as you put the dough in. That humidity is the key! Also, don’t forget that optional tip from the notes section: brushing the loaf lightly with water midway through the bake will seriously boost that crisp factor. It’s all about layering those techniques for a real Quick Italian Bread Tutorial success story!
For other quick tips and tricks that helped people nail this recipe, you might want to check out what they found helpful over at Recipe Special!
Estimated Nutritional Information for This Italian Bread Recipe
Now, I know some of you are tracking everything closely, and while these numbers are just estimates based on the standard ingredients we listed (split over 14 slices per loaf), I always think it’s helpful to have a general idea of what you’re eating! Remember, since we’re sticking to simple flour, water, yeast, and oil, it’s pretty straightforward. We aren’t adding tons of fats or sugars here, which is why this loaf is so fantastic as a daily dinner side.
Here is the breakdown we calculated, based on one slice being the serving size:
- Calories: Around 150 per slice
- Fat: Just 2 grams total
- Saturated Fat: Very low, only about 0.3 grams
- Carbohydrates: 30 grams, which is what powers your day!
- Fiber: 1 gram
- Protein: 4 grams
- Sugar: Only 1 gram
- Sodium: 250 milligrams
It’s important to remember that because we are dividing this between 14 servings, these numbers can shift slightly depending on exactly how big you cut your slices—especially if you’re making thick pieces for maximum dipping! This transparency is what Hannah and I believe in; we want you to feel confident and informed about the wonderful food you’re making right here in your own kitchen.
Share Your Golden Brown Crust Bread Creations
Well, that’s it! You’ve officially mastered the art of the Golden Brown Crust Bread right in your own kitchen. Hannah and I are so incredibly proud of you for taking the leap into baking this crusty delight! I really hope the aroma filled your house the way it always does ours; there’s just nothing like it.
Now, here’s the fun part! We absolutely *live* to see what you all create. If you baked this loaf and it turned out picture-perfect, please, please snap a photo and tag us on social media. We want to see those beautiful slashes and that deep golden color!
More importantly, we want your honest thoughts! Did the kneading time feel right to you? Did you use that steam trick? Drop a comment below and give this recipe a star rating. Your feedback helps other bakers who might be nervous about starting their first loaf. We read every single comment because we truly want to build this community together. If you have feedback or want to send us a picture directly, you can always reach out via our contact page!
Happy baking, everyone. We can’t wait to see your beautiful results!
PrintEasy Homemade Crusty Italian Bread Recipe
Bake bakery-style Italian bread at home with this simple recipe. You get a golden, crunchy crust and a soft, chewy interior using basic pantry ingredients. This recipe is perfect for beginners.
- Prep Time: 20 min
- Cook Time: 35 min
- Total Time: 2 hours 5 minutes
- Yield: 1 large loaf
- Category: Baking
- Method: Baking
- Cuisine: Italian
- Diet: Vegetarian
Ingredients
- 3 1/2 cups all-purpose flour
- 1 1/2 teaspoons salt
- 1 teaspoon granulated sugar
- 2 1/4 teaspoons active dry yeast (1 packet)
- 1 1/2 cups warm water (about 105-115°F)
- 1 tablespoon olive oil, plus more for the bowl
Instructions
- In a large bowl, mix the flour, salt, and sugar.
- In a separate small bowl, dissolve the yeast in the warm water and let it sit for 5 minutes until foamy.
- Pour the yeast mixture and the olive oil into the dry ingredients. Mix with a wooden spoon until a shaggy dough forms.
- Turn the dough out onto a lightly floured surface. Knead for 5 to 7 minutes until the dough is smooth and elastic. Elias says this kneading time is key for a good chew.
- Lightly oil a large bowl. Place the dough in the bowl, turning it once to coat. Cover the bowl with plastic wrap or a clean kitchen towel.
- Let the dough rise in a warm place for 1 to 1.5 hours, or until it has doubled in size. This is your first rise.
- Gently punch down the risen dough. Shape it into a round or oval loaf.
- Place the shaped loaf on a baking sheet lined with parchment paper or in a lightly oiled loaf pan. Cover loosely.
- Let the dough rise again for 30 to 45 minutes, or until it looks puffy. This is your second rise.
- Preheat your oven to 400°F (200°C). If you want a very crusty exterior, place a shallow pan on the bottom rack while preheating to create steam later.
- Just before baking, use a sharp knife to slash the top of the loaf a few times.
- If using the steam pan, carefully pour 1 cup of hot water into the lower pan and quickly close the oven door.
- Bake for 30 to 35 minutes, or until the crust is deep golden brown and the loaf sounds hollow when tapped on the bottom.
- Transfer the bread to a wire rack to cool completely before slicing. Enjoy the aroma!
Notes
- For an extra crispy crust, brush the loaf lightly with water halfway through the baking time.
- If you want a softer loaf for sandwiches, skip the steam pan and bake for 25 minutes.
- This bread is excellent for dipping in olive oil or serving alongside pasta meals.
Nutrition
- Serving Size: 1 slice
- Calories: 150
- Sugar: 1
- Sodium: 250
- Fat: 2
- Saturated Fat: 0.3
- Unsaturated Fat: 1.7
- Trans Fat: 0
- Carbohydrates: 30
- Fiber: 1
- Protein: 4
- Cholesterol: 0