

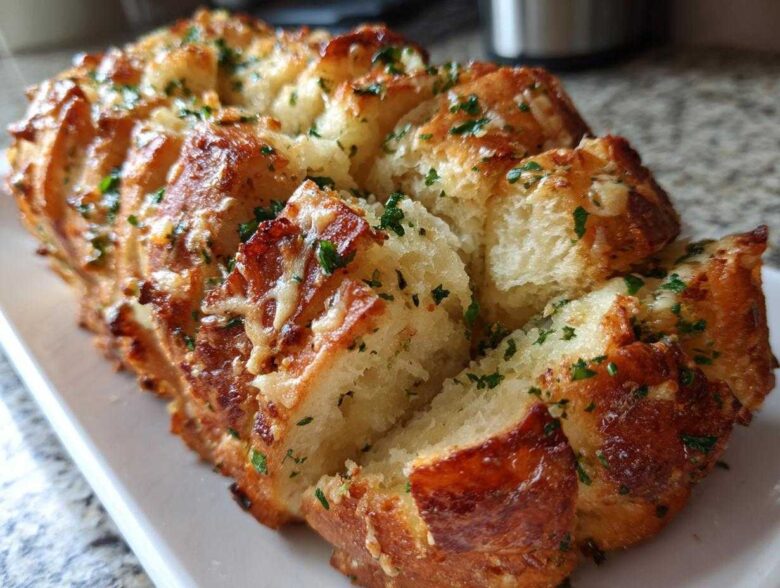
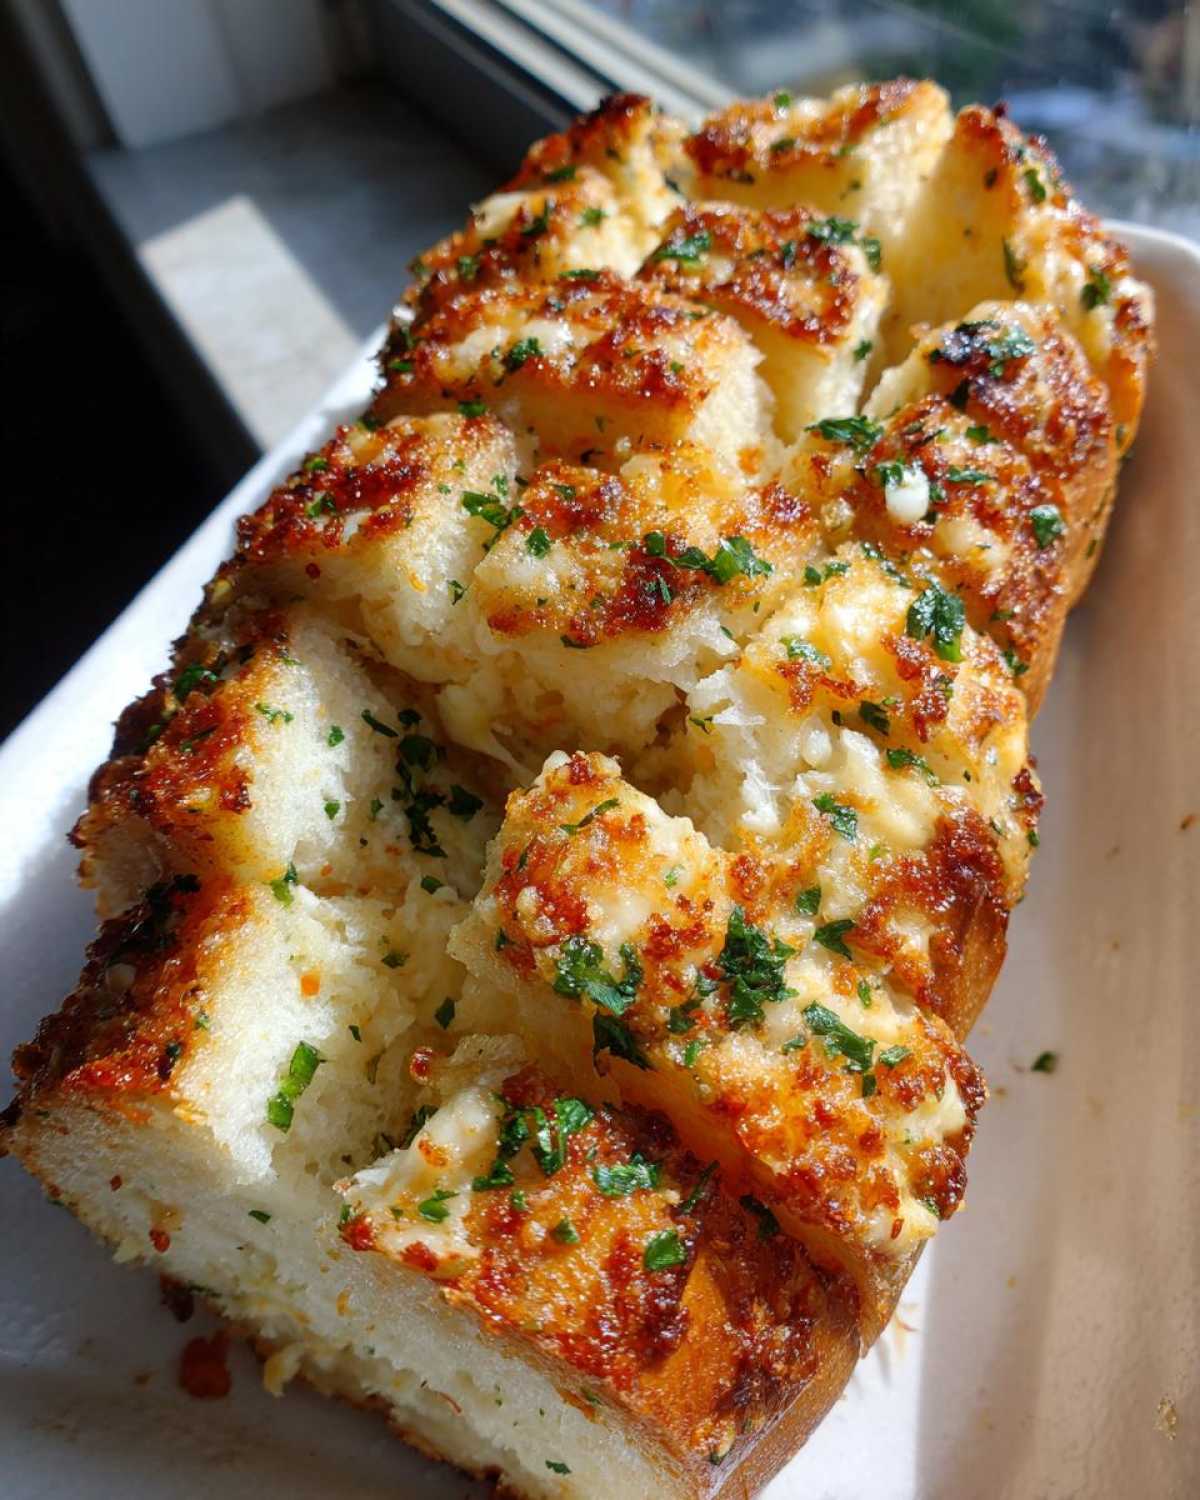
Oh my gosh, are you ready for the coziest, cheesiest side dish you will ever meet? There is nothing that shouts ‘comfort food’ louder than tearing off hot, buttery bread that pulls apart perfectly right onto your plate.
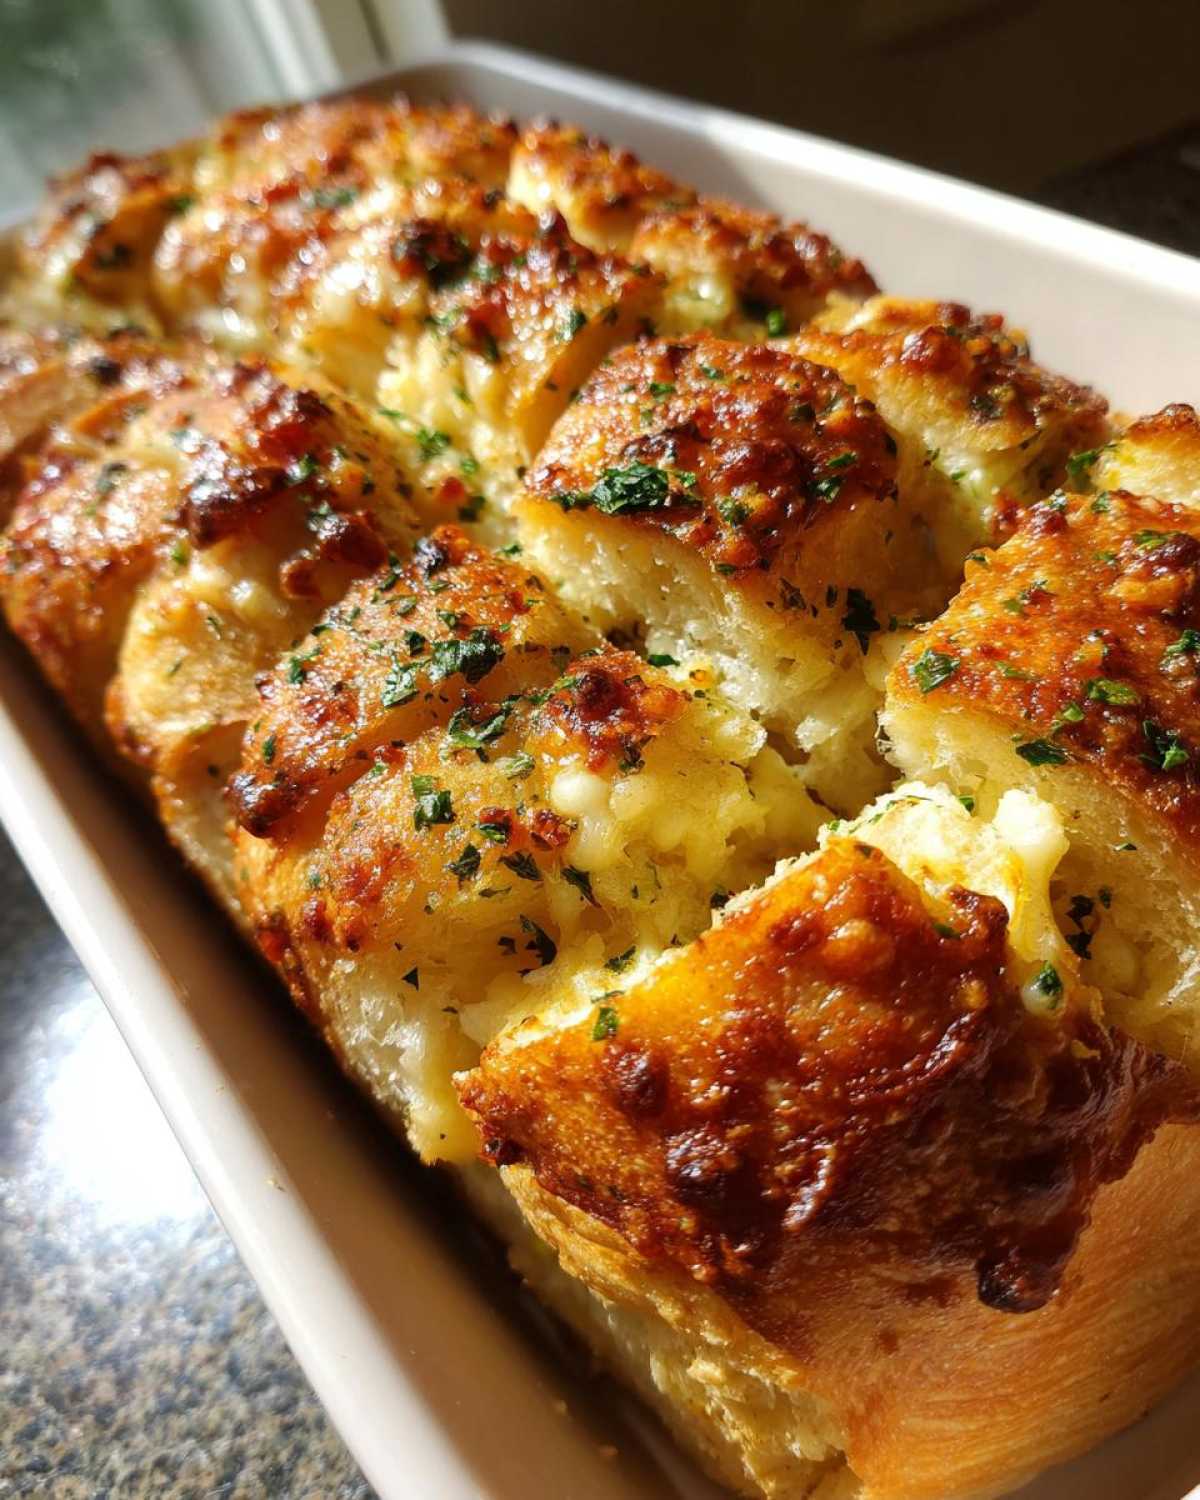
I swear, my obsession with **Garlic Parmesan Pull-Apart Bread** reached new heights when I realized how fast I could have it on the table. Forget fussing with yeast! We’re leaning hard into that fantastic refrigerated biscuit dough, and trust me, nobody will ever know the difference.
I burned a few test batches early on—too much butter and the bottoms got greasy, too little, and the topping just slid off! But after fiddling with the ratio a few times—you need just enough of that liquid gold to coat every cut surface—I landed on the absolute perfect soak time before baking. It’s my absolute go-to appetizer when company shows up unexpectedly. Seriously, grab that can of dough; we’re making magic in under 35 minutes!
If you’re looking for similar savory bites, you have to check out my recipe for easy homemade garlic parmesan breadsticks when you have a little extra time later in the week!
Why You Will Love This Quick Garlic Parmesan Pull-Apart Bread
I mean, what’s not to love about this simple bake? It hits all the right notes without demanding hours in the kitchen. I genuinely think this might just replace your standard garlic bread!
- It’s shockingly fast! With prep under 10 minutes and cook topping out at 25, this is the ultimate quick appetizer bread for last-minute plans.
- The texture contrast is perfection: wonderfully soft, doughy centers that practically melt, paired with the slightly crispy, cheesy edges.
- We use refrigerated dough, making this the most easy pull apart bread recipe you’ll ever try. No rising time required!
- It delivers an intense, savory punch—it’s loaded with real minced garlic and salty Parmesan, making them excellent Parmesan dinner rolls.
- The whole house smells incredible while this cheesy garlic bread bake is in the oven. It’s pure aromatherapy!
- It tastes like comfort food baked into little bites, perfect for dipping or just reaching in and grabbing one of those gorgeous buttery garlic bread bites.
- Clean-up is minimal, which is always my favorite part when whipping up a delicious savory pull apart loaf!
Ingredients for the Best Garlic Parmesan Pull-Apart Bread
When you’re making something this simple, the quality of your ingredients really shines through! We’re keeping the list straight to the point, focusing on that gooey butter mixture. I’ve linked my favorite Italian herb cheese bread recipe if you want to try a slightly different flavor profile later on, but for this one, stick to the essentials to nail that classic flavor.
- 1 (13.8 ounce) can refrigerated biscuit dough (This is the secret weapon for speed!)
- 1/2 cup (1 stick) unsalted butter, melted
- 4 cloves garlic, minced super fine
- 1/4 cup grated Parmesan cheese, plus extra for topping
- 2 tablespoons fresh parsley, chopped finely
- 1/2 teaspoon dried Italian seasoning
- 1/4 teaspoon salt
See? Super easy! Just make sure your Parmesan is finely grated so it melts right into that butter instead of sitting on top.
Step-by-Step Instructions for Your Garlic Parmesan Pull-Apart Bread
Okay, this is the fun part where we bring the flavor! Since we’re using refrigerated dough, the active time is ridiculously short. You really just need enough time to melt the butter and chop a few cloves of garlic. If you’re serving this with a weeknight pasta dish like my favorite easy weeknight Bolognese sauce, this bread will steal the show, I promise.
Prepping the Oven and Dough for Garlic Parmesan Pull-Apart Bread
First things first, get that oven hot! We need it at 375 degrees Fahrenheit (190 Celsius). While it’s heating up, take a minute to grease whatever pan you’re using—a standard loaf pan or an 8×8 dish works great. Now for the dough: pop open that can of biscuits. Separate them out, and this is important, cut every single biscuit into four small pieces—quarters, basically. Pop those little dough nuggets into your biggest mixing bowl.
Creating the Buttery Garlic Parmesan Coating
Time to make the sauce that makes this whole dish sing! Grab a small bowl and combine your melted butter—you want it fully liquid, not just soft—with the 4 minced garlic cloves. Don’t be shy with the garlic, but make sure it’s finely minced so you don’t get huge raw chunks. Whisk in your 1/4 cup of Parmesan, the fresh parsley, the Italian seasoning, and just a little pinch of salt. Whisk it until everything looks like a beautiful, herby, garlicky emulsion. You want every part of that butter saturated with flavor.
Assembling and Baking the Cheesy Garlic Bread Bake
Now, pour that entire buttery mess right over your cut-up dough pieces in the big bowl. Use your hands or a spatula and gently toss everything together. You aren’t kneading bread here; you just want to make sure every single little dough quarter is glistening and coated in the butter mix. Arrange all those coated pieces randomly into your prepared dish, piling them loosely—this is what lets them puff up and bake into separate, easy-to-pull rolls. Pop it into that hot oven for about 20 to 25 minutes. You’re looking for that beautiful, deep golden brown color on top; that’s how you know your **Cheesy Garlic Bread Bake** is done!
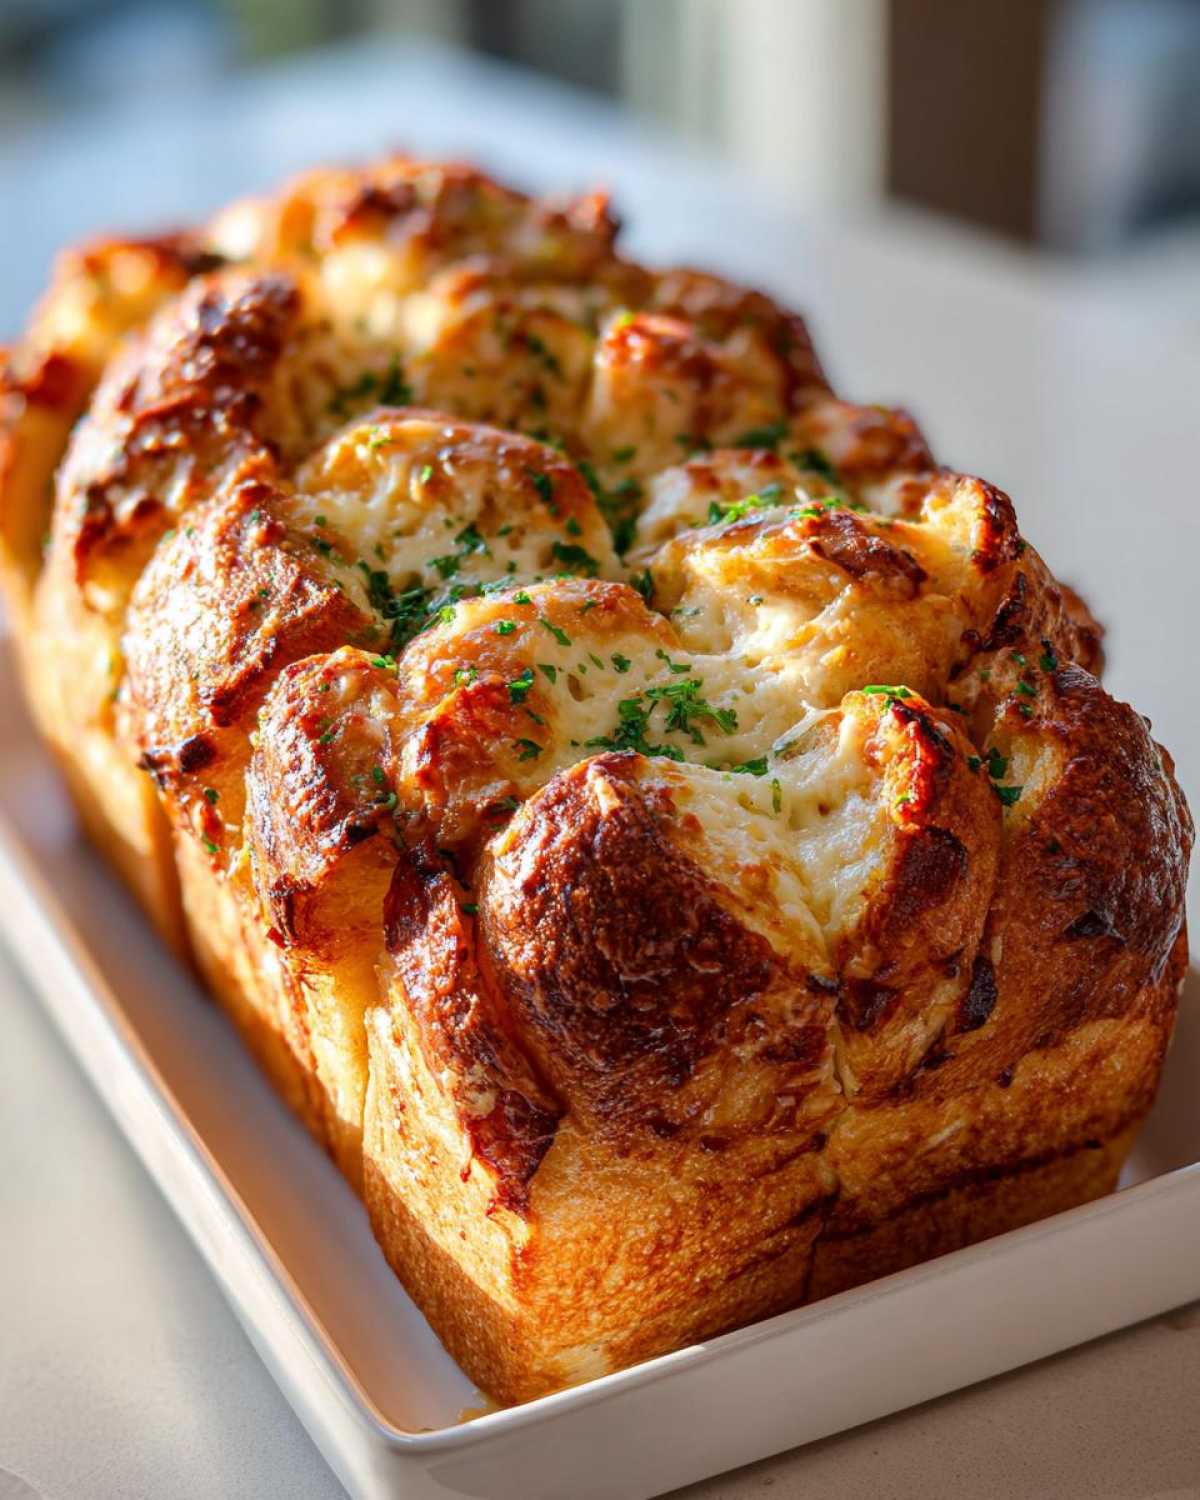
Tips for Perfect Soft Interior and Crispy Exterior on Your Garlic Parmesan Pull-Apart Bread
I get asked all the time: how do you keep the inside fluffy while getting that gorgeous, slightly crunchy crust on top? It’s all about what dough you pick and what pan you put it in! I covered the basics in my recipe card, but let me elaborate because these little tricks make a huge difference.
If you want that melt-in-your-mouth, super-soft interior? Stick to the refrigerated biscuit dough. It’s formulated to rise quickly and stay tender. Now, if you want to try making these soft and chewy rolls with your own yeast dough, you absolutely can, but expect a slightly chewier texture, which is great, just different!
For that irresistible crispiness, the pan type matters more than you think. Glass dishes are pretty, but they hold heat differently and tend to steam the bottom a bit. If you want a firmer, crispier exterior all around, grab a metal baking pan. It conducts the heat more evenly across the bottom and sides, giving you that perfect golden base around the edges!
Serving Suggestions for this Baked Cheesy Bread Side Dish
So, you’ve got this incredible, steaming hot loaf of cheesy, garlic-infused goodness sitting on your counter. What do you serve it with to make it the star of the show (or at least its best supporting actor)? Don’t just set it out alone; this bread begs to soak up some sauce or soup!
If you’re planning a pasta night—anything saucy works wonderfully. It’s fantastic mopping up rich tomato sauces, like a classic marinara or even that Bolognese I mentioned earlier. But honestly, these buttery **Baked Cheesy Bread Side Dish** bites truly shine when paired with something warm and hearty.
You absolutely have to try serving them alongside a big bowl of chili. The soft dough absorbs the spice beautifully. And soup? Forget about it! They are the perfect dipping buddy for a creamy vegetable soup or even a thick stew. I recently made my loaded potato soup, and everyone fought over who got the last cheesy piece for dipping. You can find that recipe right here if you want the ultimate cozy meal pairing!
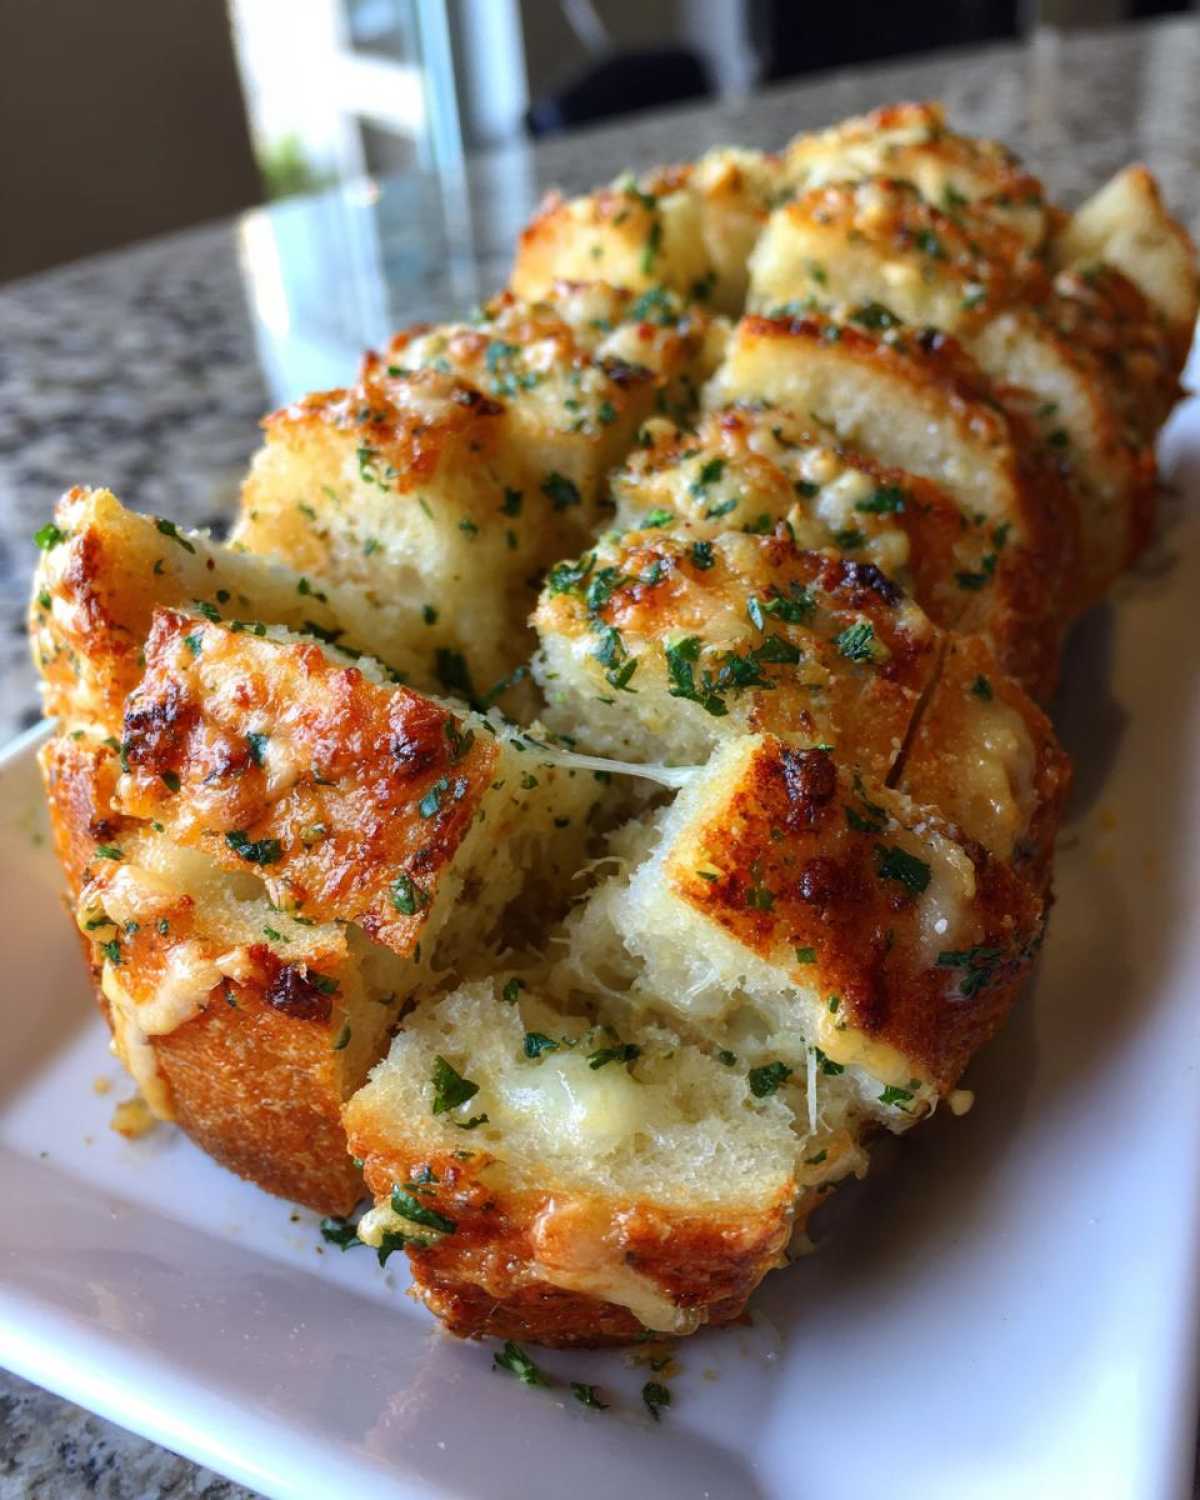
Honestly, while this bread is amazing with almost any savory main, my favorite way to use them up is just tearing off a few pieces the next morning for breakfast dipped in scrambled eggs. Don’t judge until you try it!
Storage and Reheating Instructions for Leftover Garlic Parmesan Pull-Apart Bread
If you manage to have any of this incredible bread left over—which rarely happens at my house, but it’s good to plan ahead!—storage is crucial. This bread is best eaten the day it’s made, but leftovers that weren’t nuked in the microwave the next day are still heavenly if you reheat them correctly.
First, make sure it’s cooled down completely. Once cool, cover the dish tightly with plastic wrap or transfer the pieces into an airtight container. Stored like this on the counter (not the fridge; the cold dries it out fast), it keeps okay for about two days. The Parmesan cheese can get a little soft, but the dough stays surprisingly tender.
The reheating step is where we bring it back to life! You absolutely want to avoid the microwave. It just turns soft bread weirdly chewy and steamy. Nope! If you have a bit of time, the oven is your best bet for reviving that crust.
Try wrapping the pieces loosely in foil—just enough to keep the moisture in but not totally sealed—and pop it into a 325°F oven for about 10 minutes. That gently warms it through.
However, my secret weapon for making these **Garlic Parmesan Pull-Apart Bread** leftovers taste like they just came out of the oven? The air fryer! If you want that slight crispness back on the edges, toss a few pieces in the air fryer basket at 320°F for just 3 to 4 minutes. You can find my tips on getting perfect crispy air fryer potato wedges, and the concept is the same—quick, dry heat works wonders to refresh that buttery crust. It’s truly amazing how crisp they get again!
Frequently Asked Questions About This Easy Pull Apart Bread Recipe
I always get questions about this magical recipe once people try it! It’s so simple, but there are always those little details that make the difference between good and *OMG, I need another one*!
Can I make the Garlic Parmesan Pull-Apart Bread ahead of time?
This is a tough one because of the baking chemistry, I’m afraid. For the best results, meaning that perfect rise and soft interior, you really should bake this fresh. If you mix the dough pieces and get them coated in the butter mixture ahead of time, the dough starts to break down a little before it even gets into the oven, and it can lead to a denser final product. If you absolutely must prep ahead, cut the biscuits, store them dry in a sealed bag overnight in the fridge, and then mix and bake the entire thing fresh the next day. That way, you still get a fantastic **Easy Pull Apart Bread Recipe** experience!
What if I don’t have refrigerated biscuit dough? Can I use homemade dough for this Parmesan Dinner Rolls recipe?
You totally can! If you’re a yeast lover, this recipe works beautifully with homemade dough, either from scratch or pre-made frozen rolls. The main difference is texture, as I mentioned before. If you use yeast dough, you’ll need to let it rest or rise according to its instructions, cut it into golf-ball-sized pieces, and toss those pieces in the butter mixture instead. They might take a few extra minutes in the oven since they are generally denser than canned biscuits, but they bake up into amazing **Parmesan Dinner Rolls**!
How do I ensure my Garlic Parmesan Pull-Apart Bread stays moist?
Moisture control is everything when you are dealing with fatty butter and cheese coating baked dough! Beyond making sure every single piece is thoroughly coated in the butter mixture—seriously, shake that bowl vigorously!—my biggest secret for the **Garlic Parmesan Pull-Apart Bread** is how I finish the bake. If you see the top getting too dark or crispy before the center has fully cooked through (use a skewer test!), loosely tent the pan with a piece of aluminum foil for the last 5 to 7 minutes. That traps some steam just over the top and keeps the dough super soft right under that cheesy crust!
If you want to peek at one of my other favorite sides that’s always unbelievably soft, check out my recipe for easy Caesar chicken—it’s great for showing off those soft rolls right beside it!
Nutritional Estimates for Buttery Garlic Bread Bites
I know some of you lovely cooks are watching your macros or just curious about what you’re devouring—and trust me, these **Buttery Garlic Bread Bites** are worth every single bite! Since we are using store-bought dough, the numbers can vary a little depending on the brand of biscuits you grab, but based on the ingredients here, here’s what we’re looking at per serving (which, let’s be real, is usually more than one serving for me!).
These estimates are based on splitting the entire recipe into 6 standard servings:
- Calories: Around 320
- Fat: About 18g (Be mindful of that saturated fat topping, it’s the butter and cheese!)
- Carbohydrates: Around 30g
- Protein: About 7g
- Sugar: Low, around 3g
- Sodium: This one is higher, sitting near 550mg, mostly thanks to that glorious Parmesan cheese.
Just remember, this is an estimate! If you use lower-sodium butter or skip the extra sprinkle on top, you can adjust it down slightly. But honestly, when this bread comes out of the oven shimmering and smelling like that, I stop counting! This calculation doesn’t account for any soup or dipping sauce you might be pairing it with, so keep that in mind if you’re tracking closely. For more savory sides that keep the flavor profile high but the prep low, you should check out my recipe for garlic parmesan roasted green beans!
Share Your Garlic Parmesan Pull-Apart Bread Experience
Phew! Now that you have the perfect, simple roadmap for making the most amazing **Garlic Parmesan Pull-Apart Bread**, I genuinely want to hear from you!
Did you try this recipe for a party or just a lazy Tuesday night? Whether you baked it in a loaf pan or went for the classic square dish, tell me how it turned out for you! Did your family notice how fast it came together since we skipped the yeast fuss?
Please, please, please drop a note in the comments below. Seriously, rate it with stars, tell me your favorite part—was it the crispy cheese top or the soft, buttery interior?—and let me know if you paired it with something unexpected.
I always love seeing your creations on social media! Tag me in your photos; nothing makes me happier than seeing my kitchen adventures grace your dinner tables. You can always find me rambling about new recipes over on the main blog page too!
PrintGarlic Parmesan Pull-Apart Bread
Make this easy, cheesy Garlic Parmesan Pull-Apart Bread. It uses refrigerated dough for a quick bake, resulting in soft, buttery rolls coated in garlic and Parmesan cheese.
- Prep Time: 10 min
- Cook Time: 25 min
- Total Time: 35 min
- Yield: 6 servings
- Category: Side Dish
- Method: Baking
- Cuisine: American
- Diet: Vegetarian
Ingredients
- 1 (13.8 ounce) can refrigerated biscuit dough
- 1/2 cup (1 stick) unsalted butter, melted
- 4 cloves garlic, minced
- 1/4 cup grated Parmesan cheese, plus extra for topping
- 2 tablespoons fresh parsley, chopped
- 1/2 teaspoon dried Italian seasoning
- 1/4 teaspoon salt
Instructions
- Preheat your oven to 375 degrees Fahrenheit (190 degrees Celsius). Grease a standard loaf pan or 8×8 inch baking dish.
- Open the biscuit dough and separate the biscuits. Cut each biscuit into quarters. Place the cut pieces into a large bowl.
- In a small bowl, combine the melted butter, minced garlic, 1/4 cup Parmesan cheese, chopped parsley, Italian seasoning, and salt. Mix well.
- Pour the butter mixture over the biscuit pieces in the large bowl. Gently toss until all the dough pieces are evenly coated.
- Arrange the coated dough pieces randomly into the prepared baking dish, stacking them loosely.
- Bake for 20 to 25 minutes, or until the bread is golden brown and cooked through.
- Remove from the oven. Sprinkle immediately with extra grated Parmesan cheese.
- Let the bread cool in the pan for 5 minutes before serving warm.
Notes
- For a softer interior, use refrigerated dough. For a slightly chewier texture, you can use homemade yeast dough cut into small pieces.
- This bread pairs well with pasta dishes, chili, or soup.
- To get a crispier exterior, bake in a metal pan rather than glass.
Nutrition
- Serving Size: 1 serving
- Calories: 320
- Sugar: 3
- Sodium: 550
- Fat: 18
- Saturated Fat: 11
- Unsaturated Fat: 7
- Trans Fat: 0.5
- Carbohydrates: 30
- Fiber: 1
- Protein: 7
- Cholesterol: 45