

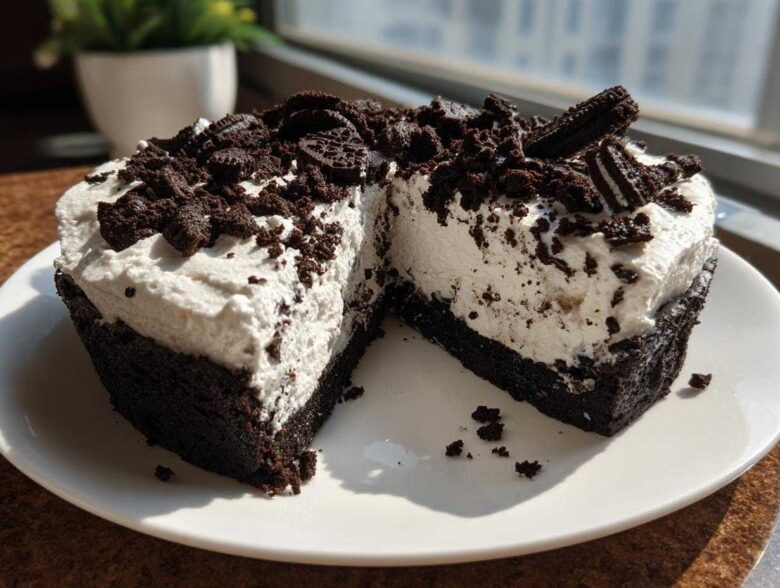
If your oven is throwing a tantrum or you’re just having one of those days where the heat feels like a personal attack, I totally get it. We all need those amazing desserts that deliver huge flavor without doing any heavy lifting, right? That’s why I’m sharing my all-time favorite, absolutely foolproof recipe for **No-Bake Oreo Cheesecake**. This isn’t just some substitute cake; this is the real deal—rich, creamy, and so deeply satisfying. Trust me, after you try this, you won’t even think about turning on the oven for a cheesecake again!
I love this dessert because there’s zero guesswork involved, and the payoff is ridiculous for the effort. It moves quickly from the mixing bowl straight to the fridge. It’s perfect for a spontaneous weekend treat or when you need a spectacular make-ahead dessert for a party. You just need a few simple ingredients and about 20 minutes of active time to get this pie ready for its long, cold nap. You’ll find the full details and secret tips below that make sure you get that perfect, clean slice every single time.
I’ve linked to my *other* no-bake Oreo favorite, just in case you need a second option, but stick with this one for the classic, tall slice you’re probably craving. Check out this Oreo pie recipe if you want something slightly thinner and faster setting!
Why This No-Bake Oreo Cheesecake Recipe Works So Well
Folks, this is hands-down the most reliable and Easy Oreo Cheesecake Recipe you will ever meet. If you think no-bake means flimsy or overly sweet, prepare to be amazed! The magic here is that we skip the baking entirely—hence the wonderful No Oven Needed Cheesecake status—and rely on cold, hard science to make it set beautifully.
Honestly, it’s the dream answer for when you need that glorious texture but don’t want to babysit an oven. It sets up firm enough to cut a clean slice, but it melts gorgeously in your mouth. It’s proof that you don’t need heat to achieve classic decadence!
Perfectly Creamy Oreo Cheesecake Texture Achieved
So, what keeps this lovely thing from turning into soup in the fridge? It’s all about balancing the fat and the air! We use full-fat cream cheese that gets beaten until it’s totally smooth, which gives us that essential structure. Then, we gently fold in stiffly whipped heavy cream. That whipped cream folds in all the air we need to make the Creamy Oreo Cheesecake light and airy, not dense like cement. It sets up perfectly just by chilling!
Quick Prep Time for Your No-Bake Oreo Cheesecake
My favorite part, besides eating it, is how fast this comes together. You’re looking at maybe 20 minutes of actual work time, tops, before it goes into the fridge. That means if you decide you need dessert at 3 PM, you can still have it ready for dessert after dinner. It’s the definition of a Quick Cheesecake Recipe that delivers way above its effort level. Don’t forget to check out my tips for perfect chewy cookies next if you’re in a baking mood later!
Gathering Ingredients for Your No-Bake Oreo Cheesecake
Okay, let’s talk supplies! Since we aren’t baking away any imperfections, the quality and temperature of your ingredients here matter a ton, trust me. For the Oreo Crust Cheesecake Recipe, you don’t need much, but every piece counts. My best tip is to use the standard Oreos—not the Double Stuf—because we need the ratio of cookie to cream filling to be just right for a sturdy crust base.
Remember that great vanilla buttercream frosting needs room-temp butter? Well, this is even more important! If your cream cheese isn’t soft, you’ll end up scooping tiny, annoying lumps into your glorious dessert. Plan ahead and let those blocks sit on the counter for at least an hour before you even think about mixing.
Oreo Crust Cheesecake Recipe Components
For the foundation, we only need two things, but they marry beautifully! You’ll need about 1 and 3/4 cups of finely crushed Oreos—you can pulse these in a food processor or just smash them up in a zip-top bag. Then, mix that with 6 tablespoons of melted, unsalted butter. Mix it until it looks like wet sand. You want it fine enough to pack tightly, but don’t over-process it so much that it turns into greasy dust. We need that structure!
Ingredients for the Creamy Oreo Cheesecake Filling
This is where the actual cheesecake magic happens! Make sure you have two full 8-ounce packages of cream cheese—and I mean *fully* softened! Add in 1 cup of powdered sugar—sifted if you want to be extra, but I usually just stir it well—and about a teaspoon of good vanilla extract. The final, crucial piece is the aeration: 1 and 1/2 cups of heavy whipping cream, which must be straight from the fridge, ice-cold, ready to whip into stiff peaks that give us that beautiful, fluffy texture we love in a Creamy Oreo Cheesecake.
How to Make No Bake Oreo Cheesecake: Step-by-Step
Alright, time to put everything together! This is the part where all your planning pays off. We need to move methodically but quickly, especially once those chill times come into play. This is where we ensure this becomes a truly amazing No Bake Oreo Cheesecake that holds its shape beautifully. These instructions are basically the roadmap for a perfect result every time.
Preparing the Oreo Crust and Chilling
First things first, let’s handle that buttery crust. Take your combined Oreo crumbs and melted butter—it should look like nicely dampened sand. Dump it right into your 9-inch springform pan. Now, here’s my little trick: forget just patting it down with your fingers! Grab a flat-bottomed measuring cup—a 1-cup size works perfectly—and use the base to press that mixture down firmly and evenly across the bottom. You want a nice, solid base so your filling doesn’t sink or crumble when you slice it. Once it’s packed tight, pop that whole pan into the freezer for about 10 to 15 minutes while you work on the filling. That quick chill helps it lock in shape!
Creating the Smooth Cream Cheese Base
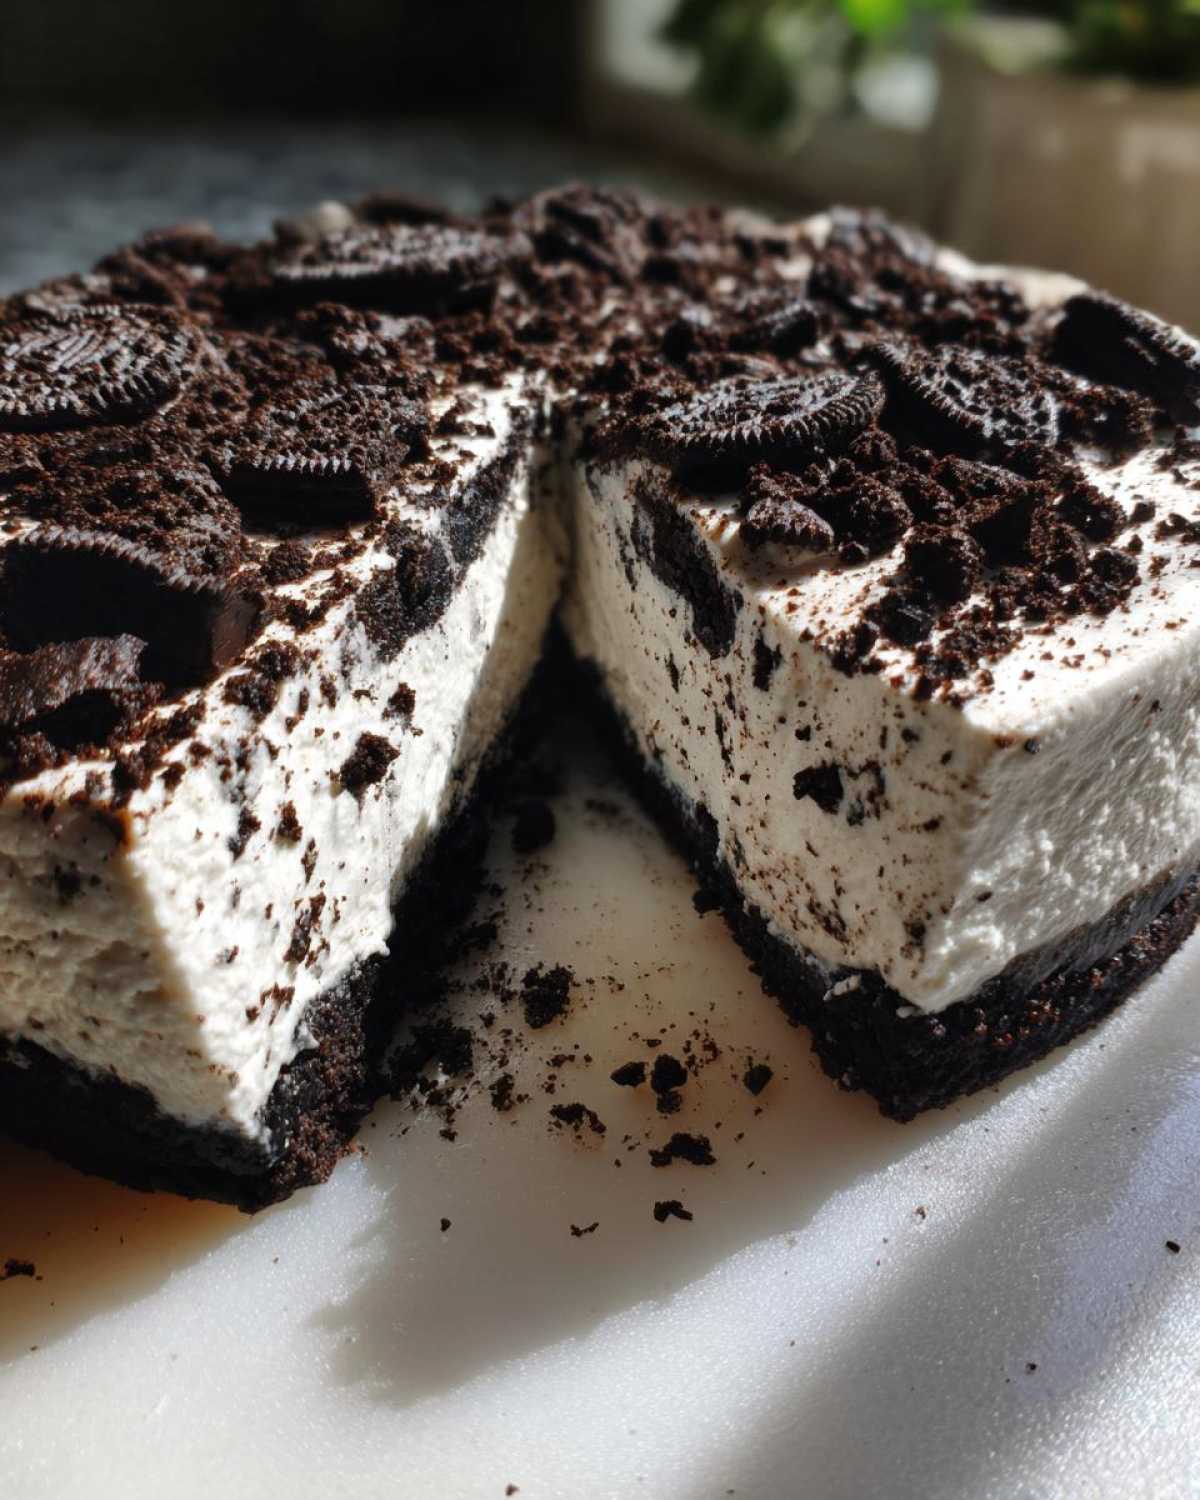
Grab your large mixing bowl now. Remember, the cream cheese needs to be soft! Beat that cream cheese by itself first until it’s completely creamy, luxurious, and lump-free. Seriously, take your time here; this is crucial. Only once it looks like silky frosting do you slowly add in the powdered sugar and the vanilla extract. Beat that until everything is blended—and don’t forget to stop the mixer and scrape down the sides with a rubber spatula! We want every bit incorporated, no stray pockets of dry sugar allowed for that smooth finish.
Folding in the Whipped Cream for Lightness
This next step is what gives us the amazing lift in this Simple Oreo Dessert! While your cream cheese mixture chills slightly, whip that cold heavy cream in a separate, clean bowl. Whip it until you get really stiff peaks—when you pull the beaters out, the peaks should stand straight up without slumping over. Now, take the cream cheese mixture and gently fold in about half of that whipped cream. Don’t stir aggressively; you have to fold it gently like you are tucking in a baby blanket. Once that’s mostly incorporated, add the rest of the whipped cream and fold until you see no more white streaks. You just locked in all that beautiful air!
Setting and Finalizing Your No Bake Oreo Cheesecake
Retrieve your super-chilled crust from the freezer. Pour that fluffy filling right on top, and smooth out the surface with an offset spatula or the back of a spoon. Now comes the hardest part: waiting! Cover the pan loosely with plastic wrap—make sure the wrap isn’t touching the filling or it will leave marks—and send it to the refrigerator. It absolutely *must* chill for a minimum of six hours, but I always insist on overnight if you can manage it. This long chill is non-negotiable for stability. When it’s time to serve, run a thin knife around the edge before releasing the springform ring, and then shower the top with those reserved crushed Oreos! If you’re looking for more easy guides, check out my collection of easy dessert recipes for beginners.
Tips for Success with Your No-Bake Oreo Cheesecake
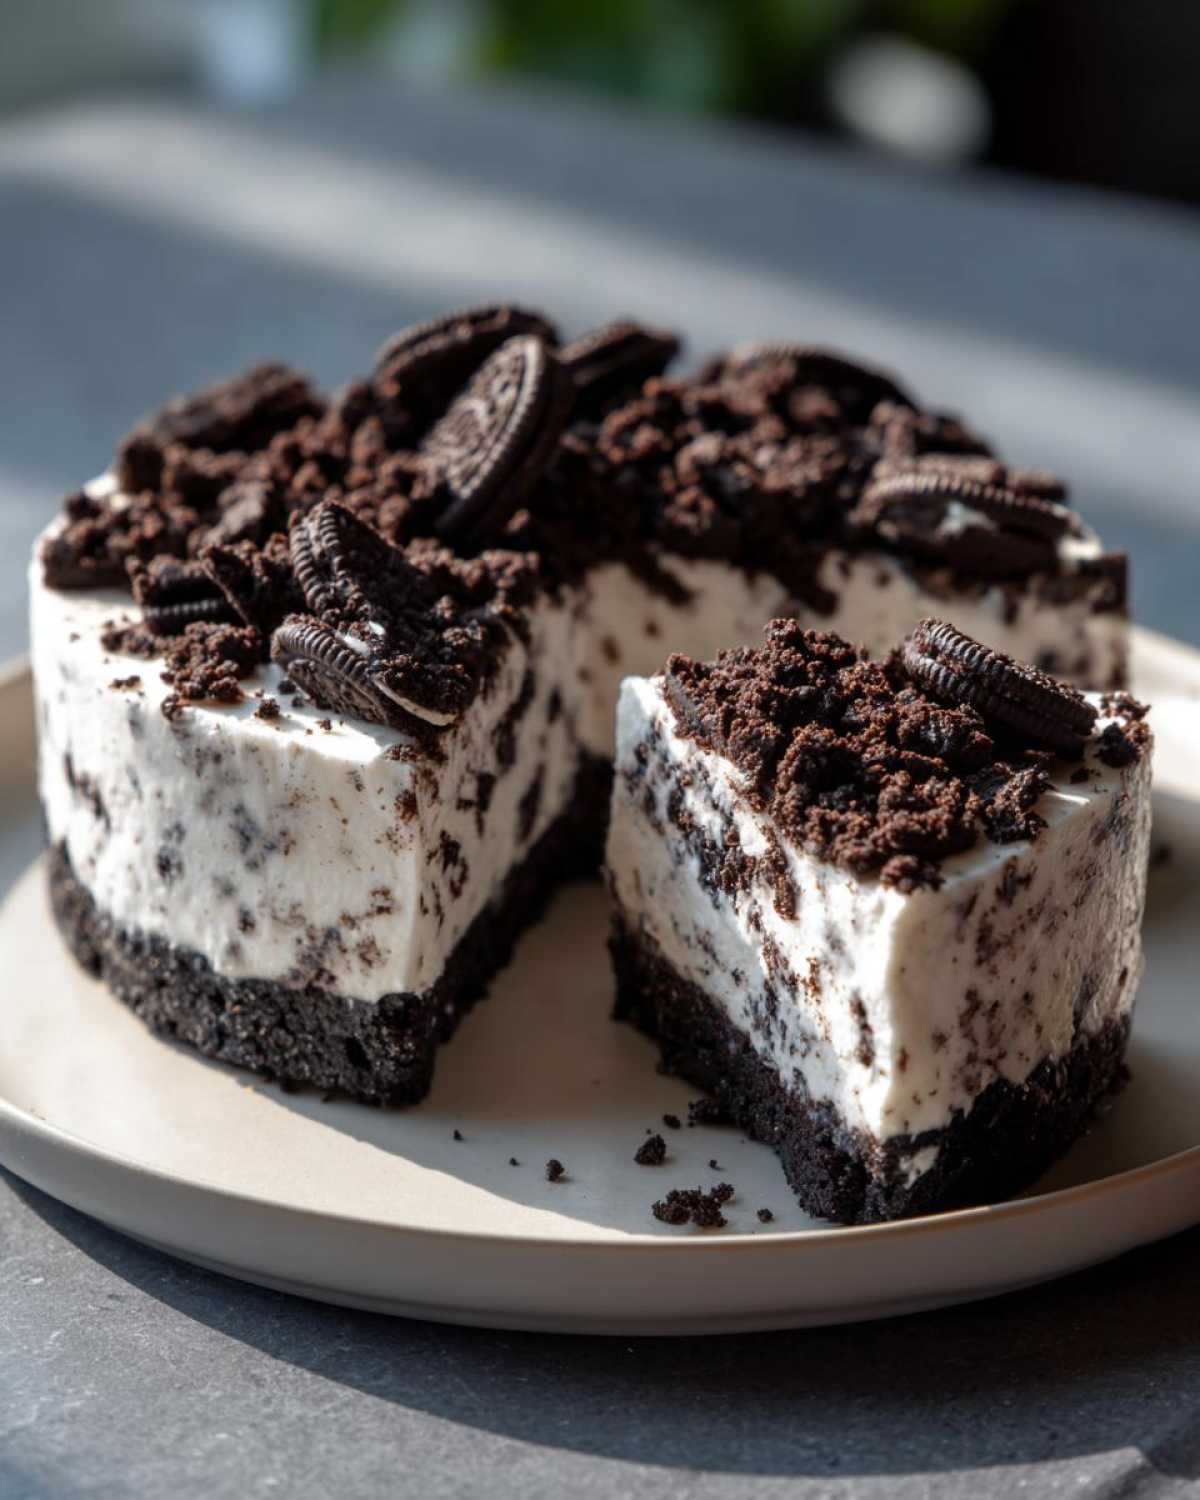
Phew! We made it through the mixing, and now we just need to cross the finish line strong. Honestly, the success of these Cream Cheese No Bake Desserts comes down to temperature control. Don’t eyeball it—your chilling time and ingredient temps are the real architects of this cheesecake!
If you try to rush the chilling, you’ll end up with a runny mess, and nobody wants a sloppy slice, right? Also, make sure you leave out your filling ingredients with enough time to soften properly because lumps are the enemy of smooth cheesecake!
Ingredient Temperature Matters for Creamy Oreo Cheesecake
I want to re-emphasize this because it’s the difference between heaven and, well, soup. The cream cheese needs to be truly soft so it creams up perfectly smooth with the sugar. No lumps allowed! On the flip side, that heavy whipping cream has to be absolutely icy cold.
Why? Because cold fat whips up faster and traps more air, which gives you those sturdy peaks we need to give the filling volume. It’s a balancing act! If you want to see another one of my trusty weeknight guides, I have this easy weeknight bolognese sauce recipe that requires similar precision!
Serving Suggestions and Storing Your No-Bake Dessert
Once your beautiful **No-Bake Oreo Cheesecake** is firm—and trust me, you absolutely must wait for that firmness—it’s showtime! Since this is such a fantastic Make Ahead Dessert Recipe, you can pull it out of the fridge when your guests arrive, totally smug that you made this yesterday. Before slicing, take the reserved crushed Oreos (I like mine slightly chunkier for topping) and sprinkle them generously over the surface.
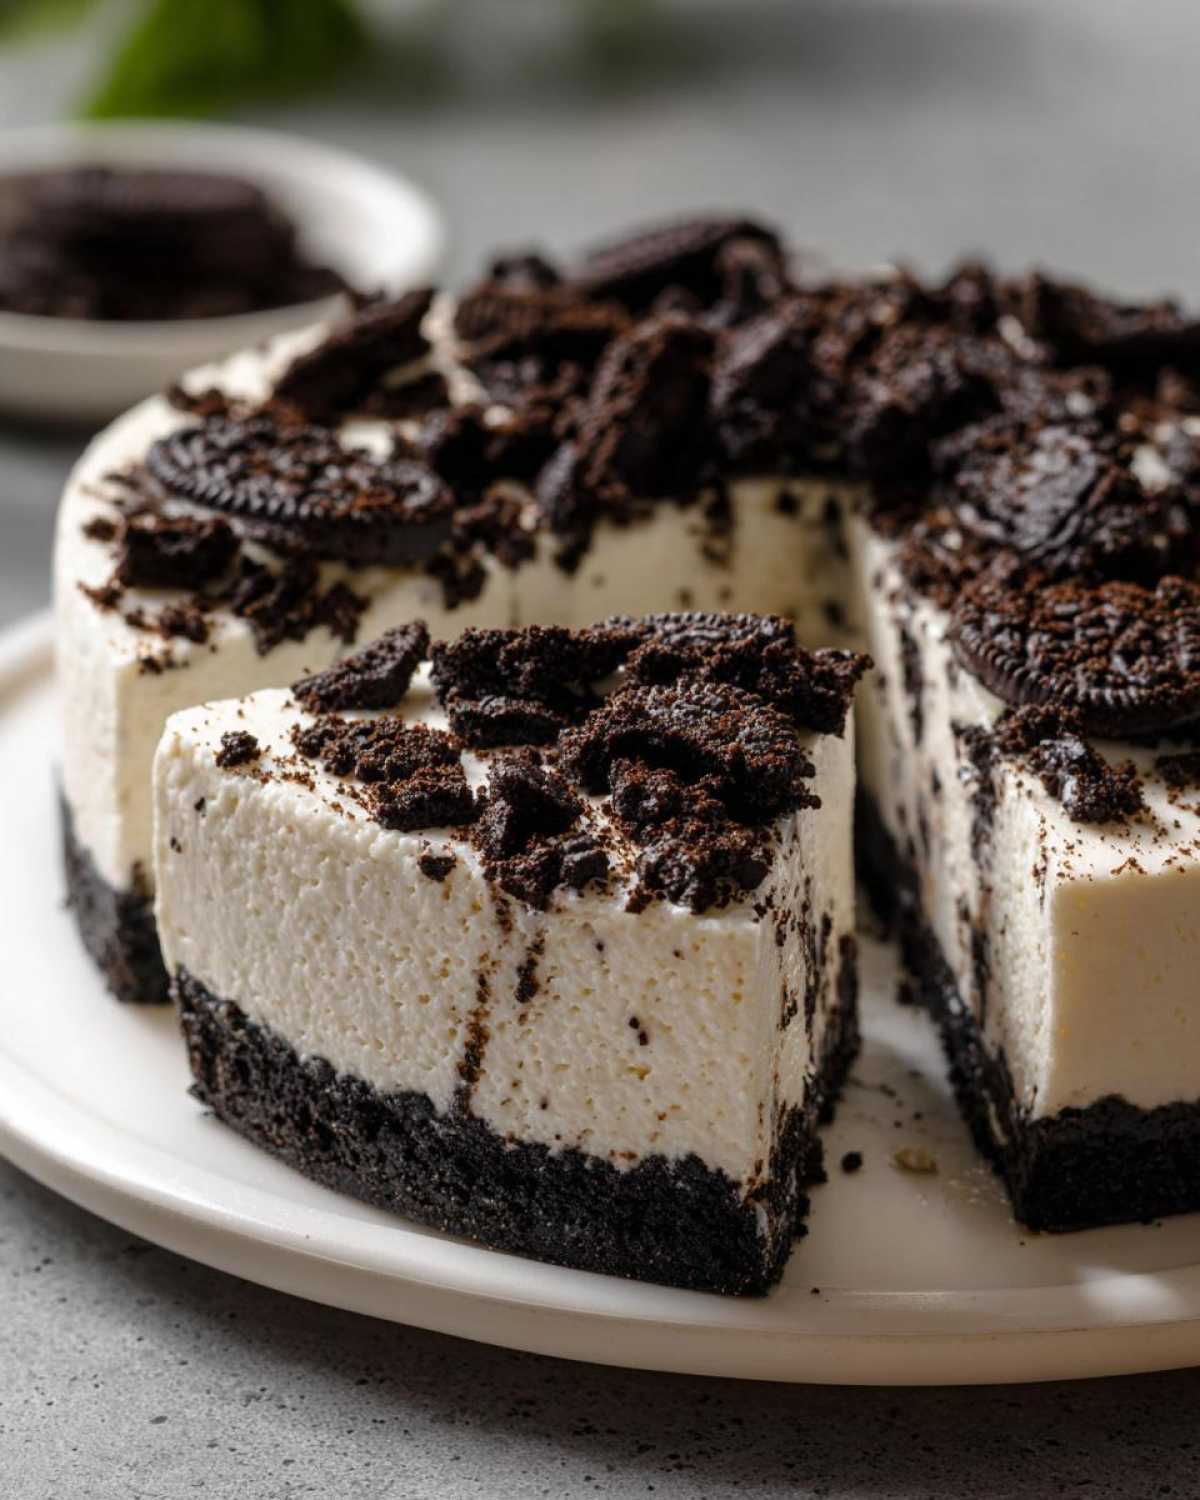
Don’t forget, this cheesecake needs to stay cold to hold its shape. Store any leftovers tightly covered in the refrigerator. It stays wonderfully fresh for about four days! If you want some breadstick ideas to go alongside your next dessert adventure, check out these easy homemade breadsticks!
Frequently Asked Questions About No-Bake Oreo Cheesecake
I always get a ton of questions when I post this recipe because everyone wants to know how to get that perfect slice without baking! I’ve gathered the most common ones about making this No Bake Oreo Cheesecake so you can feel confident when you start mixing. If you’re learning how to make no bake cheesecake, these are the little hiccups everyone runs into.
Can I make this No Bake Oreo Cheesecake without a springform pan?
Oh, totally! I know not everyone has a springform pan lying around. If you’re making this as a flat slab—you know, one of those fantastic No Bake Dessert Ideas—a square 9×9 inch pan works perfectly. The trick, though, is lining it first! Cut a sheet of parchment paper slightly larger than the pan, and just lay it in there, leaving an overhang on two opposite sides.
When the cheesecake is totally set, you just grab those paper handles and lift the whole lovely thing right out! It makes slicing and serving so neat. If you need a break from dessert making, check out my easy weeknight bolognese sauce recipe for dinner!
How long does the No Bake Oreo Cheesecake need to chill?
This is the question I get the most! The recipe says a minimum of six hours, and you can technically get away with that if you’re in a major pinch. But listen to me: if you want that beautiful, sliceable texture that looks just like a shop-bought one, you need to chill it overnight.
When you rush it, the filling is slightly softer, and it can sometimes look a little messy when you cut it, even if it tastes amazing. Overnight chilling gives the cream cheese and cream structure time to truly firm up completely, making this the perfect Make Ahead Dessert Recipe!
Can I substitute any of the Oreo filling ingredients?
That’s a great question regarding the actual filling! You really shouldn’t swap out the cream cheese or the heavy cream, as they carry the whole structure of this Cream Cheese No Bake Dessert. However, you can certainly swap out the cookies! If you’ve got Golden Oreos or even chocolate wafer cookies, those work beautifully as substitutes for the crust and topping. It just transforms it from a No Bake Chocolate Cheesecake to something a little lighter!
What if my filling won’t set up thick enough?
If you followed every step, especially whipping the cream to stiff peaks and folding correctly, but it still seems soft after 8 hours, don’t panic! Sometimes the weather or the brand of cream cheese can make a difference. The quickest fix is adding a little more structure. You can gently beat in 1/2 cup of powdered sugar and another 1/4 cup of already whipped heavy cream, whisking gently, and pop it back in the fridge until it firms up. This usually does the trick!
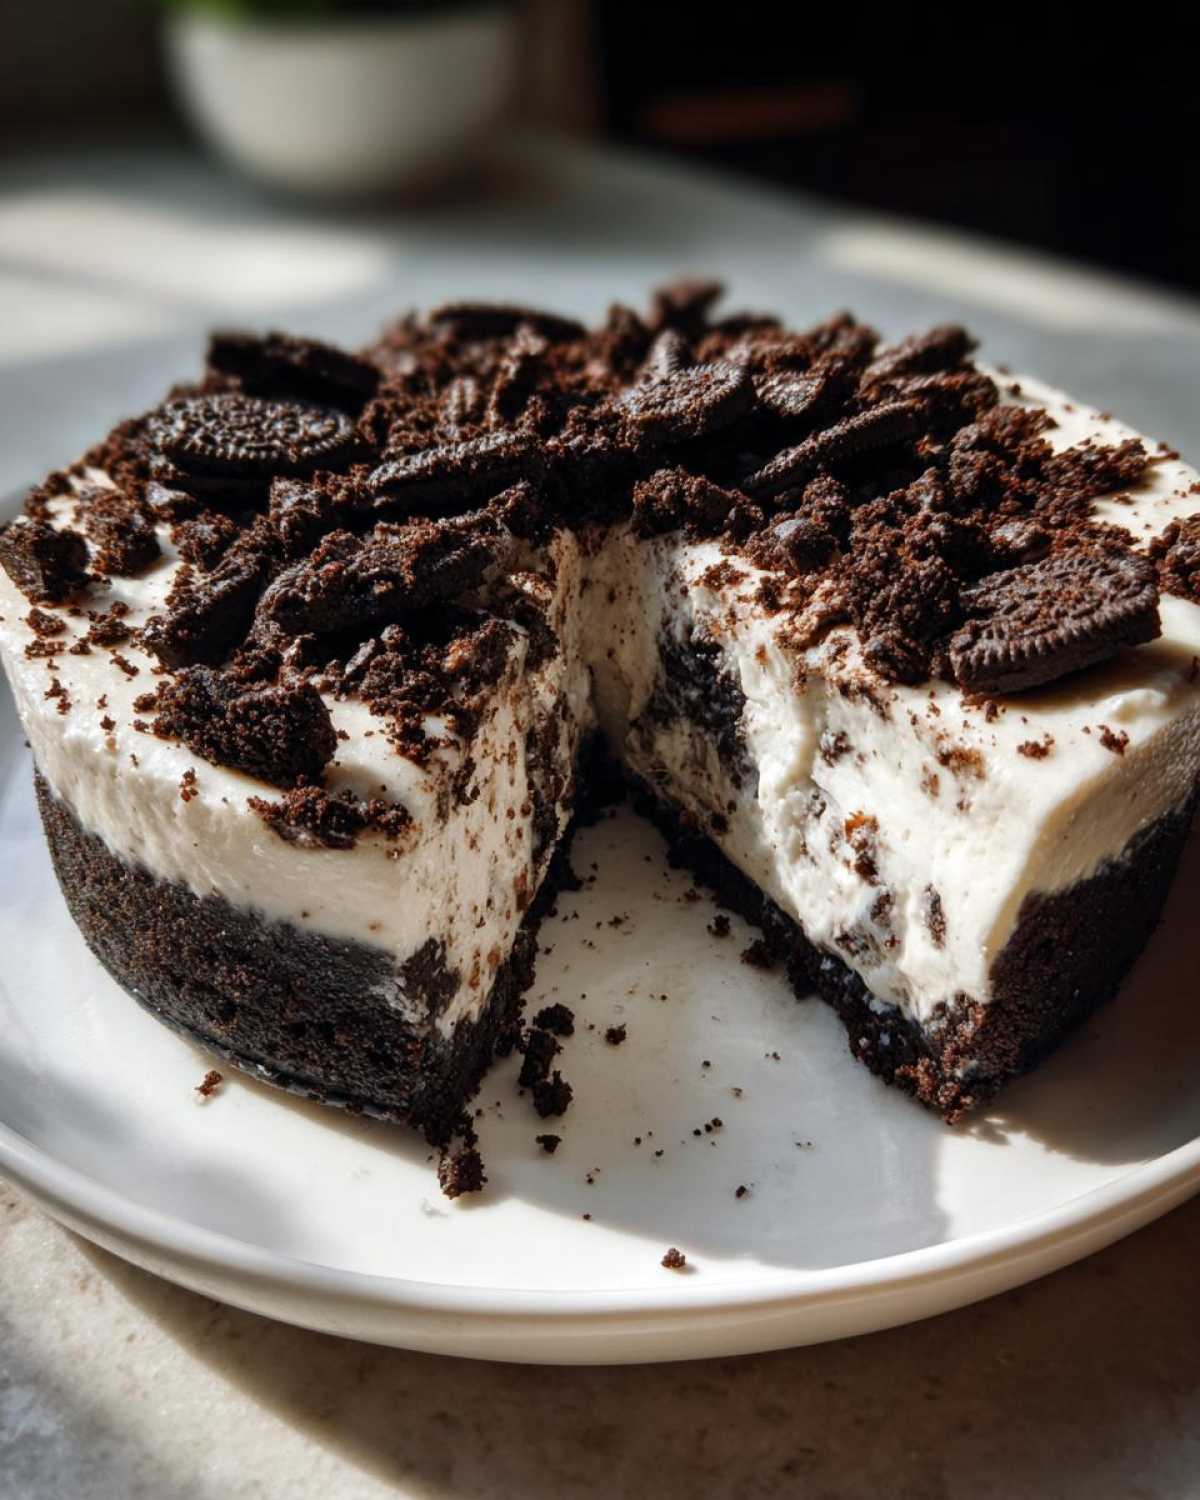
Estimated Nutritional Information for No-Bake Oreo Cheesecake
Okay, so we all know cheesecake isn’t exactly a health food, but it’s good to have a ballpark idea of what you’re diving into when you grab a slice of this glorious No Bake Oreo Cheesecake! I pulled all the standard figures for the ingredients we used, but please remember these numbers are just estimates based on my measurements and averages.
The actual numbers can shift a tiny bit depending on the exact brands of Oreos or cream cheese you choose. This information is here just to give you a general heads-up before you get started on what is truly a fantastic No Bake Dessert Idea!
Here is a quick breakdown per slice (we got 10 servings out of the whole thing):
- Calories: Around 380 calories
- Total Fat: About 26 grams
- Carbohydrates: Roughly 35 grams (and yes, that includes the sugar!)
- Protein: About 5 grams
We aren’t low-carb here, that’s for sure, but look at that cholesterol number—it comes mainly from the cream cheese, and it’s manageable! For the full breakdown, I also included sodium and fiber, but honestly, I’m just focused on the fact that it’s creamy, amazing, and totally ready in the fridge!
Share Your No Bake Dessert Ideas
Whew! We did it! We made something truly spectacular without turning on a single burner—how amazing is that? Now that you’ve had a chance to chill this stunner and cut yourself a massive slice, I would absolutely *love* for you to come back and let me know how it went!
Did you stick to the plain crushed Oreo topping, or did you get creative and sprinkle on some chocolate shavings or maybe even a drizzle of salted caramel?
Please take a moment and leave a quick star rating below so other people know this No-Bake Oreo Cheesecake is the real deal! Every time you share your results or ask a question, it helps me build better content for you. Happy chilling, and don’t forget to check out my main recipe blog page for more easy desserts!
PrintSimple No-Bake Oreo Cheesecake
Make a rich, creamy cheesecake with an Oreo crust that sets perfectly without turning on your oven. This recipe is quick to assemble and great for beginners.
- Prep Time: 20 min
- Cook Time: 0 min
- Total Time: 6 hr 20 min
- Yield: 10 servings
- Category: Dessert
- Method: No Bake
- Cuisine: American
- Diet: Vegetarian
Ingredients
- 1 3/4 cups Oreo cookie crumbs (about 30 cookies)
- 6 tablespoons unsalted butter, melted
- 2 (8 ounce) packages cream cheese, softened
- 1 cup powdered sugar
- 1 teaspoon vanilla extract
- 1 1/2 cups heavy whipping cream, cold
- 1/2 cup crushed Oreo cookies, for topping
Instructions
- Combine the Oreo cookie crumbs and melted butter in a medium bowl. Press the mixture firmly and evenly into the bottom of a 9-inch springform pan. Place the crust in the freezer while you prepare the filling.
- In a large bowl, beat the softened cream cheese with an electric mixer until smooth. Add the powdered sugar and vanilla extract, beating until fully combined and creamy. Scrape down the sides of the bowl as needed.
- In a separate, clean bowl, whip the cold heavy whipping cream until stiff peaks form.
- Gently fold the whipped cream into the cream cheese mixture in two additions until just combined. Do not overmix.
- Pour the filling over the chilled Oreo crust and spread it evenly with a spatula.
- Cover the pan loosely with plastic wrap and refrigerate for at least 6 hours, or preferably overnight, until the cheesecake is firm.
- Before serving, carefully remove the sides of the springform pan. Sprinkle the top with the reserved crushed Oreo cookies. Slice and serve cold.
Notes
- For the best crust, use the back of a measuring cup to press the crumbs firmly into the pan base.
- Ensure your cream cheese is fully softened to avoid lumps in the filling.
- Chill time is essential for the cheesecake to set properly. Do not rush this step.
Nutrition
- Serving Size: 1 slice
- Calories: 380
- Sugar: 30
- Sodium: 280
- Fat: 26
- Saturated Fat: 15
- Unsaturated Fat: 8
- Trans Fat: 0.5
- Carbohydrates: 35
- Fiber: 1
- Protein: 5
- Cholesterol: 75