

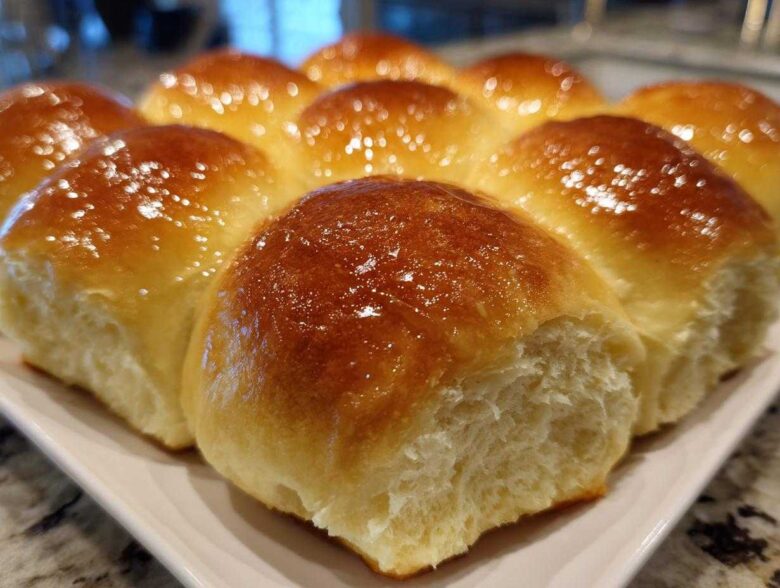
Oh my goodness, if you’re anything like Hannah and me—Elias writing here—you know the difference between a decent roll and a truly *spectacular* one. That amazing, pull-apart softness that melts butter instantly? That’s what we’re chasing every time we step up to the counter! Store-bought is fine when you’re in a crunch, but nothing, I mean nothing, compares to homemade bread. We spent ages perfecting this formula because I really needed to slow down and let the dough tell me what it needed. You can read a little more about our story and why we value taking that time in the kitchen. Trust me, my patience paid off! These are the ultimate soft and fluffy homemade dinner rolls you’ll ever taste. They come out golden, packed with buttery goodness, and they are surprisingly easy using this classic yeast roll recipe. You’re going to love how this feels like home on a plate.
Why You Will Love These Soft Dinner Rolls Recipe
Honestly, when you pull these warm, golden beauties out of the oven, you’ll immediately know why we put so much work into perfecting them. Store-bought can pack up its plastic trays and go home! These dinner rolls deliver exactly what you’re looking for:
- The texture is unbelievably soft and fluffy—perfect for soaking up gravy or just eating plain.
- They have that wonderful, rich buttery flavor that sings on your palate.
- They’re fantastic for major holidays like Thanksgiving, but honestly, they are quick enough for any weeknight supper.
If you love this level of comfort, you should also check out our equally comforting buttermilk cornbread recipe!
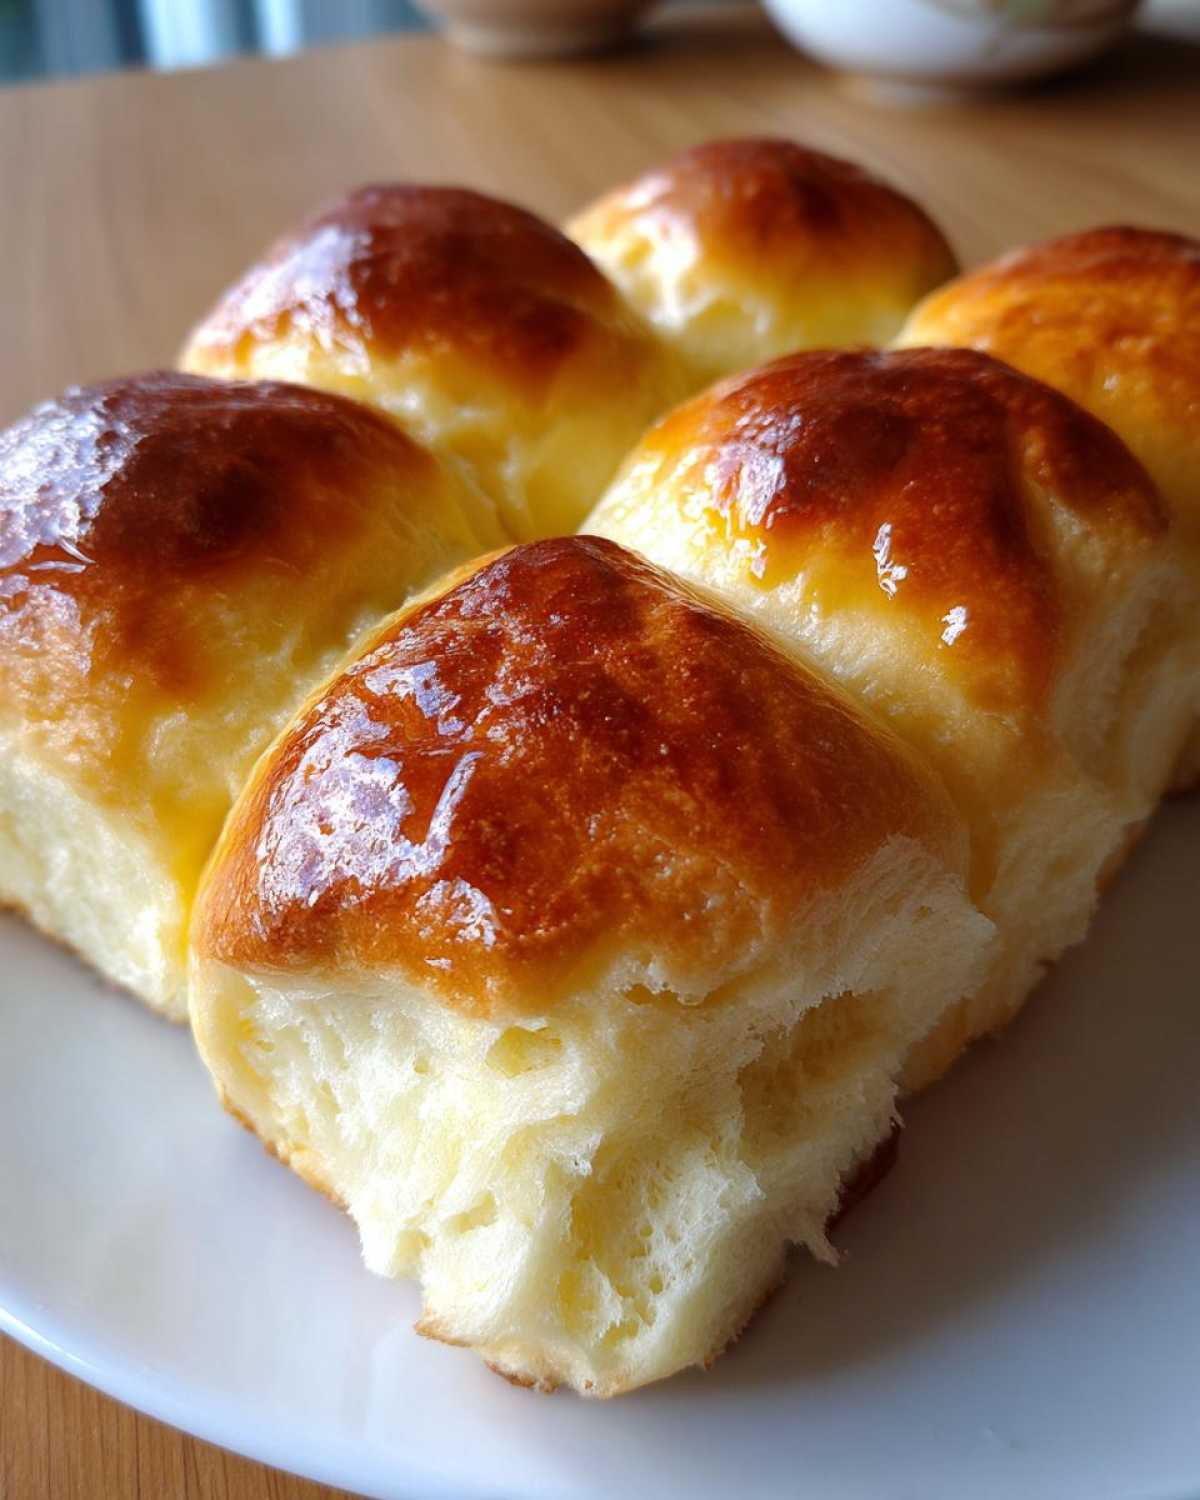
Gathering Ingredients for Fluffy Homemade Bread
Baking great bread is all about precision in the beginning, something I had to learn the hard way! For these buttery yeast rolls to reach that incredible fluff factor, we need to be very clear about what we use and how warm things should be. Accuracy here really helps Elias with his steady hand during the kneading process later on.
Essential Components for Perfect Dinner Rolls
First up, you absolutely need your milk to be warm—we’re aiming for 105 to 115 degrees Fahrenheit. If it’s too hot, it kills the yeast and your dough won’t rise. Nobody wants flat rolls! You’ll also want a room temperature egg, which blends in much better than a cold one. We’re using active dry yeast, some sugar for the yeast to munch on, flour, and salt. Don’t forget the butter! Part of it needs to be melted for the dough, and the rest needs to be nice and soft for brushing later.
Optional Topping for Texas Roadhouse Style Rolls Copycat
Now, if you are aiming for those slightly sweet, restaurant-style rolls—which, let’s be real, you probably are—we toss in two extras right at the very end. Once the rolls are hot out of the oven, melt that last bit of butter and swirl in a tablespoon of honey and just a half teaspoon of ground cinnamon. That little cinnamon-honey wash makes all the difference for that recognizable sweet finish!
Step-by-Step Instructions for Buttery Yeast Rolls
Okay, here is where the real magic happens, and where I (Elias) try to channel all my patience! Making the best dinner rolls isn’t about rushing; it’s about letting that yeast do its job. We’re going to walk through this carefully so you get that textbook fluffy texture every single time. If you’re looking for other simple bread adventures, check out my tips for soft naan bread too!
Activating Yeast and Mixing the Dough for Dinner Rolls
First things first: wake up that yeast! Mix your warm milk (that perfect 105-115°F!) with the yeast and let it sit. You are waiting for foam—that gorgeous, bubbly cap means the yeast is alive and ready to work miracles for your dinner rolls. Once it foams, whisk in your sugar, melted butter, and egg until everything is happy together. In a different bowl, we mix our dry stuff, the flour and salt.
Kneading and the First Rise for Perfectly Risen Rolls
Now comes my favorite part—the kneading. Slowly add the flour mixture into the wet ingredients until you have a shaggy mass. Then, turn it out onto a lightly floured surface. This takes about 8 to 10 minutes of gentle kneading. You’re looking for the dough to become smooth and elastic, like a well-used stress ball for your hands! Once it passes that test, put it in an oiled bowl, cover it, and let it hang out! It needs a full 1 to 1.5 hours for its first rise until it’s doubled up.
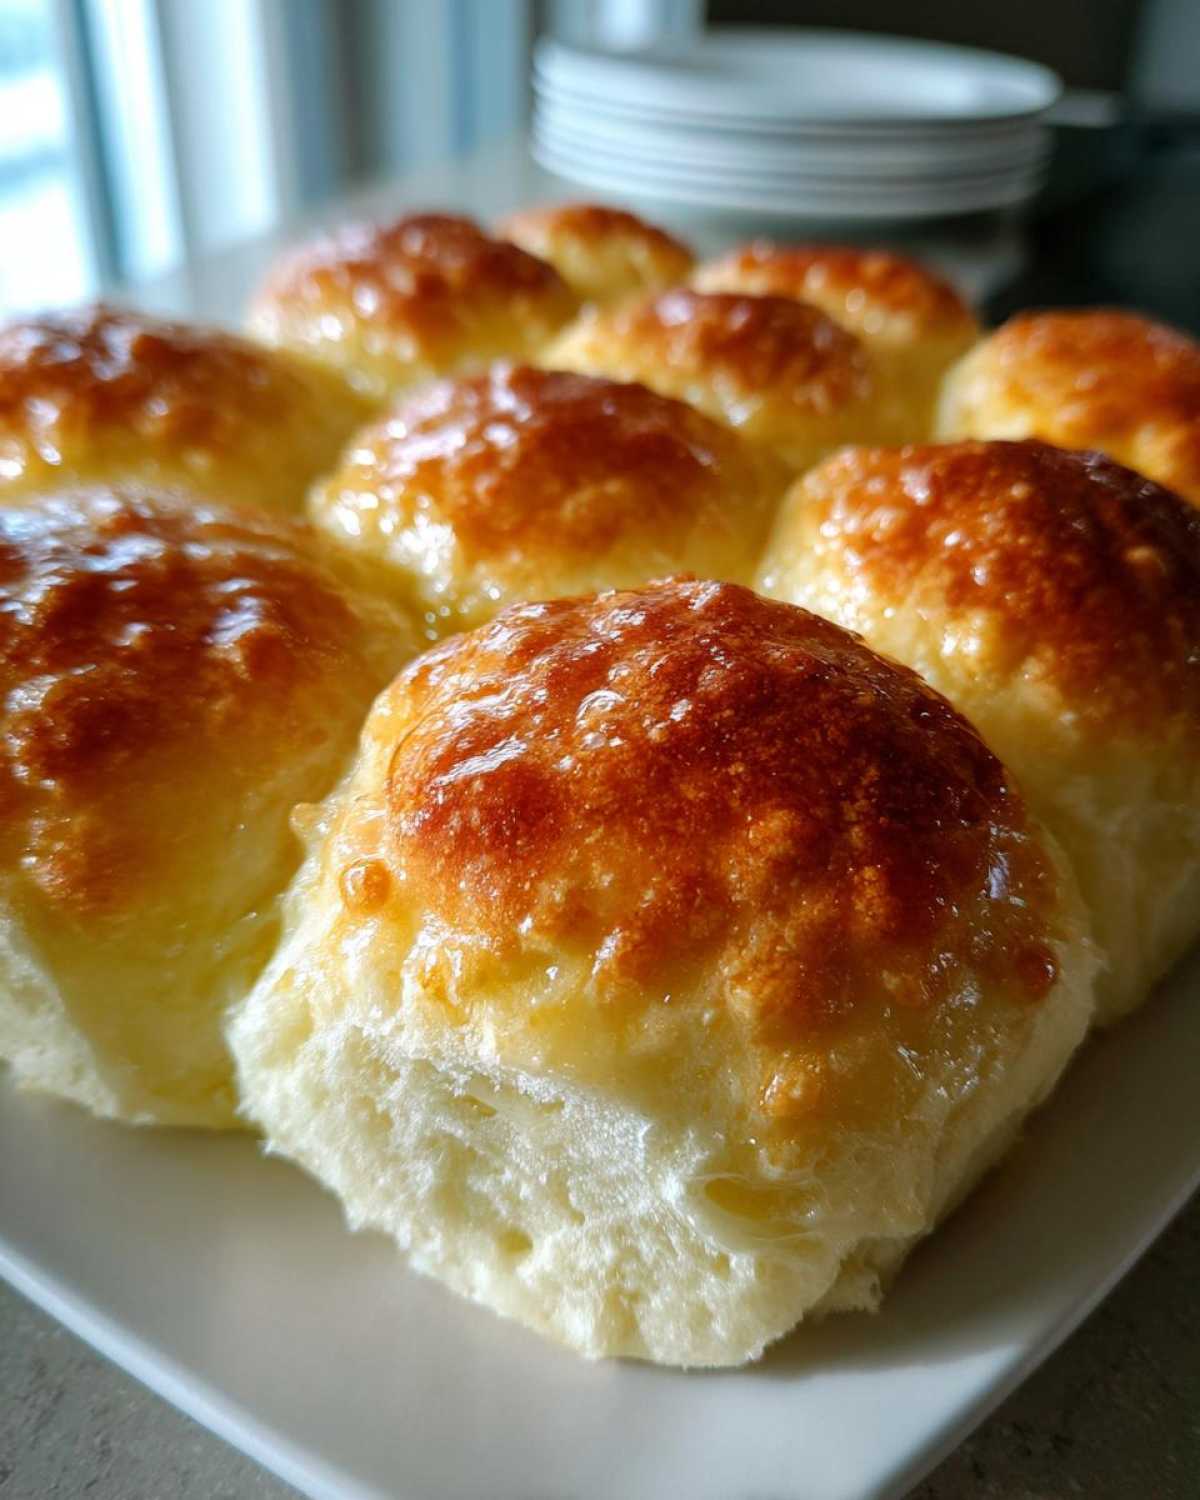
Shaping and the Second Rise: Preparing Your Dinner Rolls for Baking
When the dough is doubled, give it a gentle punch down—don’t deflate all that hard work! Divide the dough into 12 equal portions and roll each one gently into a tight little ball. Arrange them snugly in your greased 9×13 pan, giving them some space to touch and expand later on. Cover them again and let them sit warm for another 30 to 45 minutes. They should look puffy and soft before they hit the heat.
Baking and Applying the Buttery Yeast Rolls Topping
Preheat your oven to 375°F. Bake for about 15 to 18 minutes, watching until they are beautifully golden brown on top. The second they come out—and I mean immediately—you need that butter. Melt the remaining stick of butter. If you’re going for that copycat restaurant feeling—the Texas Roadhouse style—stir in your honey and cinnamon right into that melted butter. Brush the tops generously while they are piping hot. That’s how you lock in all the softness and flavor!
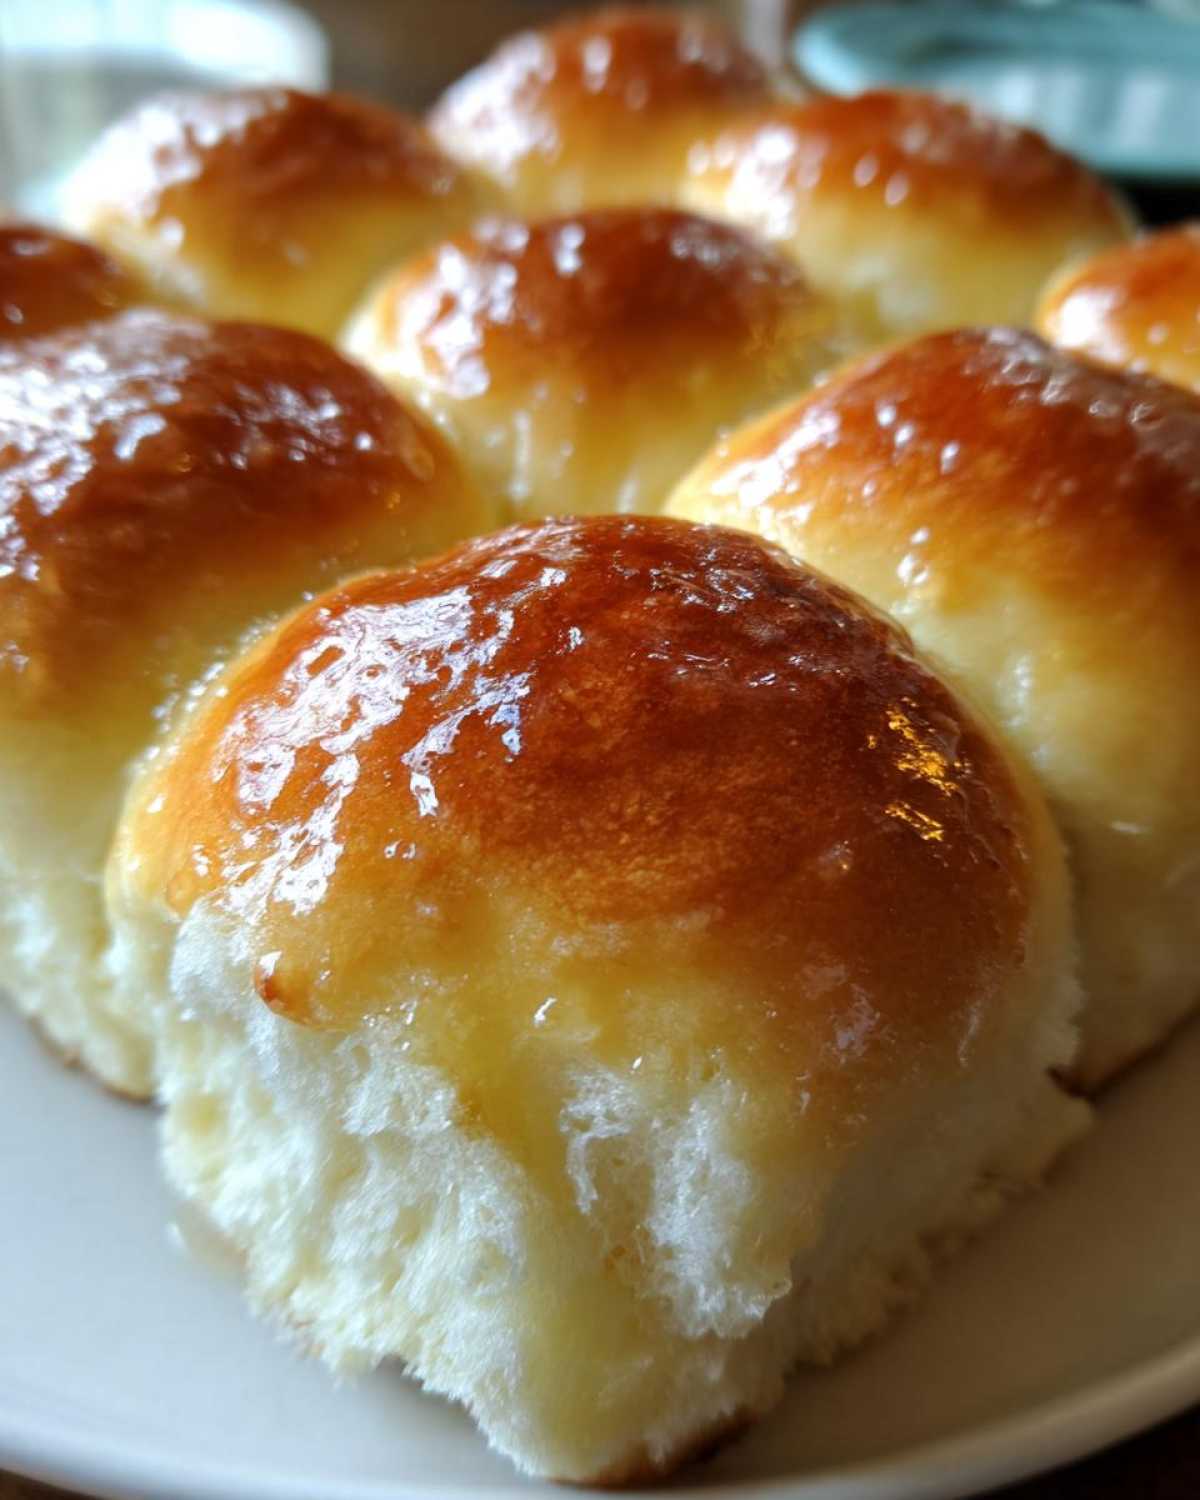
Tips for Success Making Soft Dinner Rolls
Baking perfect, soft dinner rolls always comes down to little details, doesn’t it? It feels like a huge success when they turn out pillowy soft instead of slightly tough. Hannah reminds me constantly that paying attention to these subtle points is what separates a good roll from the *best* roll. Here are the few specific tricks we rely on to make sure these buttery yeast rolls are next level fluffy every single time we try.
First, remember what I said about the ingredients in the section above? Don’t skip the room temperature egg! A cold egg shocks the dough and can mess with the gluten structure we’re trying to build up. If you forget to take it out, just place the egg in a bowl of warm (not hot!) water for about five minutes because we really need that temperature consistency.
Second, when you divide and shape those dough balls before the second rise, treat them gently! Think of them like little sleeping babies. You want tight little balls, but if you punch all the air out again during shaping, you’re reducing that lift you worked so hard to get during the first rise. We want them puffy, not flattened.
My personal tip for ultra-moist rolls is right at the end: brush that melted butter mixture (honey/cinnamon or plain!) onto the rolls immediately out of the oven. The heat of the bread immediately melts the butter and allows the top crust to absorb the fat thoroughly. This stops the top from drying out while the inside stays steamy and soft. If you want to see how we apply similar fluffiness techniques to scones, check out our buttermilk scone recipe!
Finally, always remember humidity plays a role. If it’s a rainy day, you might need slightly less flour during kneading, and your dough might rise faster. Always watch the dough, not the clock, during the rises!
Dinner Roll Variations and Flavor Twists
I know, I know, these classic dinner rolls are already perfect, but who doesn’t love a little customization? Hannah and I always encourage people to play around once they nail the basic technique. It’s so much fun to adapt a reliable recipe like this for different meals or just when you’re feeling adventurous. Once you’ve mastered that soft, buttery base, you have a blank canvas for amazing flavor twists!
If you love savory sides, think about sliding some herbs right into the dough during the kneading stage. A teaspoon of dried rosemary or even just a dash of garlic powder mixed in with your flour can transform these. Imagine serving those alongside our garlic butter roasted carrots—total game changer!
If you’re leaning toward sweet dinner rolls, that’s super easy too. Just bump up that initial quarter cup of sugar to a full third cup. That little extra sweetness pairs perfectly with the honey drizzle we talked about earlier. Or, skip the savory herbs and add a teaspoon of vanilla extract right in with the wet ingredients. They end up tasting almost like a soft, enriched brioche, perfect for breakfast the next morning!
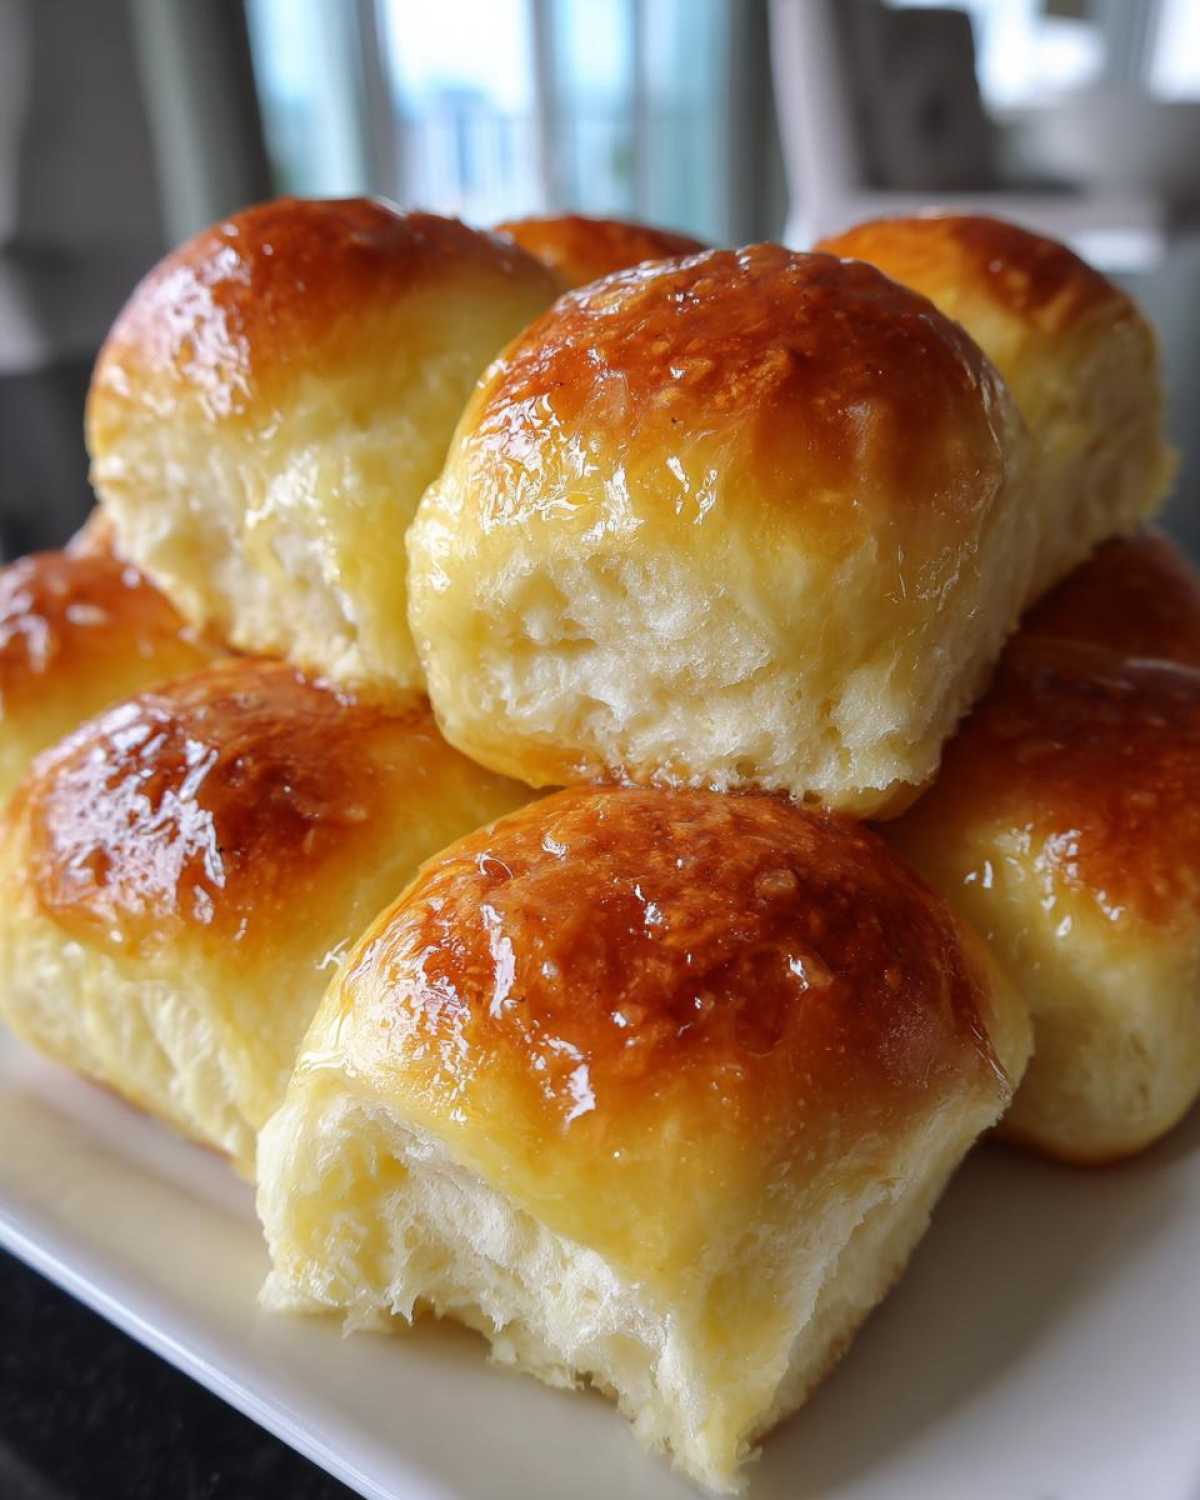
There are so many dinner roll variations you can try once you’re comfortable with the yeast. Don’t be scared to experiment!
Make Ahead Dinner Rolls and Storage Instructions
The absolute best thing about this recipe—especially when you’re gearing up for a big holiday meal like Thanksgiving or hosting a crowd—is that you can totally prepare these ahead of time! Who needs extra stress on the big day? Having delicious, **buttery yeast rolls** ready to bake in the morning saves so much time. We handle this a lot when we’re planning out our holiday baking schedule.
You can absolutely make these ahead and refrigerate them. After you’ve shaped the dough balls (Step 7 in our instructions) and placed them in the greased pan, cover the pan really tightly with plastic wrap. Make sure it’s sealed well so they don’t dry out in the fridge. They can chill out in the refrigerator for up to 12 hours. Think of it as a slow, cold second rise—it develops even more flavor!
When it’s time to bake, pull them out of the fridge about an hour before you were planning to bake, uncover them, and let them warm up just a little bit on the counter. If you’re too rushed, don’t worry. Just add an extra 5 to 10 minutes to the baking time since the chilled dough needs more time to heat through completely before they start browning nicely.
For longer storage, like freezing leftovers or prepping batches weeks in advance, you’ve got options too! You can freeze the baked rolls easily. Once they are completely cooled, put them in a heavy-duty freezer bag or an airtight container. When you want to eat them, just thaw them on the counter and pop them into a warm oven (about 300°F) for about 5 minutes. They come back to life beautifully!
If you’re baking ahead for a party, I highly recommend looking into our tips for our make ahead egg bake recipe as well. Prep early, enjoy later—that’s the secret to stress-free hosting around here!
Frequently Asked Questions About Homemade Dinner Rolls
We get so many messages asking for little tweaks or reassurance on tricky spots, which is wonderful! We love hearing from you. If you have a question we haven’t covered here, please don’t hesitate to reach out on our contact page. Here are some of the most common things people ask about achieving the best homemade rolls.
Can I make these Quick Dinner Rolls faster than the stated time?
That’s the eternal question for a weeknight meal, right? While the hands-on prep for these dinner rolls is fast—maybe 20 minutes—yeast needs time to eat and work its magic. You can’t really rush the chemistry of the rise. However, if you want to tempt fate, find the warmest spot in your house, maybe near a sunny window or on top of the rarely used pilot light on your stove (if you have one!), and sometimes you can shave 15 minutes off those rise times. Just watch the dough—if it looks doubled, it’s good to go!
What is the secret to achieving truly Fluffy Homemade Bread texture?
For me, Elias, the real secret to that fluffy homemade bread texture lies almost entirely in the kneading and how you handle the dough later. You have to knead it until the gluten develops—until it feels smooth, not ragged. But watch out in the second rise! Once you shape them, don’t press down hard when you cover the pan. We want them puffed up and full of air. That gentle handling keeps the inside light and airy, not dense and leaden.
How do I ensure my rolls stay moist like Old Fashioned Dinner Rolls?
This is pure flavor payoff! The absolute most crucial step for retaining moisture in these old fashioned dinner rolls is the minute they come out of the oven—don’t wait! Brush them heavily and immediately with that melted butter mixture. That beautiful, hot crust soaks up the fat, sealing in the steam. And finally, when you store them, make sure they go into a genuinely airtight container. If the air gets to them, they stiffen up fast. Keep them sealed tight to keep them soft!
Estimated Nutritional Data for These Dinner Rolls
Now, I know some of you are tracking macros, and some of you are just looking for pure comfort food—and that’s okay! I’m Hannah, and I handle all the technical details here, but remember, these numbers are only estimates. Baking ingredients can vary wildly (trust me, based on how generous I am with that butter brush!), so these figures shouldn’t be taken as gospel, exactly. For detailed information, please check out our full disclaimer here. But for a quick overview of one of these beautiful, soft rolls:
- Calories: Around 205
- Fat: About 8 grams
- Carbohydrates: Roughly 30 grams
- Protein: Around 5 grams
- Sugar: About 4 grams
They’re wonderfully balanced for a treat that tastes this decadent. Who knew a simple side dish could pack such a comforting nutritional punch? Enjoy!
Share Your Buttery Yeast Rolls Creations
That’s it! You’ve done the hard part, and now you get to enjoy the payoff. Seeing those golden, puffy, buttery yeast rolls steaming on your table is one of the best moments in baking, if you ask me. We truly put so much love and patience into developing this recipe, hoping it brings your family as much comfort as it brings ours.
We absolutely adore seeing your results! Once you’ve pulled your batch of dinner rolls out, brushed them with that final coat of honey butter, and let the family devour them, please come back here and drop a star rating! Five stars tells us we nailed that soft, fluffy texture we were aiming for, and it helps other bakers find their way to this incredible recipe.
And hey, if something felt tricky—maybe your dough was a little stubborn, or maybe you have a spectacular topping variation we haven’t even dreamed of yet—please leave us a comment below! Hannah and I check the comments every day, and we love troubleshooting or just hearing how much your family enjoyed the bread. We’re always learning, too, and your feedback helps make Flavor Vista a better place for all home cooks. Happy baking, and don’t be a stranger to our full recipe index!
PrintThe Ultimate Soft and Fluffy Homemade Dinner Rolls (Classic Buttery Recipe)

Bake the best homemade dinner rolls that are unbelievably soft, fluffy, and buttery. This classic yeast roll recipe is easy to follow and yields comforting bread perfect for any family meal or holiday gathering.
- Prep Time: 25 min
- Cook Time: 18 min
- Total Time: 1 hour 58 min
- Yield: 12 rolls
- Category: Side Dish
- Method: Baking
- Cuisine: American
- Diet: Vegetarian
Ingredients
- 1 cup warm milk (105-115°F)
- 2 1/4 teaspoons active dry yeast
- 1/4 cup granulated sugar
- 1 large egg, room temperature
- 1/4 cup unsalted butter, melted
- 3 1/2 cups all-purpose flour, plus more for dusting
- 1 teaspoon salt
- 1/2 cup (1 stick) unsalted butter, softened, for brushing
- 1 tablespoon honey (optional, for Texas Roadhouse style finish)
- 1/2 teaspoon ground cinnamon (optional, for Texas Roadhouse style finish)
Instructions
- Activate the yeast: In a large bowl, combine the warm milk and yeast. Let it stand for 5 minutes until foamy.
- Add the sugar, egg, and melted butter to the yeast mixture. Whisk gently to combine.
- In a separate bowl, whisk together 3 cups of the flour and the salt.
- Gradually add the dry ingredients to the wet ingredients, mixing until a shaggy dough forms.
- Turn the dough out onto a lightly floured surface. Knead for 8 to 10 minutes, adding the remaining 1/2 cup of flour as needed until the dough is smooth and elastic. It should be soft but not sticky.
- Place the dough in a lightly oiled bowl, turning once to coat. Cover the bowl with plastic wrap or a clean kitchen towel. Let the dough rise in a warm place for 1 to 1.5 hours, or until doubled in size. This is your first rise.
- Gently punch down the risen dough. Divide the dough into 12 equal pieces. Roll each piece into a smooth ball.
- Arrange the dough balls in a greased 9×13 inch baking pan, leaving a small space between them for spreading.
- Cover the pan loosely and let the rolls rise again in a warm spot for 30 to 45 minutes, or until puffy. This is your second rise.
- Preheat your oven to 375°F (190°C).
- Bake the rolls for 15 to 18 minutes, or until they are golden brown on top.
- While the rolls are still hot, prepare the butter topping: Melt the 1/2 cup of softened butter. If making the Texas Roadhouse style, mix the melted butter with the honey and cinnamon.
- Brush the tops of the hot dinner rolls generously with the butter mixture. Serve warm for the best soft and fluffy texture.
Notes
- For quick dinner rolls, ensure your milk temperature is correct; too hot will kill the yeast.
- If you want Texas Roadhouse Style Rolls Copycat flavor, use the honey and cinnamon butter topping described in step 11.
- You can make these ahead: assemble the rolls, cover, and refrigerate for up to 12 hours before the second rise. Add 5-10 minutes to the baking time if baking directly from the refrigerator.
- These buttery yeast rolls are best eaten the day they are baked, but store leftovers in an airtight container at room temperature.
Nutrition
- Serving Size: 1 roll
- Calories: 205
- Sugar: 4
- Sodium: 250
- Fat: 8
- Saturated Fat: 5
- Unsaturated Fat: 3
- Trans Fat: 0
- Carbohydrates: 30
- Fiber: 1
- Protein: 5
- Cholesterol: 25