

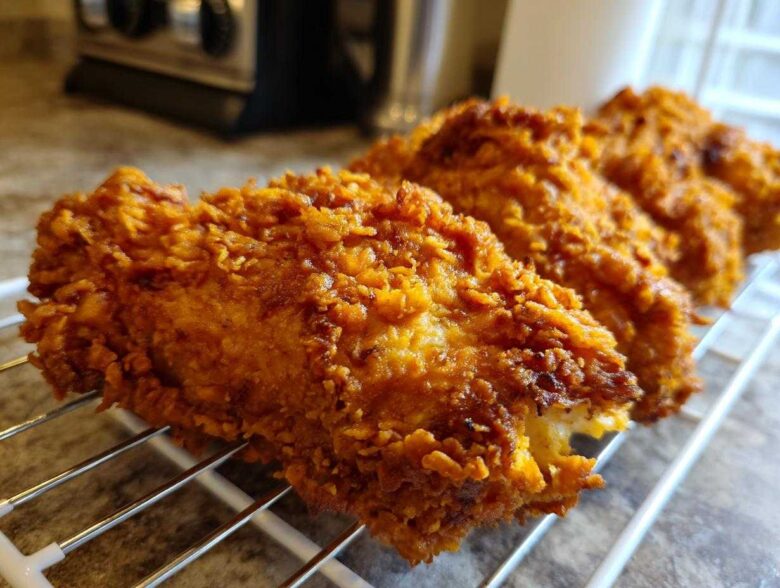
Oh, friend, have you ever had that deep, primal craving for something truly comforting? Something that tastes like a Sunday afternoon at Grandma’s? For Elias and me, that craving leads directly to the perfect fried chicken. Getting that legendary combination—golden, crunchy, and unbelievably juicy inside—can feel like chasing a culinary ghost. But trust me, we’ve cracked the code! This is the ultimate Buttermilk Southern Fried Chicken recipe. I bring my love for deep Southern flavors, and Elias uses his infuriatingly precise thermometer skills to nail the temperature every single time. It’s comfort food elevated, and it’s easier than you think! If you serve this up alongside some wonderfully moist buttermilk cornbread, you’ve already won the dinner game.
Why This Is the Best Homemade Fried Chicken Recipe
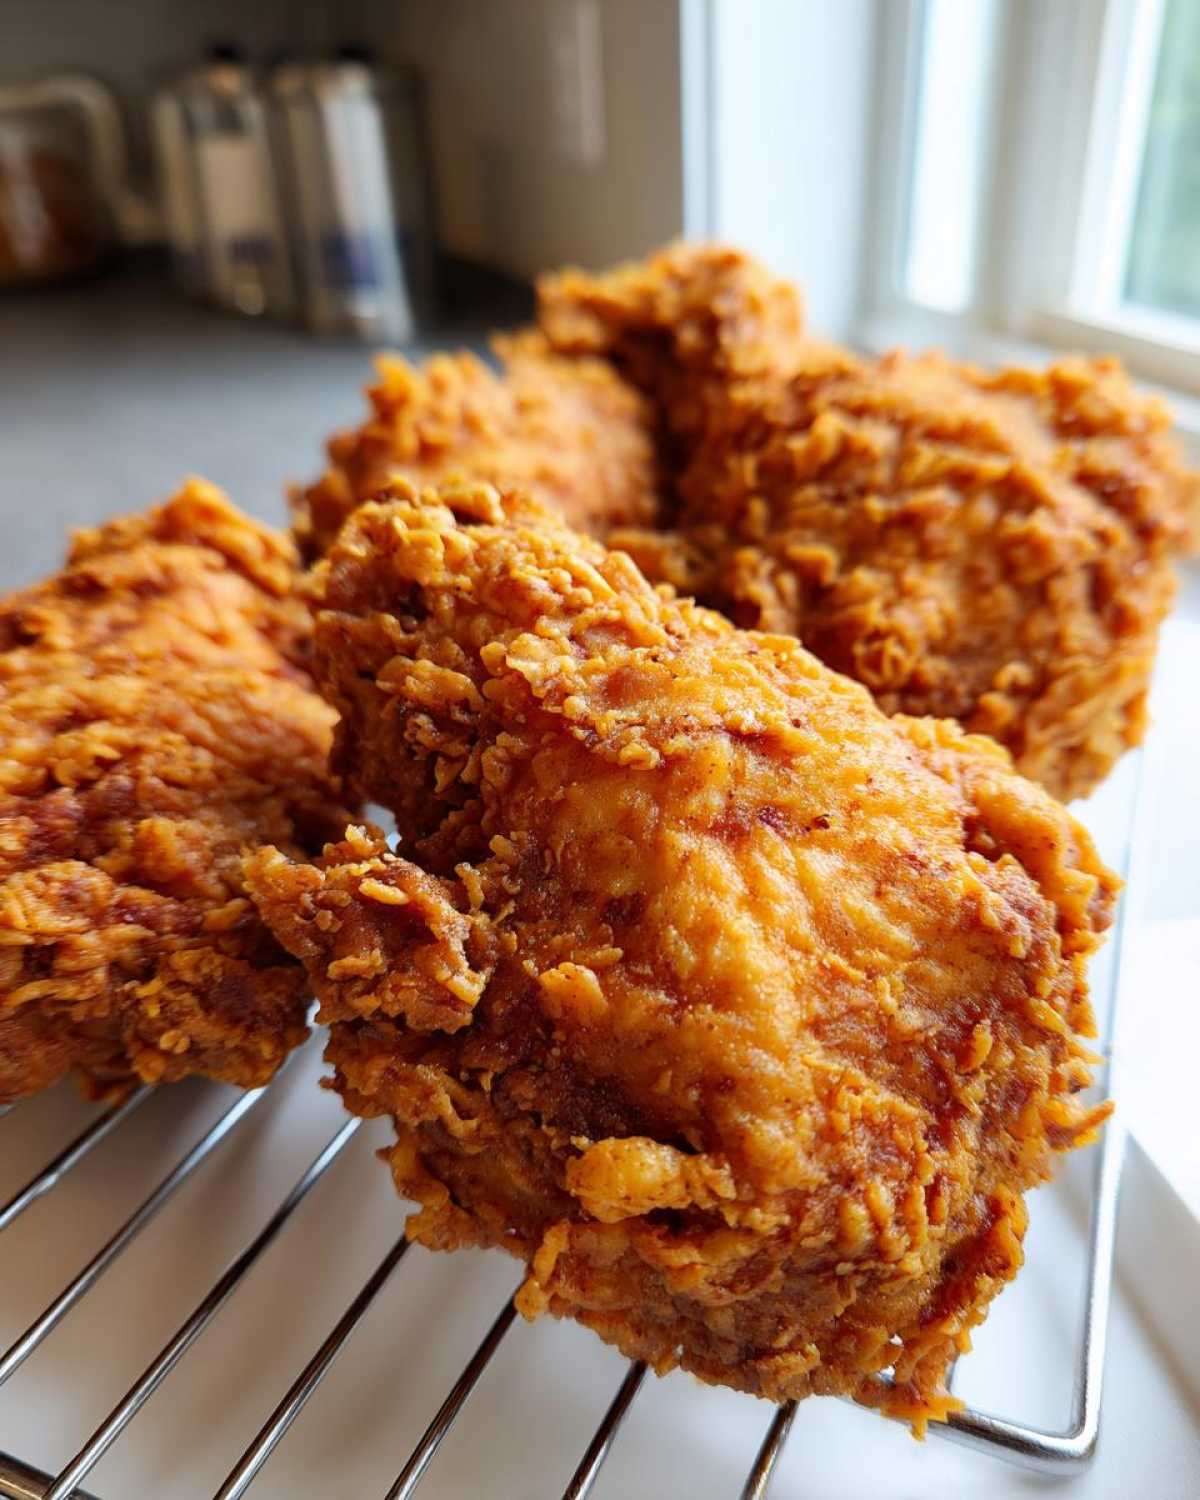
What makes our recipe the champion among all fried chicken recipes out there? Honestly, it’s the texture game. We cracked the code for that perfect Juicy and Crispy Chicken combo. The buttermilk brine does the magic on the inside, keeping everything unbelievably tender and flavorful. But the outside? That’s where the real crunch comes from. Elias spent an entire Sunday perfecting the oil temperature. He insisted 325°F was the magic number for that beautiful, almost unbelievably Golden Brown Chicken crust without letting the inside overcook. Trust me, this Crispy Fried Chicken Recipe will be your new standard for comfort food!
Achieving Ultra-Crispy Fried Chicken Coating
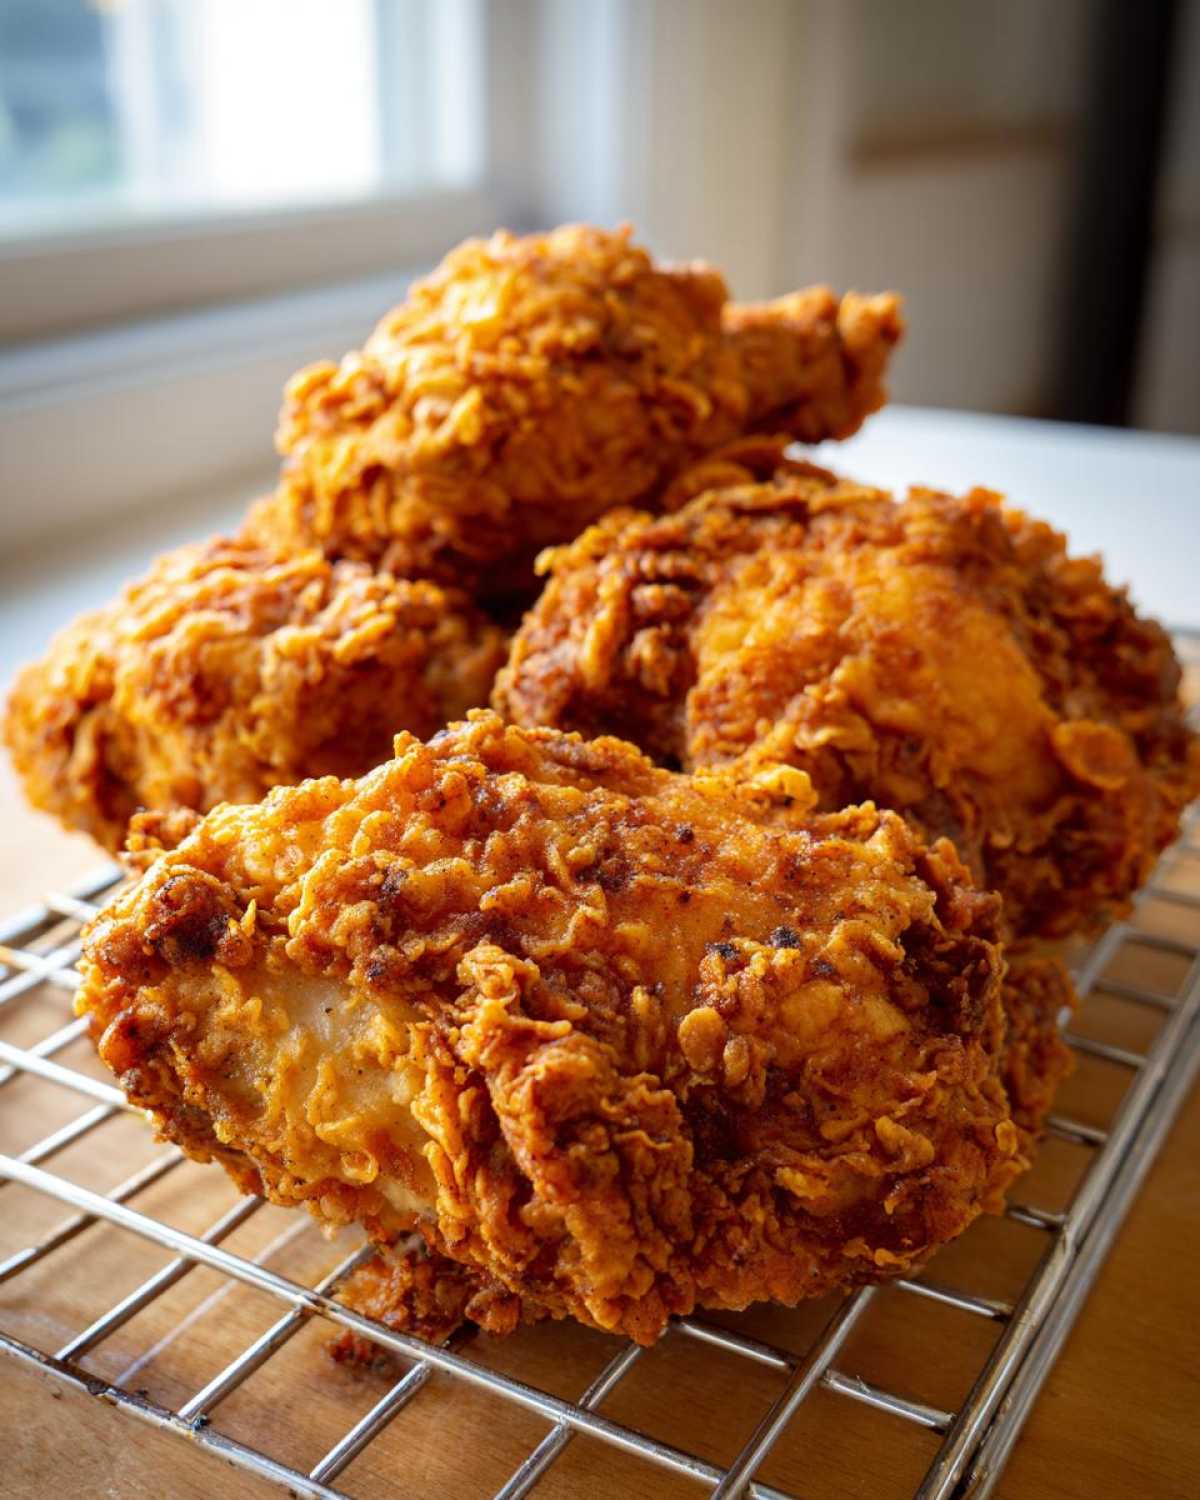
You’ve got your chicken soaking in that beautiful, tangy buttermilk. Now for the armor! The coating isn’t just plain flour, oh no. We mix in cornstarch and a tiny bit of baking powder. That’s the key to those gorgeous, craggy bits that everyone fights over. When you dredge, really press that flour mix into the chicken; don’t be shy! If you want next-level crunch, try the optional double-dip mentioned in the instructions. It builds a thicker, rougher shield that fries up into pure, crunchy heaven. This method is pure gold, and it’s how we guarantee maximum texture every single time we make skillet cornbread alongside it.
Ingredients for Perfect Buttermilk Southern Fried Chicken
Okay, let’s talk supplies! For truly spectacular fried chicken, you can’t skimp on the brine ingredients. The buttermilk has to be good quality because it’s doing all the heavy lifting to keep the meat tender. Plus, for the dredge, that little bit of cornstarch is non-negotiable if you want that gorgeous crunch. And please, please use a neutral, high smoke-point oil—vegetable or shortening are perfect for this deep frying adventure. You’ll need about 2-3 inches in your pan!
- 4 lbs bone-in, skin-on chicken pieces (thighs, drumsticks, breasts)
- 4 cups buttermilk
- 2 tablespoons kosher salt
- 1 tablespoon black pepper
- 1 teaspoon cayenne pepper
- 1 teaspoon garlic powder
- 1 teaspoon onion powder
- 3 cups all-purpose flour
- 1/2 cup cornstarch
- 1 teaspoon baking powder
- Vegetable oil or shortening for frying
How To Make Fried Chicken: Step-by-Step Instructions
Alright, this is The Moment! Follow these steps closely, and you’ll have the most incredible fried chicken you’ve ever made at home. Remember, patience is key, especially when it comes to that soaking time downstairs. Don’t rush the brine, and don’t rush the oil temperature! We mix, we dip, we fry, and boom—Southern perfection. Once you nail this process, you’ll be making this recipe for every potluck. It tastes incredible alongside our fluffy buttermilk pancakes if you’re feeling breakfast-for-dinner!
The Essential Buttermilk Brine for Juicy and Crispy Chicken
First things first: whisk together your buttermilk with all those seasonings—salt, pepper, cayenne, garlic, and onion powder. This creates the flavor base, but more importantly, the acid in the buttermilk starts breaking down the proteins in the chicken. That’s why your meat ends up so tender! Submerge every single piece, cover it up, and promise yourself you’ll let it chill in the fridge for a minimum of four hours, but really, overnight is where the magic happens for truly Juicy and Crispy Chicken.
Creating the Crunchy Chicken Coating Dredge
While your chicken is getting happy in the fridge, mix up your flour, cornstarch, and baking powder blend in a wide, shallow dish. Once you pull the chicken out, let the excess buttermilk drip off—we want moisture, not a swimming pool! Now, you have to press that flour mixture onto the meat. I mean *press*. Really push it on until it looks a little shaggy and uneven; those shaggy bits are what become the crispy flakes. For that extreme crunch, dip it back into the buttermilk quickly, then back into the flour for a second, firm coat. That double-dip creates the ultimate Crunchy Chicken Coating.
Deep Frying the Golden Brown Chicken Perfectly
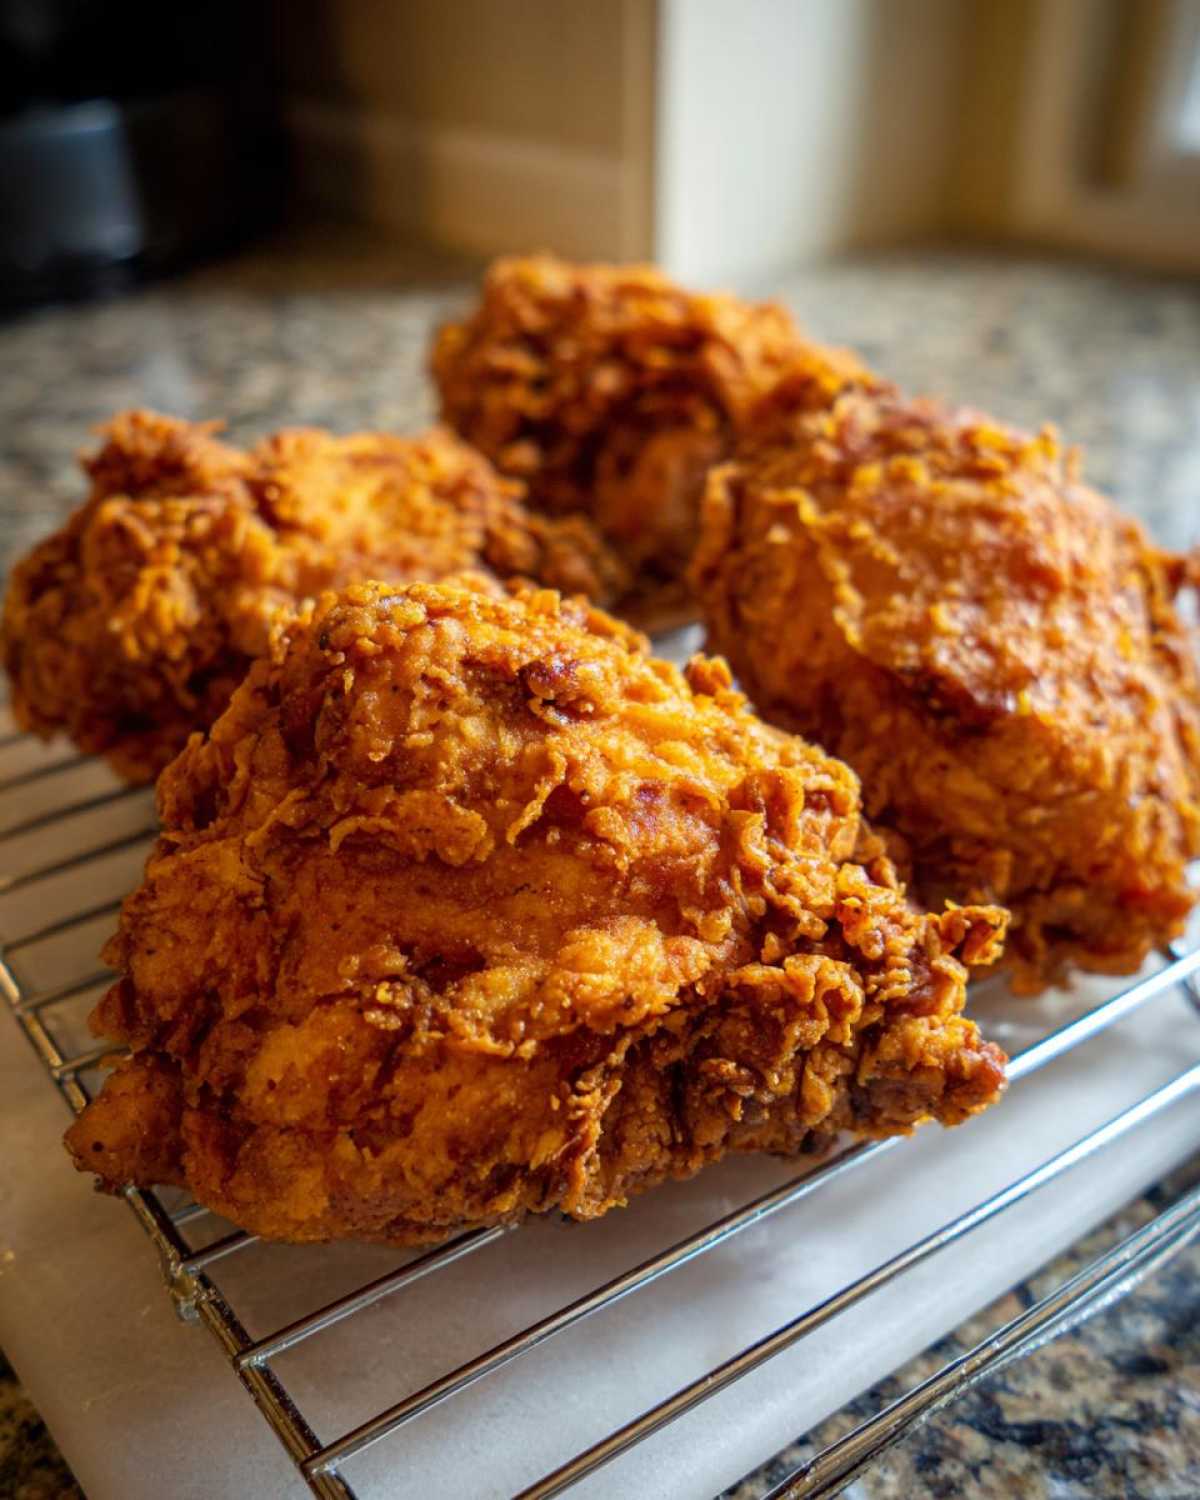
This is Elias’s favorite part because it involves thermometers! Heat your oil to exactly 325°F. If the oil is too cool, your chicken soaks it up and gets greasy, which is a tragedy. Because we want that Golden Brown Chicken finish, you must not overcrowd the pan. Work in batches, placing the chicken in gently so the oil temperature doesn’t drop too fast. Fry each side for about 6 to 8 minutes, turning as needed, until the internal temp hits 165°F. Pull it out, and drain it right onto a wire rack—never paper towels, or you’ll steam that beautiful crisp right off!
Tips for Success with Your Fried Chicken Recipe
We want this to be your most Foolproof Fried Chicken experience! I have one little secret from the recipe notes that you absolutely cannot skip: let your fully dredged chicken rest on the wire rack for about 15 minutes before it hits the hot oil. This seems counterintuitive, but it lets that flour coating hydrate and grip the meat, guaranteeing it won’t fall off in the fryer. Also, remember what Elias stresses about draining: paper towels will steam the bottom crust and make it soggy. Always use a wire rack! For seasoning, if you’re using chicken breasts, I always add an extra tiny pinch of salt right into the flour dredge for insurance, just because they are thicker.
- Rest the dredged chicken for 15 minutes before frying—it locks in the crunch!
- Drain on a wire rack, not paper towels, to keep that bottom crispy.
- Remember: Oil temperature stability is crucial for avoiding greasy results!
If you like this level of care for crispy things, you absolutely must try making my easy moist coffee cake with streusel next; the crisp topping needs similar attention!
Variations: Beyond Classic Southern Fried Chicken
Now, while this recipe is my heart and soul for Southern Fried Chicken glory, I know sometimes you need a little detour! People often ask how to make this into a KFC Copycat Chicken. Honestly, it’s mostly about the spice blend! Try bumping up the dried mustard powder and adding a touch more celery salt to your flour mix, and you’ll get close to that signature flavor profile.
Another classic asking is about the Chicken Fried Chicken texture. That version is essentially the same preparation, but you serve it smothered in creamy white gravy. It turns that perfectly crunchy coating into a soul-soothing experience. Imagine dipping that—it’s divine! Check out how we use spices in our Cajun Chicken Mac and Cheese if you want to bring some spice to the table!
Serving Suggestions for Your Savory Chicken Dinner Ideas
You’ve done the hard work, and now you have the Best Homemade Fried Chicken sitting on the rack. What goes best with this kind of masterpiece? For us, it has to be creamy mash potatoes and a seriously tangy coleslaw to cut through that richness. Those combinations make for incredible Savory Chicken Dinner Ideas! Elias insists that if we aren’t having it with his grandmother’s simple green beans, it’s not a proper meal. We often make a big batch of this chicken, and then use the leftovers in this easy make-ahead egg bake the next morning. Don’t forget some good pickles too—that vinegar element is everything!
Storage and Reheating Instructions for Leftover Fried Chicken
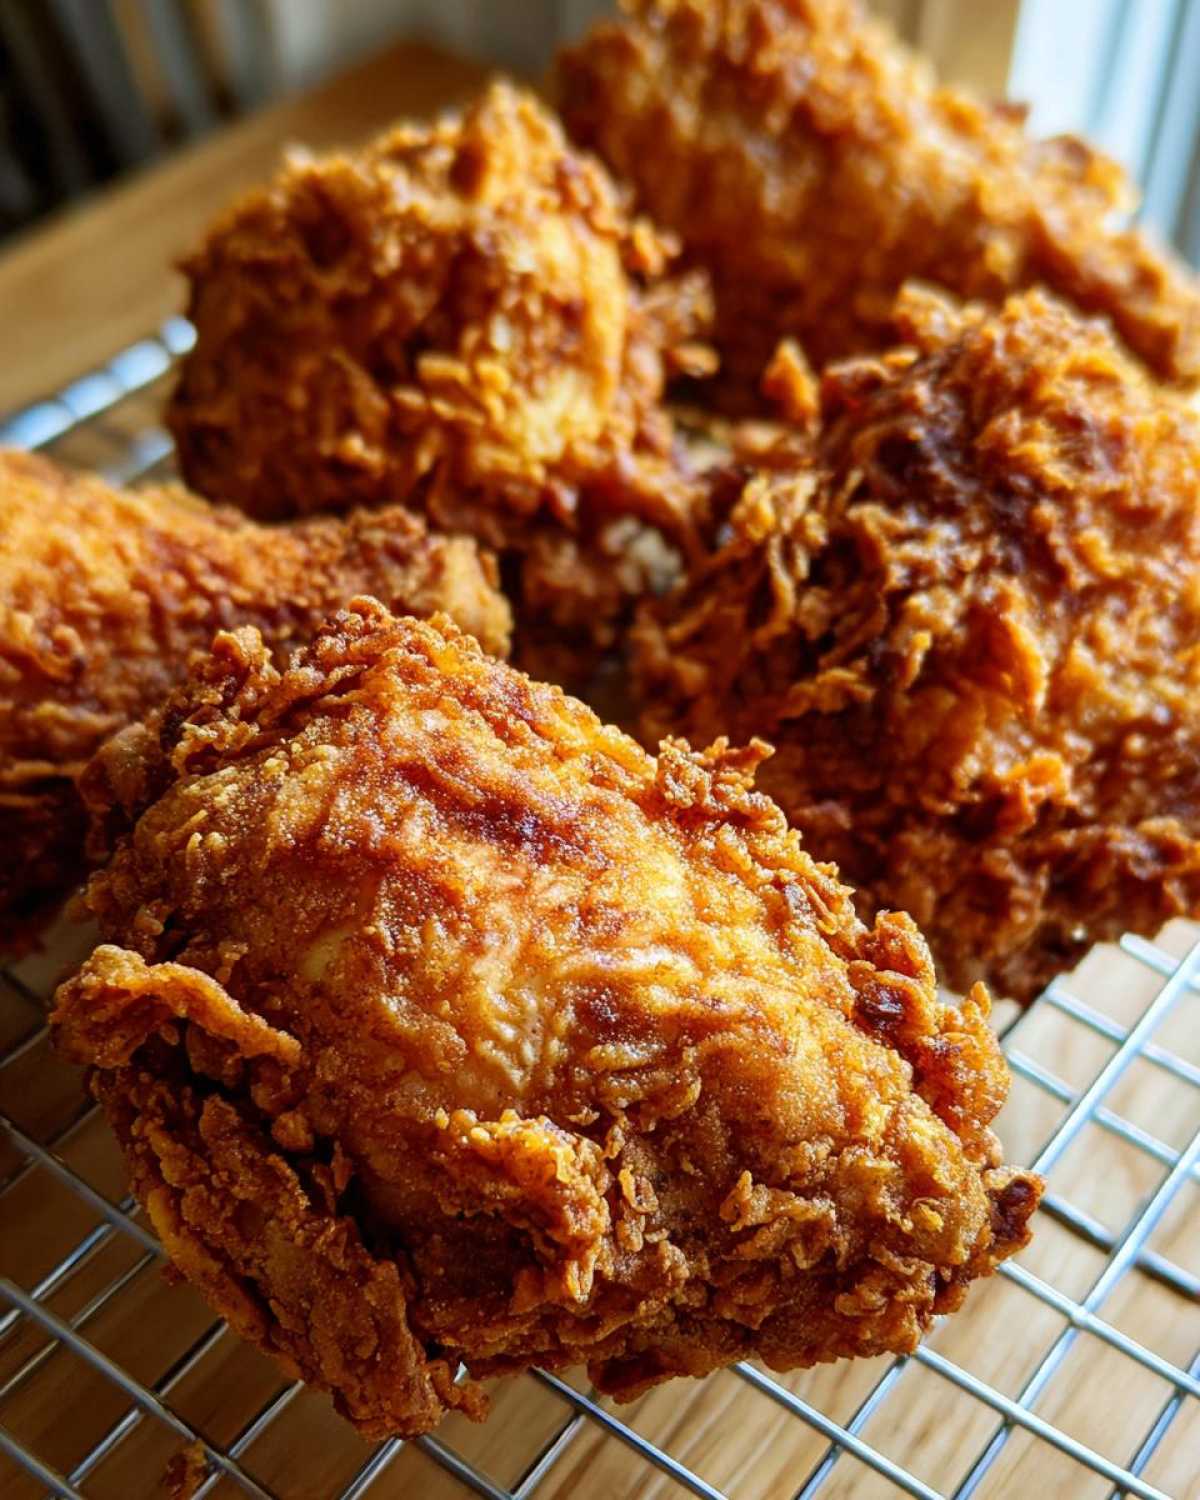
Oh, you have leftovers? Lucky you! If you managed not to devour every single piece of that fried chicken immediately, the storage method is crucial for keeping that crunch alive. Never put warm chicken into the fridge—let it cool completely on that wire rack first! Once totally cool, store it uncovered or loosely tented in the refrigerator. Seriously, plastic wrap traps steam and kills crispiness! When you’re ready for round two, skip the microwave entirely. Pop it in a 400°F oven or an air fryer until it warms through and that crust crackles again. It’s the best way to reheat it! If you need another great leftover idea, you have to plan on making my chicken Caesar pasta salad tomorrow.
Frequently Asked Questions About Making Fried Chicken
I know you might have a few lingering questions when tackling something as major as fried chicken. Don’t worry, that just means you’re taking it seriously, and I love that! We get asked about alternatives all the time. For example, you might be wondering, “Can I use thighs or breasts?” Absolutely! The recipe works great with any bone-in, skin-on cut, though cook times will vary slightly.
Can I make this fried chicken in an air fryer?
That’s such a good question, especially with everyone loving their air fryers now! While you absolutely *can* cook chicken in there, this specific recipe is designed for deep frying to get that thick, craggy, traditional Southern crunch. You won’t get the same crust in the air fryer, but if you love air fryer results, you should totally check out my air fryer chicken recipe! For this buttermilk version, stick to the skillet for that classic experience.
How long can I safely brine the chicken?
For the best flavor and moisture infusion, aim for at least 4 hours in the fridge, but I highly recommend the overnight soak (12-24 hours). That long marination time is essential for tenderizing the meat, ensuring you get that wonderfully Juicy and Crispy Chicken result. I wouldn’t push much past 24 hours, though, just to keep things safe and delicious!
Why do I need to use a thermometer for the oil?
This is non-negotiable for achieving Golden Brown Chicken that isn’t greasy! If the oil is too cool (under 325°F), the coating soaks up too much oil before it crisps up. If it’s too hot, the outside burns before the inside cooks. A steady 325°F keeps the exterior texture perfect while the inside cooks through beautifully. It’s how we guarantee this Classic Fried Chicken works every time.
Estimated Nutrition for Classic Fried Chicken
Here’s a peek at the numbers for our fried chicken. Remember, Elias always says that because we are frying, the fat content can fluctuate based on how long the oil has been used and how well you drain it. We’re giving you the best estimate based on standard serving sizes!
Please know that these values are just guides based on the ingredients listed above and the serving size of one mixed piece. If you only fry thighs or only breasts, your numbers will obviously change, so take this as a fun guideline for your Comfort Food Chicken Recipes!
- Serving Size: 1 piece (mixed parts)
- Calories: 450
- Fat: 28g
- Saturated Fat: 8g
- Carbohydrates: 15g
- Protein: 35g
- Sodium: 650mg
If you ever want to chat through substitutions or have questions on any of our recipes—this one included—please don’t hesitate to reach out and visit our contact page. We love hearing from fellow home cooks!
PrintUltra-Crispy Buttermilk Southern Fried Chicken

Achieve the best homemade fried chicken that is golden, crunchy, and incredibly juicy using this classic Southern recipe with a buttermilk soak.
- Prep Time: 20 min
- Cook Time: 35 min
- Total Time: 3 hours 55 min
- Yield: 6 servings
- Category: Dinner
- Method: Deep Frying
- Cuisine: Southern American
- Diet: None
Ingredients
- 4 lbs bone-in, skin-on chicken pieces (thighs, drumsticks, breasts)
- 4 cups buttermilk
- 2 tablespoons kosher salt
- 1 tablespoon black pepper
- 1 teaspoon cayenne pepper
- 1 teaspoon garlic powder
- 1 teaspoon onion powder
- 3 cups all-purpose flour
- 1/2 cup cornstarch
- 1 teaspoon baking powder
- Vegetable oil or shortening for frying
Instructions
- In a large bowl, combine the buttermilk, kosher salt, pepper, cayenne pepper, garlic powder, and onion powder. Mix well.
- Add the chicken pieces to the buttermilk mixture, ensuring all pieces are fully submerged. Cover the bowl and refrigerate for at least 4 hours, or preferably overnight, for the juiciest results.
- In a separate shallow dish, whisk together the flour, cornstarch, and baking powder. This creates the ultra-crispy coating.
- Remove the chicken from the buttermilk, letting excess drip off, but do not rinse.
- Dredge each piece of chicken thoroughly in the flour mixture, pressing the coating onto the chicken firmly to create craggy, thick spots. For extra crispiness, dip the floured chicken back into the remaining buttermilk for a quick second dip, then coat again in the flour mixture.
- Heat 2-3 inches of oil in a large, heavy-bottomed skillet or Dutch oven to 325 degrees Fahrenheit. Use a thermometer to monitor the temperature; maintaining this heat is key for crispy chicken.
- Carefully place the chicken pieces into the hot oil, ensuring you do not overcrowd the pan. Work in batches.
- Fry the chicken for about 6-8 minutes per side, turning occasionally, until deep golden brown and cooked through. Thighs and drumsticks may take slightly longer than breasts. The internal temperature should reach 165 degrees Fahrenheit.
- Remove the cooked chicken from the oil and place it on a wire rack set over a baking sheet to drain excess oil. Do not place directly on paper towels, as this can steam the bottom crust and make it soggy.
- Serve your best homemade fried chicken immediately as a savory dinner idea or comfort food classic.
Notes
- For the crispiest coating, let the dredged chicken rest on the wire rack for 15 minutes before frying. This allows the coating to hydrate slightly and adhere better.
- If you are making Chicken Fried Chicken, prepare a simple white gravy separately to pour over the finished product.
- Maintain your oil temperature carefully; if it drops too low, the chicken absorbs too much oil and becomes greasy instead of crispy.
Nutrition
- Serving Size: 1 piece (mixed parts)
- Calories: 450
- Sugar: 2
- Sodium: 650
- Fat: 28
- Saturated Fat: 8
- Unsaturated Fat: 20
- Trans Fat: 0
- Carbohydrates: 15
- Fiber: 1
- Protein: 35
- Cholesterol: 110