

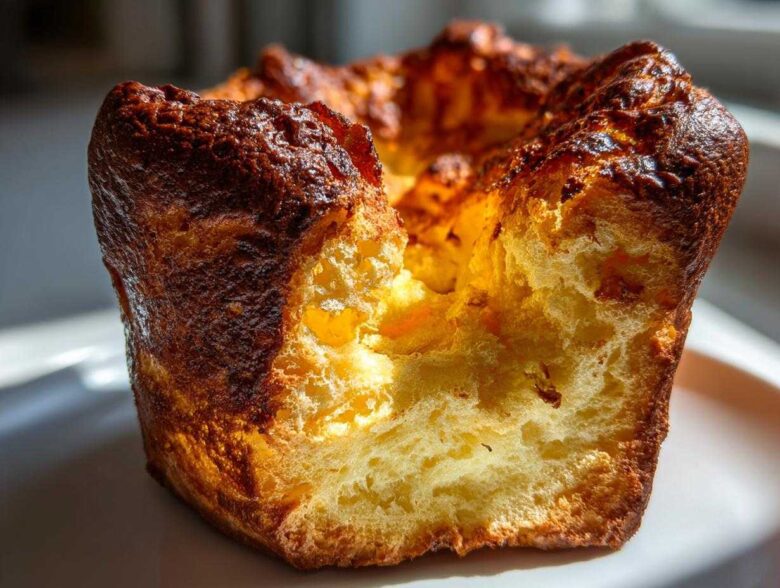
Oh, that moment! When you pull the tray out of the oven and those little clouds have puffed up taller than you thought possible! Honestly, there is nothing that screams “Sunday Roast” louder or prouder than a perfect Yorkshire pudding. Elias and I used to struggle with them, I won’t lie. We’d get flat, greasy little discs more often than we’d get the beautiful, golden, towering things we craved. But I figured out the chemistry—it’s all about temperature and patience! This recipe, my friends, is my foolproof method. We’re talking impossibly crispy on the outside and so light and airy inside, ready to soak up every drop of rich gravy. Trust me, once you master this, this **Yorkshire pudding** will be the star of your table, no matter who you’re serving. If you want a quick overview of the steps right away, check out my complete foolproof Yorkshire pudding recipe guide!
Why This is the Best Yorkshire Pudding Recipe for Your Sunday Roast
If you’ve ever been disappointed by sunken, chewy Yorkshires, then you need this method! I genuinely believe this is the absolute **Best Yorkshire Pudding** recipe because we obsess over the two main secrets: resting the batter and using screaming hot fat. Other recipes just tell you to mix and go, but that leads to disappointment. For us, this recipe guarantees that delightful contrast – super crispy edges giving way to that beautiful, soft, fluffy center every single time. It’s the ultimate **Traditional British Side Dish** that makes Elias beam at the dinner table, especially when paired with my slow-cooked beef. We spent ages perfecting the balance so you don’t have to guess!
We make these for nearly every roast, and they never fail. For more of our favorite cozy side dishes, like my fluffy pancakes (yes, they share some chemistry secrets!), stick around!
Ingredients for Foolproof Yorkshire Puddings
You don’t need fancy stuff for these, which is great because they are secretly so economical! We only use four main players, plus the fat for frying. I’ve listed exactly what you need below. Make sure your eggs and milk are room temperature, if you can manage it, though if you’re resting the batter overnight, it’s less of an issue!
- 4 large eggs
- 1 cup all-purpose flour
- 1 cup whole milk
- 1/2 teaspoon salt
- Vegetable oil or beef dripping, for the tin
Ingredient Notes and Substitutions for Yorkshire Pudding Batter
The eggs are vital here; they give the pudding its structure so it can climb tall in the oven. Whole milk keeps things rich, but you can get away with semi-skimmed if that’s all you have. Please don’t swap out the all-purpose flour for something too heavy, or they won’t rise nicely! The salt is crucial—it just wakes up all those simple flavors. For true British authenticity, Elias insists on using beef dripping; it gives a flavor that vegetable oil just can’t match, but sunflower oil works fine in a pinch if you’re keeping things vegetarian.
How to Make Yorkshire Puddings: Achieving the Perfect Rise
Okay, this is where the magic happens! Knowing **how to make Yorkshire Puddings** that actually puff up is all down to following these specific steps for the batter and the oven. Pay close attention to the order of mixing and the temperature—it’s the key to unlocking those amazing **Pudding Batter Secrets** we discovered. If you want to jump straight to the full run-through, my complete foolproof Yorkshire pudding recipe guide covers all the little nuances!
Preparing the Easy Yorkshire Pudding Batter
First things first, grab your flour and salt and put them in a big bowl. Make a little well in the middle—like you’re making a nest! Then, crack in the eggs. Start mixing the eggs, slowly dragging in the dry bits from the edges. Now, here’s the important bit: pour the milk in really slowly while you whisk. Keep going until it’s smooth, but I mean *smooth like heavy cream*, not thin like water! Elias always checks it and reminds me if I leave too many nasty little flour balls in there.
The Critical Step: Resting the Yorkshire Pudding Batter
Don’t you dare skip this step! We found that if you bake the batter right away, it struggles. Resting the batter is non-negotiable for proper **yorkshire pudding** success because it lets the gluten relax. You need at least 30 minutes in the fridge, but honestly? If you can let it sit for several hours, or even overnight, the rise will be significantly better. Patience pays off here, folks!
The Secret to Crispy Yorkshire Puddings: Smoking Hot Fat
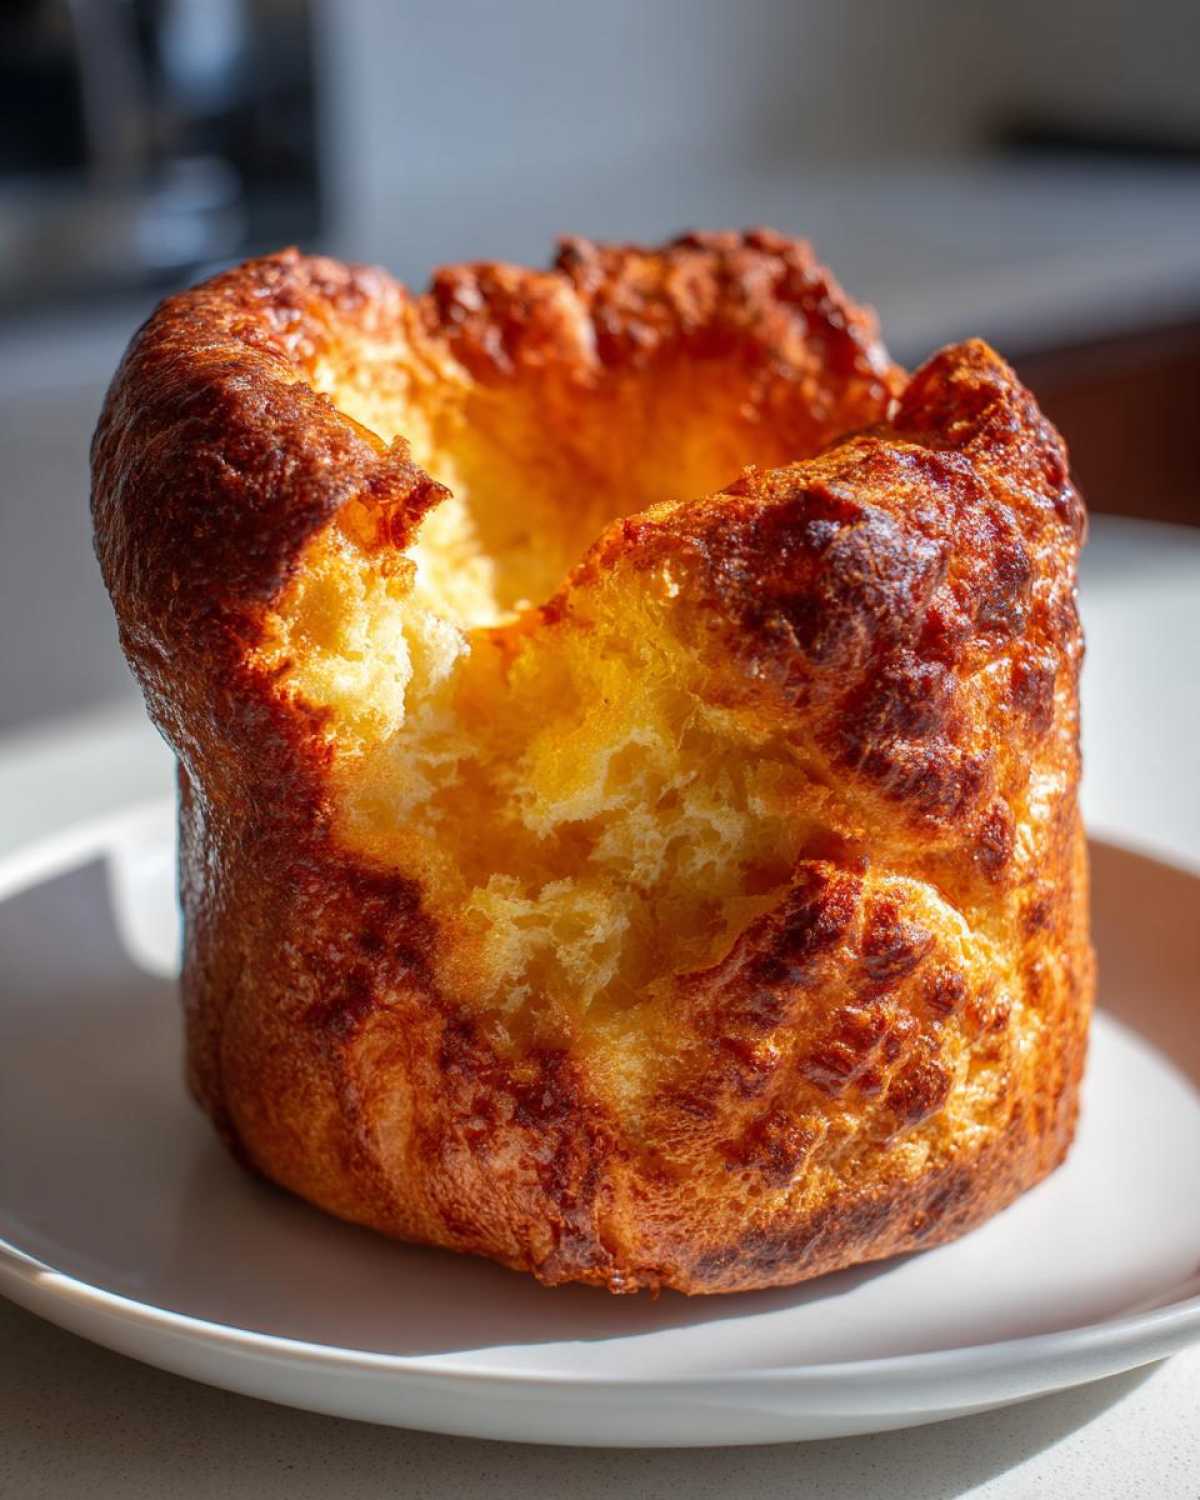
This is the biggest shocker for most people! You need 450°F (230°C) on your oven, and you need that oil or dripping to be *smoking hot* before the batter even touches it. Put your oil in the muffin tin, place the tin in the hot oven for a good ten minutes. You want that fat shimmering and almost smoking when you pull it out. When you pour the batter in—and you have to be quick!—it should sizzle violently. That initial shock is what sets the edges and forces the center skyward for those stunningly **Crispy Yorkshire Puddings**.
Remember, once that tin is back in the oven, you absolutely cannot peek! I know it’s tempting, but resisting that urge is part of the process.
Baking Your Fluffy Yorkshire Puddings
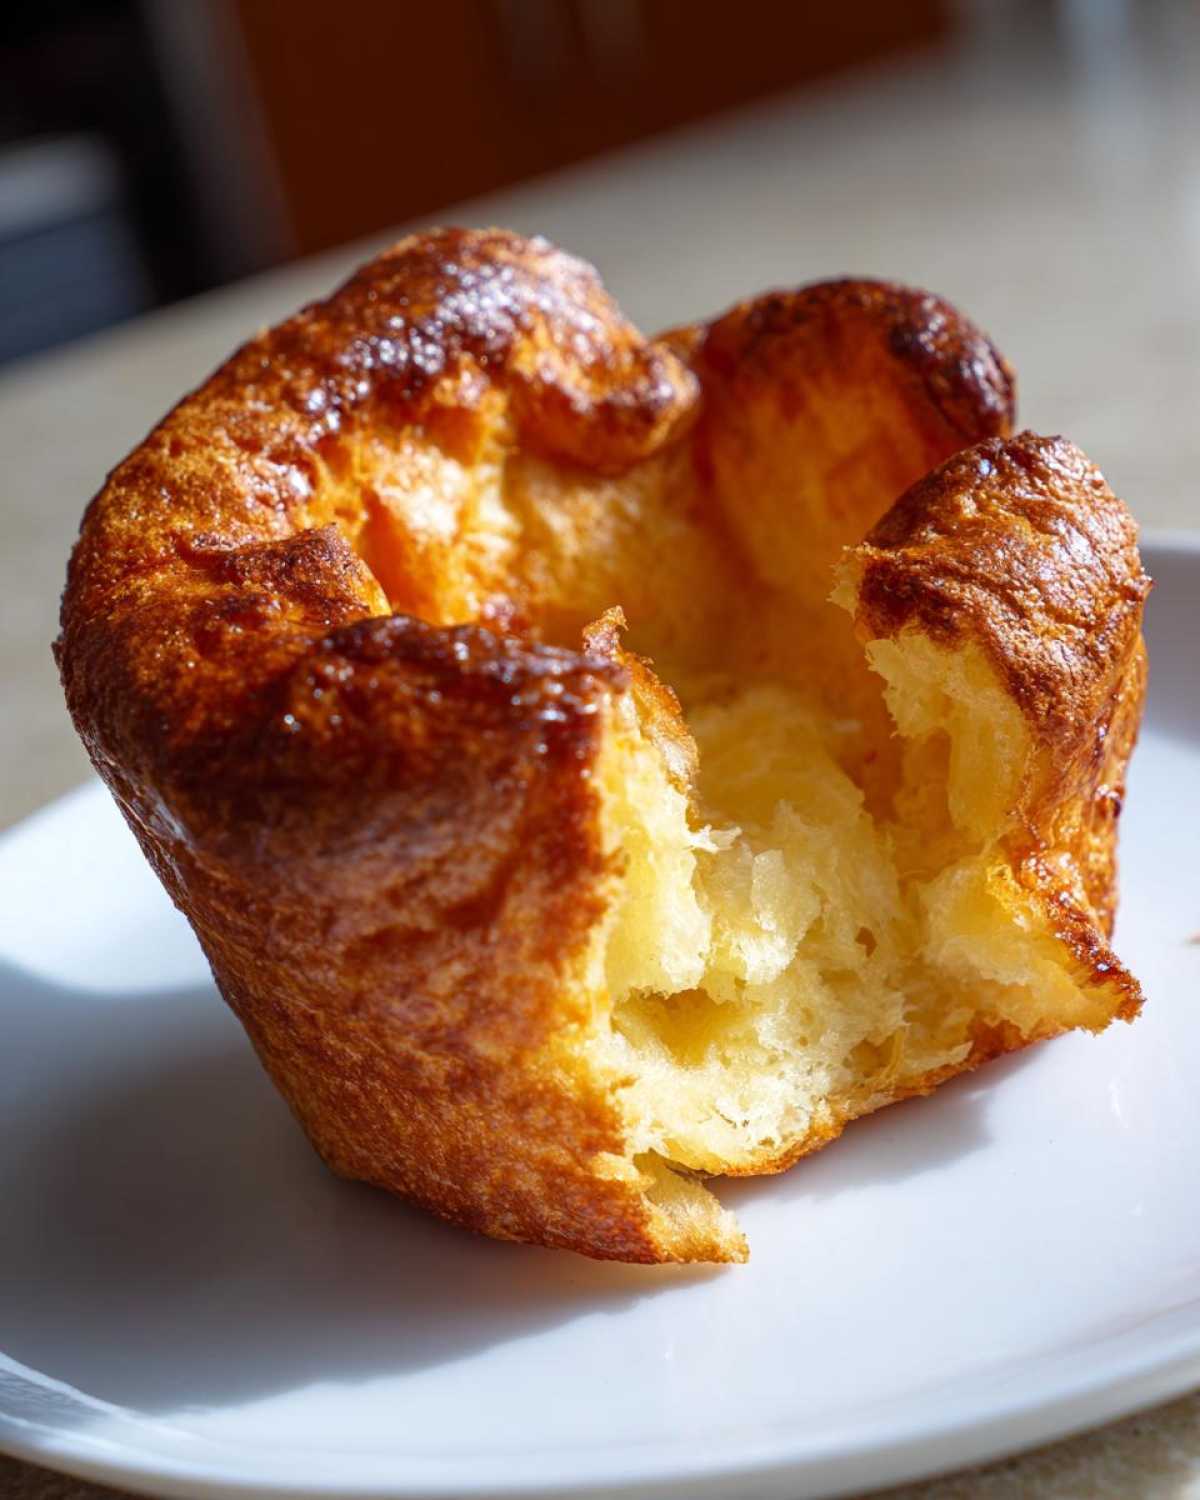
Once that sizzling batter hits that hot fat, you need to move fast and then not move at all! Quickly get the tray back into that very hot oven. We are talking 450°F (230°C) here—keep that heat cranked up! The most important instruction I can give you for achieving truly **Fluffy Yorkshire Puddings** is this: Do not, under any circumstances, open the oven door for the first 20 minutes. Seriously, walk away! If you let cold air rush in, they will panic and collapse right back down into sad little pancakes.
You’ll know they are done when they look like deep, golden-brown, perfectly puffed-up hats. That usually takes about 20 to 25 minutes, depending on your oven quirks. Serve them immediately for the crispiest texture!
Yorkshire Pudding Tips and Tricks for Guaranteed Puff
Even with the right recipe, sometimes you need a little extra nudge to get that guaranteed puff! Here are the non-negotiable tricks I use every single time to make sure my **yorkshire pudding** rises like a dream. First, let’s talk temperature contrast—it’s everything. You want your batter coming straight from the cold fridge, hitting fat that is so hot it’s practically smoking in a roaring hot oven. Mixing these two extremes is the catalyst for that amazing expansion!
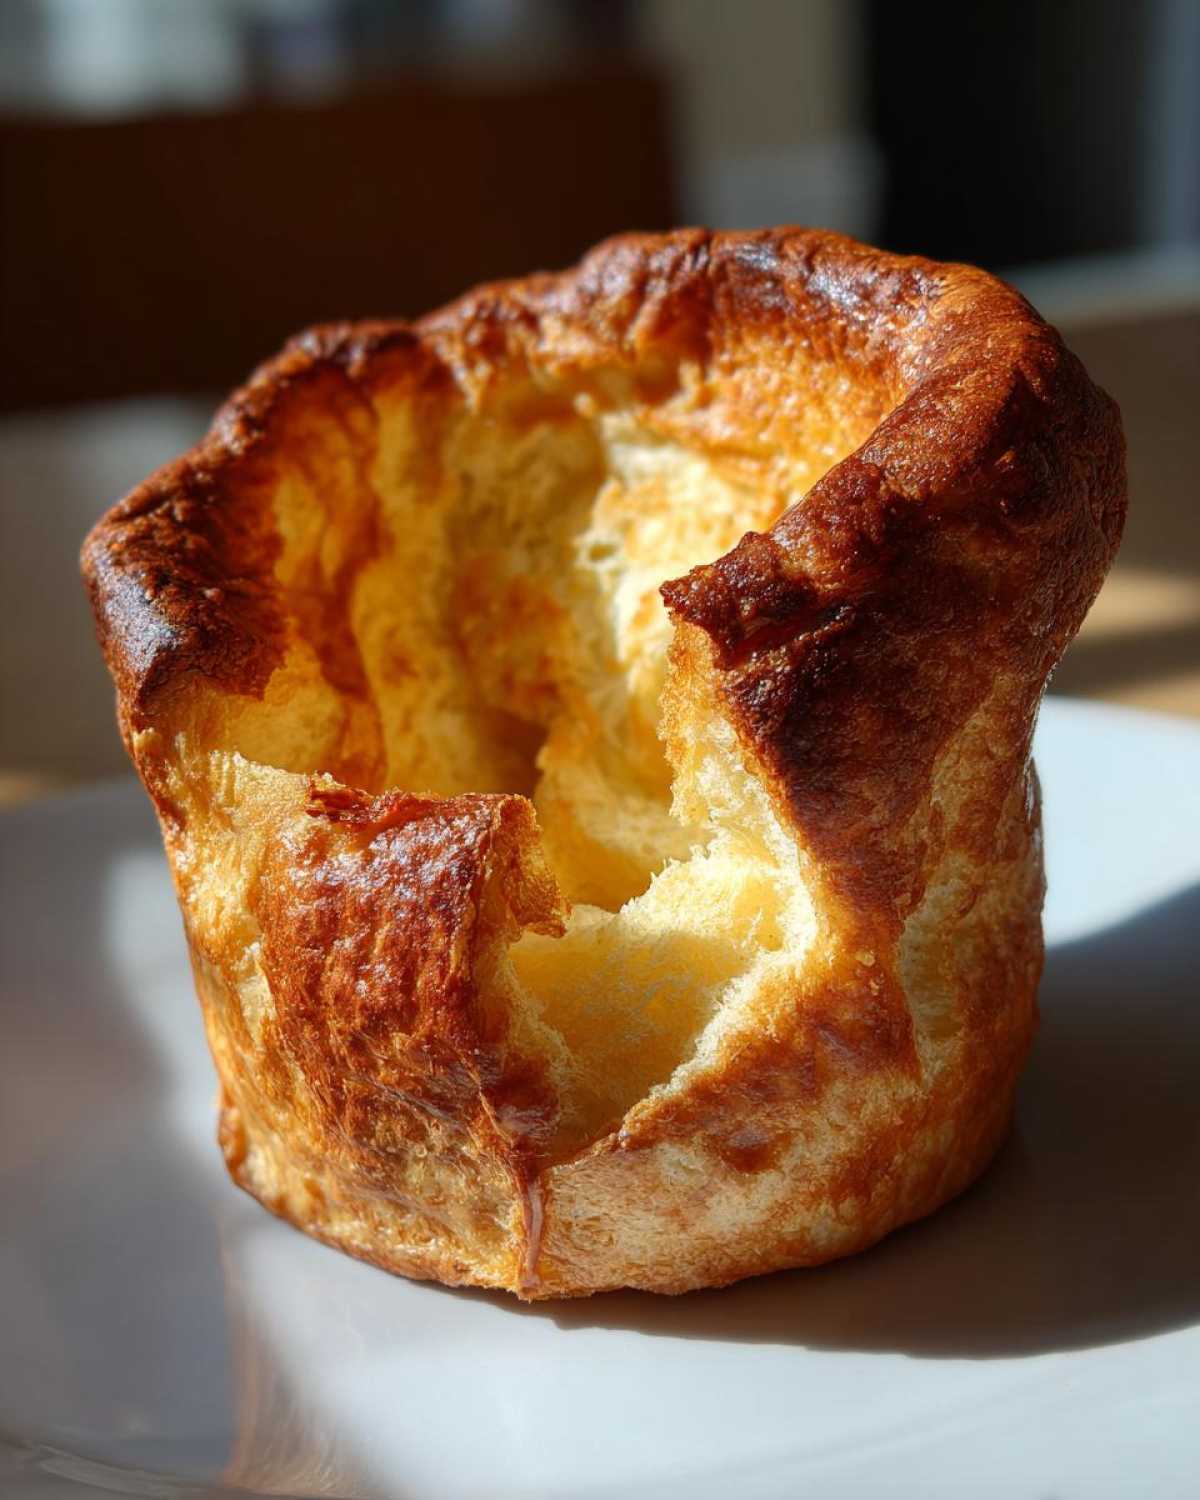
Another huge tip is in the pan itself. If you’re using a muffin tin for individual puddings, don’t overfill the cups; filling them just one-third full leaves room for them to climb. For those of you who have tried Gordon Ramsay’s version, you might notice his focus is often on the fat quality—if you can get decent beef dripping, it truly elevates the process, but even using a very neutral, high smoke-point oil works wonders. Read more about my kitchen adventures on the Flavor Vista blog!
Variations on the Classic Yorkshire Pudding Recipe
While I swear by this traditional batter—it’s so simple and works beautifully—I know you might want to adjust things sometimes! If you’re cooking for a crowd or just want a bigger showstopper, you can absolutely make larger individual puddings. Just use a standard muffin tin instead of a 12-hole one, and you’ll need to add a few extra minutes to the baking time. I also get asked a lot about dietary needs.
It is totally possible to make a **Gluten Free Yorkshire Pudding**! I know folks who have great success adapting this recipe by substituting the wheat flour with a good quality GF blend. If you’re looking into that route, I really recommend checking out the substitution guides available, like the one I found for Gluten Free Yorkshire Puddings, just to make sure you have the right flour mix to keep that puff!
Serving Suggestions for Your Homemade British Comfort Food
These **Yorkshire puddings** aren’t just a side dish; they are the main event on a Sunday! They absolutely must be served piping hot, fresh from the oven, while they’re still towering and crisp. Naturally, they are mandatory alongside a big joint of roast beef—it’s tradition! But honestly, they are perfect for soaking up any rich sauce or gravy you have on hand. If you’re planning on making a tender main dish to accompany these beauties, you have to try the recipe Elias uses for his braised short ribs; the gravy is divine!
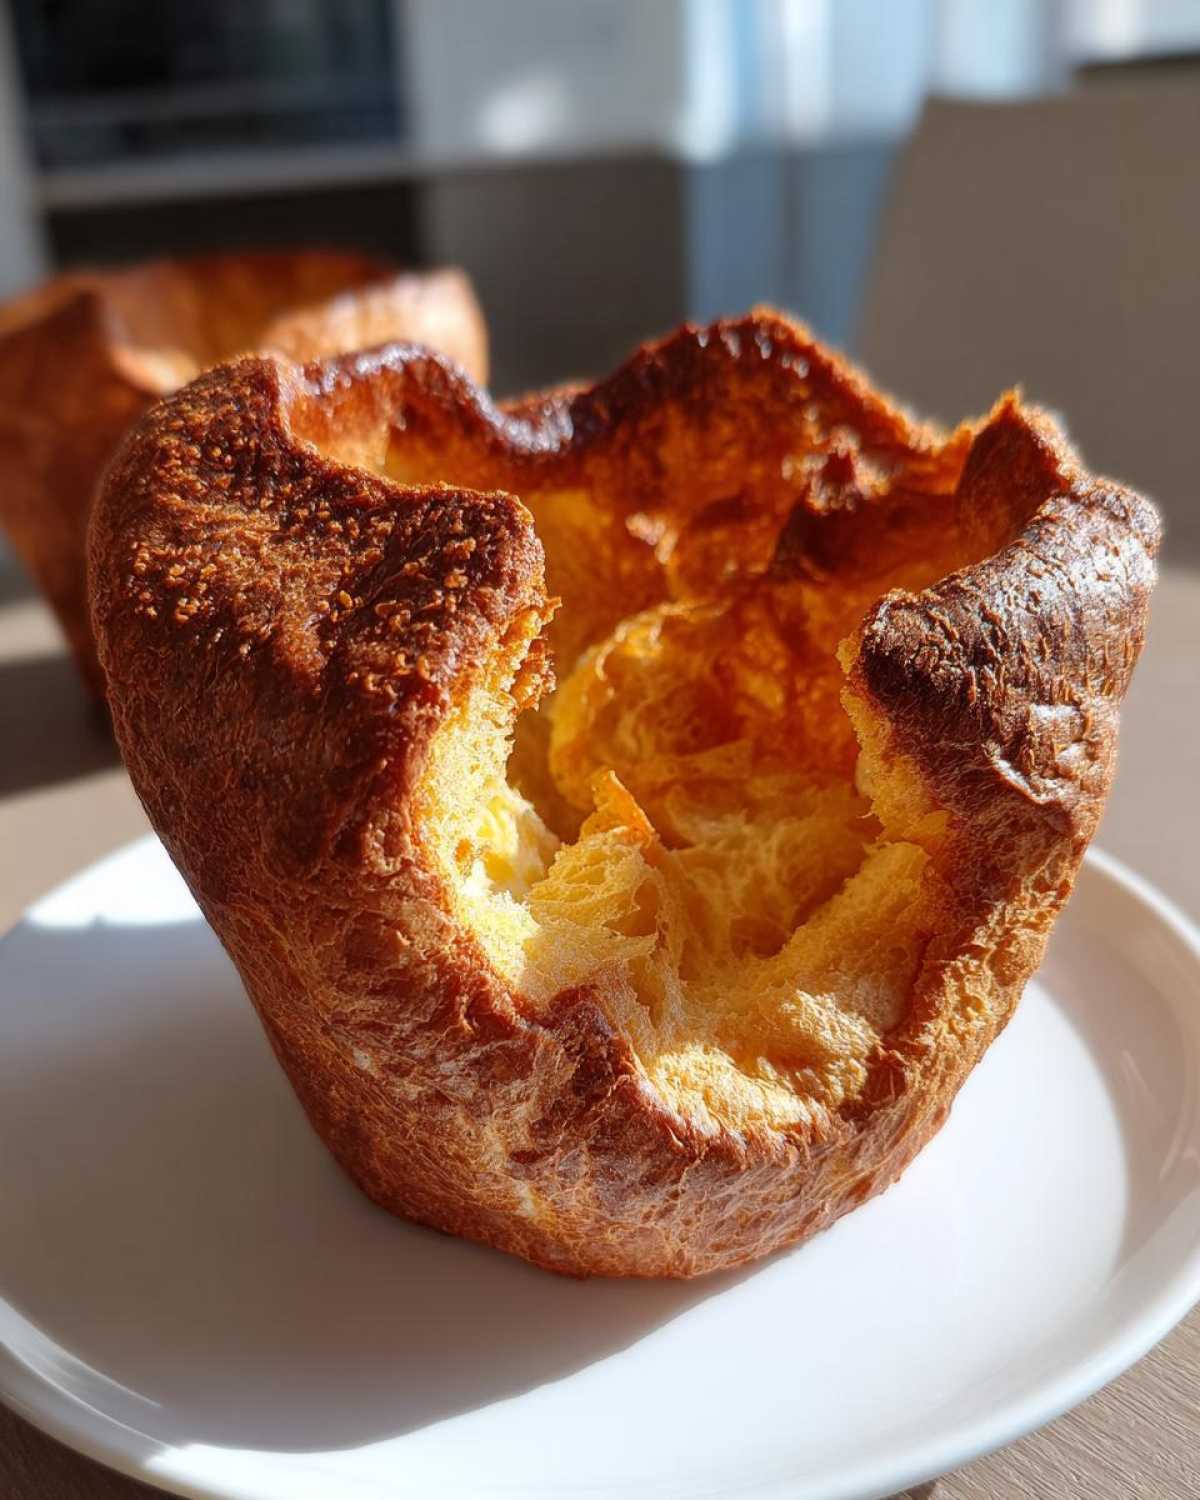
They pair just as beautifully with roast chicken or lamb as they do with beef. Think of them as the ultimate vehicle for rich, savory **Roast Dinner Accompaniments**.
Storage and Reheating Instructions for Yorkshire Pudding
Now, I know what you’re thinking: can I make these ahead? Yes, but they have to store correctly to keep that beautiful puff! If you have leftovers (unlikely in our house!), cool them completely, then place them in a single layer inside a well-sealed, airtight container. They’re best eaten the day you make them, really. If you do need to reheat them the next day, absolutely skip the microwave—that’s the quickest way to turn crispy into soggy!
Instead, place them directly onto a wire rack set over a baking tray and pop them back into a hot oven (around 350°F or 175°C) for about five to eight minutes. That blast of dry heat will re-crisp the outside beautifully, and they’ll be almost as good as fresh!
Frequently Asked Questions About Perfect Yorkshire Puddings
Can I use water instead of milk for Yorkshire Pudding batter?
While this recipe calls for whole milk for richness, you *can* use half milk and half water, or even just water in a pinch, especially if you are making true **Puffy Popovers** which are often water-based! However, swapping all the milk out for water will result in a less flavorful and potentially less sturdy pudding. Milk adds necessary fat and protein that helps them hold their structure. For the best taste when serving with a roast, stick to the milk!
Why did my yorkshire pudding collapse after baking?
Oh, the dreaded collapse! This happens for one of two reasons, both temperature-related. The number one reason is opening the oven door too soon—if you let that cold air rush in before the structure is set (usually before 20 minutes), they deflate instantly. The second reason might be that your fat wasn’t hot enough when the batter went in; if it doesn’t sizzle immediately, it can’t set the outside crisp shell needed to hold the rise. If you need more troubleshooting, I shared some tips on how I fix my easy appetizers when things go slightly wrong!
Can I make the batter ahead of time for Yorkshire Puddings?
Yes! This is one of the best **Yorkshire Pudding Tips and Tricks** this recipe offers. You can absolutely mix the **Easy Yorkshire Pudding Batter** the night before, cover it tightly, and keep it in the fridge. In fact, resting it overnight often makes the final product even better because the flour hydrates fully. Just remember, when you take it out to bake, give it a quick, gentle whisk—remember not to overmix—and let it sit on the counter for about 15 minutes while your fat gets smoking hot!
Are Yorkshire Puddings the same as Popovers?
They are essentially kissing cousins! They use almost the exact same batter—flour, eggs, milk/water, salt—but they are culturally distinct. Yorkshire puddings are traditionally cooked in animal fat (like beef dripping) and served with roast beef as a **Traditional British Side Dish**. Popovers are typically American, baked in lighter oil, and often served with butter or jam for breakfast. For a true British experience, keep your fat savory!
PrintThe Perfect Foolproof Yorkshire Pudding: Crispy Outside, Fluffy Inside

Learn how to make classic, tall Yorkshire puddings that are golden brown, crispy on the outside, and wonderfully airy inside. This recipe is simple and reliable for your next Sunday roast.
- Prep Time: 10 min
- Cook Time: 25 min
- Total Time: 35 min
- Yield: 12 small puddings
- Category: Side Dish
- Method: Baking
- Cuisine: British
- Diet: Vegetarian
Ingredients
- 4 large eggs
- 1 cup all-purpose flour
- 1 cup whole milk
- 1/2 teaspoon salt
- Vegetable oil or beef dripping, for the tin
Instructions
- Combine the flour and salt in a large bowl. Make a well in the center.
- Add the eggs to the well. Begin whisking the eggs, gradually incorporating the flour from the sides.
- Slowly pour in the milk while continuously whisking until you have a smooth, thin batter, similar to heavy cream. Do not overmix; a few small lumps are acceptable.
- Cover the bowl and let the batter rest in the refrigerator for at least 30 minutes, or up to 12 hours. Resting the batter helps the gluten relax, leading to a better rise.
- Preheat your oven to 450°F (230°C). Place a 12-hole muffin tin (or a roasting tin for larger puddings) into the oven.
- Add about 1 teaspoon of vegetable oil or beef dripping to each cup in the hot tin. Heat the oil in the oven for 10 minutes until it is smoking hot. This step is crucial for a good rise.
- Carefully remove the hot tin from the oven. Quickly and evenly divide the batter among the hot cups, filling each about one-third full.
- Immediately return the tin to the hot oven. Bake for 20 to 25 minutes. Do not open the oven door during the first 20 minutes, or your puddings may collapse.
- The Yorkshire puddings are done when they are deeply golden brown, tall, and crisp. Serve immediately with your roast dinner and gravy.
Notes
- For the best rise, the batter must be cold, and the fat in the tin must be smoking hot when you pour the batter in.
- If you are making larger, individual Yorkshire puddings, use a standard muffin tin and increase the cooking time slightly, checking after 25 minutes.
- This recipe uses simple pantry ingredients, making it a very cost-effective side dish for your Sunday roast.
Nutrition
- Serving Size: 1 pudding
- Calories: 110
- Sugar: 1
- Sodium: 150
- Fat: 5
- Saturated Fat: 1
- Unsaturated Fat: 4
- Trans Fat: 0
- Carbohydrates: 13
- Fiber: 0
- Protein: 4
- Cholesterol: 60